Creating a beautiful quilt can be both a satisfying and creative experience, especially when you have the right Pinwheel Quilt Block Tutorial – Pattern at hand.
Whether you’re a seasoned quilter or just starting out, this guide will help you master the art of crafting a pinwheel quilt block that is both visually appealing and technically sound.
In this comprehensive tutorial, we will walk you through the steps to create this classic quilt block, discuss essential techniques, and provide useful tips to make your quilting journey enjoyable and successful.
In this Pinwheel Quilt Block Tutorial – Pattern, we’ll cover everything you need to know about creating pinwheel quilt blocks, including fabric choices, cutting techniques, and assembly methods.
The pinwheel block is a favorite among quilters due to its versatility and vibrant, spinning design. With clear instructions and helpful tips, you’ll be well-equipped to add this charming block to your quilt projects.
Whether you’re making a quilt for a special occasion or just for fun, understanding the Pinwheel Quilt Block Tutorial – Pattern can elevate your quilting skills and help you produce a quilt block that stands out. Let’s dive into the details and learn how to create this eye-catching block with ease.
1. Understanding the Pinwheel Quilt Block Design
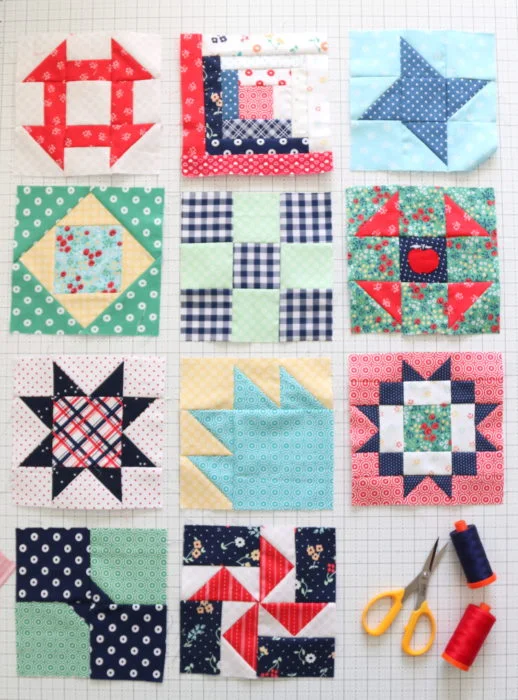
The Pinwheel Quilt Block is known for its dynamic, spinning effect, which is achieved by arranging four triangle pieces to form a pinwheel shape. This classic design is perfect for showcasing a variety of fabrics and colors, making it a versatile choice for many quilting projects.
To start with, the pinwheel block consists of two main elements: the center square and the four triangle segments. Each triangle is cut from a square of fabric and then sewn together to form the pinwheel effect. Understanding the layout and assembly of these components is crucial for creating a balanced and visually pleasing quilt block.
When selecting fabrics, consider using contrasting colors or patterns for the pinwheel segments to enhance the spinning effect. High-contrast fabrics will make the design pop, while more subtle fabric choices can create a softer look. The center square can also be a focal point, so choose a fabric that complements the pinwheel segments.
2. Preparing Your Fabric for the Pinwheel Quilt Block
Before you start sewing, proper preparation of your fabric is essential. Begin by choosing your fabric pieces and cutting them to the correct sizes. For the pinwheel block, you will need squares of fabric for both the pinwheel segments and the center square.
Use a rotary cutter and a cutting mat to ensure precise cuts. Accurate cutting is key to achieving a well-aligned pinwheel block. Press your fabric pieces with an iron to remove any wrinkles, which will help you achieve more accurate seams and a neater finished block.
Next, mark your fabric pieces as needed. For the pinwheel block, you may need to draw lines on the fabric to guide your sewing. These lines will help you sew accurate seams and achieve the correct pinwheel shape. Following these preparation steps will make the assembly process smoother and more efficient.
3. Assembling the Pinwheel Quilt Block
Once your fabric pieces are prepared, it’s time to start assembling your pinwheel quilt block. Begin by sewing the triangle segments together to form the pinwheel shape. Arrange the triangle segments around the center square, making sure the design aligns correctly.
Sew the triangle segments together, taking care to match the seams and corners. Press the seams open to reduce bulk and create a smoother finish. As you assemble the pinwheel block, periodically check the alignment and make adjustments as needed to ensure the design is accurate.
After sewing the pinwheel segments together, attach the center square to complete the block. Press the final seams and check your work to ensure the pinwheel block is evenly aligned and well-constructed. This careful assembly process will result in a beautifully crafted pinwheel quilt block.
4. Tips and Tricks for Perfecting Your Pinwheel Quilt Block
To achieve the best results with your Pinwheel Quilt Block Tutorial – Pattern, consider these helpful tips and tricks. First, use a quarter-inch seam allowance for consistent results and accurate block sizes. A quilting foot can help ensure precise seams and accurate piecing.
When joining the triangle segments, use pinning to keep the fabric pieces aligned and avoid shifting during sewing. This will help you achieve accurate seams and a well-aligned pinwheel design. Additionally, consider using fabric starch to stabilize your fabric pieces and reduce stretching during assembly.
If you encounter any issues with your pinwheel block, don’t be afraid to make adjustments. Trimming excess fabric or adjusting seam allowances can help you achieve a more accurate and polished final result. Practice and patience are key to perfecting your pinwheel quilt block.
FAQ:
Q: What size should my fabric squares be for the pinwheel quilt block?
A: The size of your fabric squares will depend on the finished size of your pinwheel block. For a standard 12-inch block, cut your fabric squares to 5 inches each. Adjust the size according to your desired block dimensions.
Q: How do I achieve perfect points on my pinwheel block?
A: To achieve perfect points, ensure your fabric squares are accurately cut and aligned. Use a quarter-inch seam allowance and press seams open. Pinning the fabric pieces before sewing can also help maintain precise alignment.
Q: Can I use pre-cut fabric for the pinwheel block?
A: Yes, pre-cut fabric, such as charm packs or layer cakes, can be used for the pinwheel block. Just make sure the pre-cut pieces are the correct size for your block and follow the tutorial instructions for assembly.
Q: What if my pinwheel block doesn’t lie flat?
A: If your pinwheel block isn’t lying flat, check for any puckers or uneven seams. Pressing your seams thoroughly and using a fabric stabilizer can help improve the block’s flatness. Adjustments to seam allowances or trimming excess fabric may also be necessary.
Q: How do I calculate the number of pinwheel blocks needed for my quilt?
A: To calculate the number of pinwheel blocks needed, determine the size of your quilt and the size of each block. Divide the quilt dimensions by the block size to find the number of blocks required. Allow for additional blocks if you plan to add borders or sashing.
Q: Can I use different fabrics for the pinwheel segments and center square?
A: Absolutely! Mixing different fabrics for the pinwheel segments and center square can add visual interest and variety to your quilt block. Just ensure that the fabrics complement each other and contribute to the overall design.
Join our VIP broadcast list and gain access to exclusive patterns, all for free. As a VIP member, you’ll receive the best patterns daily, delivered directly to your device. ✨📱 It’s a unique opportunity to stay up-to-date with the latest trends and designs, curated just for you. Don’t miss out on enhancing your projects and discovering new inspirations with the best patterns every day! 🎨🔝
Conclusion
In this Pinwheel Quilt Block Tutorial – Pattern, we’ve explored the steps to create a classic and charming pinwheel quilt block. From understanding the design and preparing your fabric to assembling the block and perfecting your technique, you now have the tools and knowledge to craft beautiful pinwheel quilt blocks for your projects.
We hope you found this tutorial helpful and inspiring. Feel free to leave a comment with your thoughts, feedback, or any suggestions for future quilting tutorials. Happy quilting!

