Sewing enthusiasts, welcome to Farm Sweet Farm Sew Along – Week Nine – Cow and Beehive Block!! This week, we will explore the techniques and steps needed to create the charming Cow and Beehive Block.
Whether you are new to quilting or an experienced sewist, this guide will provide you with all the details you need to complete this fun and rewarding project.
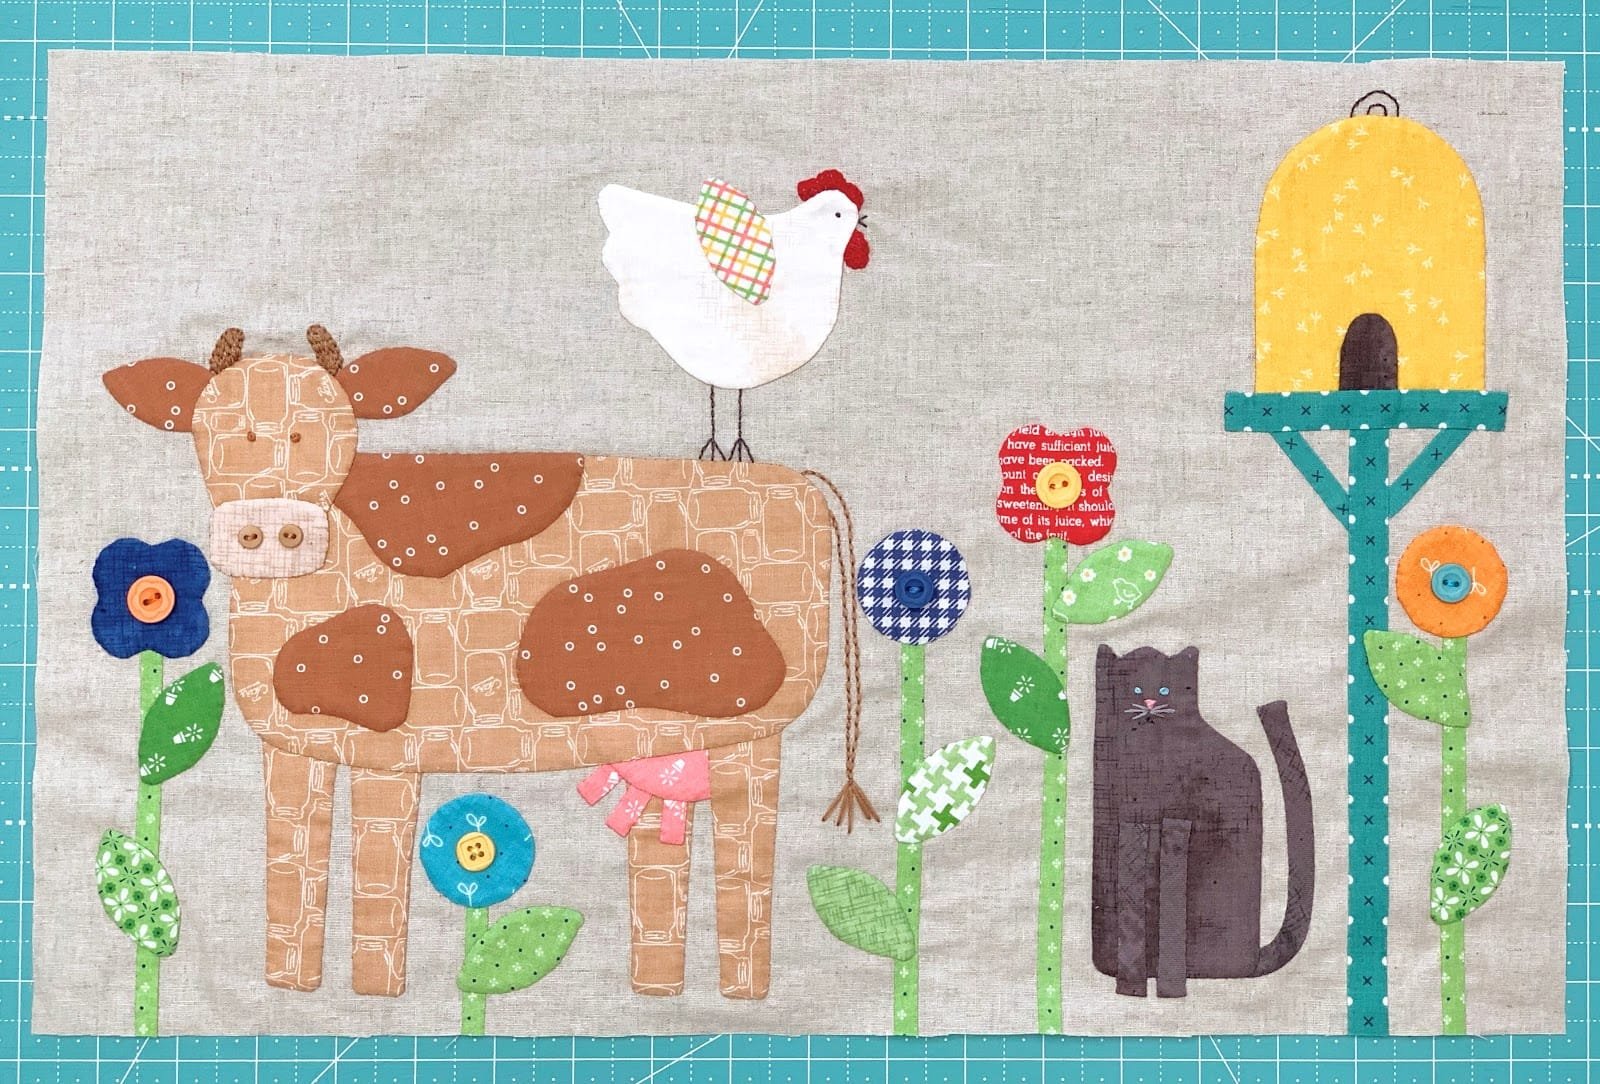
The Cow and Beehive Block is a delightful addition to the Farm Sweet Farm quilt, bringing a touch of rustic charm and farm-inspired beauty.
By carefully following this guide, you will be able to craft a visually stunning and detailed block that enhances the overall design of your quilt.
Let’s dive into the materials, cutting instructions, and piecing techniques needed to bring this block to life!
1. Gathering Your Materials
Before starting your Cow and Beehive Block, ensure you have all the necessary materials. Having everything ready will make the sewing process smoother and more enjoyable.
- Fabric: Choose farm-themed colors for the cow and beehive. You will need black and white for the cow and golden hues for the beehive.
- Cutting Mat and Rotary Cutter: Precision is key in quilting, and these tools will help you achieve clean cuts.
- Quilting Ruler: This ensures accurate measurements and straight lines.
- Sewing Machine: A machine with a quarter-inch foot is ideal for accurate piecing.
- Thread: Use coordinating thread to match your fabrics.
- Iron and Ironing Board: Pressing each seam as you sew will improve the block’s overall appearance.
Once your materials are gathered, you are ready to start cutting and assembling the block!
2. Cutting and Preparing the Fabric Pieces
The Cow and Beehive Block consists of several fabric pieces that need to be accurately cut before sewing.
- Cow Pieces: Cut black and white squares and triangles to form the cow’s face and body.
- Beehive Pieces: Use golden-yellow fabric to cut small rectangles and squares for the beehive structure.
- Background Fabric: Light-colored fabric will make the block’s design stand out.
- Small Details: Cut tiny pieces for the cow’s ears, eyes, and beehive details.
- Labeling Pieces: Keep track of each piece by labeling them with fabric chalk or sticky notes.
- Pressing the Fabric: Iron all pieces before assembling to ensure a smooth and even block.
Accurate cutting is crucial for achieving a polished look, so take your time during this step.
3. Piecing the Cow and Beehive Block
With your fabric pieces ready, let’s move on to the sewing process.
- Start with the Cow’s Face: Sew the black and white pieces together to create the cow’s face.
- Assemble the Cow’s Body: Join the rectangular pieces carefully, ensuring alignment.
- Sew the Beehive: Stack the golden-yellow pieces to resemble a beehive.
- Join the Sections: Attach the cow and beehive sections to form a single block.
- Check for Accuracy: Measure your block to ensure it is the correct size before continuing.
- Pressing Seams: Use an iron to press the seams flat for a neat appearance.
Taking your time with each step will result in a beautifully detailed block.
4. Finishing Touches and Adding Details
To make your Cow and Beehive Block even more special, add some finishing touches.
- Embroider Details: Stitch tiny eyes and a mouth on the cow’s face.
- Appliqué Techniques: Use fusible webbing for intricate details like the beehive’s entrance.
- Contrast Stitching: Highlight features by using contrasting thread colors.
- Final Trimming: Ensure all edges are even and straight before adding the block to your quilt.
- Inspect the Block: Check for any loose threads or uneven seams.
- Prepare for Assembly: Store the block in a safe place until it is time to assemble the entire quilt.
These small details make the block unique and enhance its visual appeal.
FAQ
Q: What skill level is required for the Cow and Beehive Block?
A: This block is beginner-friendly but requires attention to detail. Basic sewing and quilting skills will help achieve the best results.
Q: How long does it take to complete this block?
A: Depending on your experience, it can take anywhere from an hour to a few hours.
Q: Can I use different colors for the cow and beehive?
A: Yes! Feel free to customize the colors to match your personal style or existing quilt theme.
Q: Do I need a special sewing machine for quilting?
A: A standard sewing machine with a quarter-inch foot works well for quilting.
Q: How do I ensure my seams are straight?
A: Use a quilting ruler and a consistent seam allowance to keep your seams accurate.
Q: What fabric is best for quilting?
A: High-quality cotton fabric is recommended for durability and ease of sewing.
Join our VIP broadcast list and gain access to exclusive patterns, all for free. As a VIP member, you’ll receive the best patterns daily, delivered directly to your device. ✨📱 It’s a unique opportunity to stay up-to-date with the latest trends and designs, curated just for you. Don’t miss out on enhancing your projects and discovering new inspirations with the best patterns every day! 🎨🔝
Conclusion
The Farm Sweet Farm Sew Along – Week Nine – Cow and Beehive Block!! is a delightful project that adds charm and character to your quilt. By following the step-by-step instructions, you can create a beautiful block that captures the essence of farm life.
We hope this guide has been helpful and inspiring! Have you completed this block? Share your experience and suggestions in the comments below—we’d love to hear from you!

