Creating your own DIY Phone Charging Station Free Pattern Quilt is both a practical and creative project that blends function with style. Imagine having a custom-made quilted station that not only charges your devices but also adds a unique handmade touch to your home. This project is perfect for sewing enthusiasts, quilting lovers, or anyone who wants to keep their phone charging area organized while showing off their crafting skills.
The beauty of a phone charging station quilt is that it combines the softness of fabric with the convenience of modern technology. With the right fabrics, batting, and pattern, you can create something that fits perfectly into your décor. Plus, because you’re making it yourself, you can choose every color, texture, and design element. This makes the project highly customizable and ensures it suits your exact needs.
Whether you’re looking to reduce clutter on your desk, add a decorative element to your entryway, or simply want a dedicated place for charging devices, this DIY phone charging station will quickly become a household favorite. And the best part? It’s an enjoyable sewing project that’s suitable for both beginners and experienced quilters.
Materials Needed for Your DIY Phone Charging Station
Before starting your DIY phone charging station free pattern quilt, you’ll need to gather the right materials. Choosing the correct supplies ensures durability, style, and proper functionality for holding and charging your devices.
First, select high-quality cotton fabric. This will be the main visual element of your quilted station, so pick a design that matches your personal taste or home décor. Cotton is breathable, durable, and easy to work with, making it ideal for this project.
Second, you will need quilt batting. This gives your station structure and padding. A medium-weight batting works best because it provides enough sturdiness without making the station bulky. The batting also protects your phone from scratches while charging.
Third, get matching thread. High-quality thread not only holds the station together securely but also enhances the overall look when used for topstitching. Consider using a thread color that complements or contrasts with your fabric design for added style.
Fourth, you’ll need basic quilting tools such as scissors, a rotary cutter, a ruler, and sewing pins. These make the cutting and assembly process easier and more precise. Having a cutting mat can also help keep fabric edges straight and clean.
Fifth, choose a phone charging station pattern. Since this is a free pattern project, you can create your own simple template or adapt an existing quilting block to fit your needs. The size should comfortably hold your phone and allow room for the charging cable.
Lastly, make sure you have a sewing machine that can handle multiple fabric layers. A walking foot attachment is also helpful when sewing through batting and fabric layers, ensuring even stitches without puckering.
Step-by-Step Guide to Sewing the Phone Charging Station Quilt
Now that you have your materials ready, it’s time to assemble your DIY phone charging station. Following a step-by-step approach ensures you achieve both style and functionality.
Start by cutting your chosen fabric into the necessary shapes. You will need a front panel, back panel, and pockets for holding the phone and cable. Make sure your cuts are precise, as clean edges help with accurate stitching later.
Next, cut the batting to match the size of your panels. Layer the batting between your front and back panels, creating the quilt sandwich. This structure will give your station stability and a soft, cushioned feel.
Pin or clip the layers together to keep them from shifting during sewing. At this stage, you can mark quilting lines using a washable fabric marker. Straight-line quilting is a simple option, but you can also experiment with decorative stitching for a unique look.
Sew along your marked lines to quilt the panels. This step secures the batting inside and gives the project its classic quilted texture. Take your time to ensure even stitches and smooth fabric movement.
Attach the pocket pieces to the front panel. These pockets will hold your phone and charging accessories. Reinforce the top edges of the pockets with a double seam to ensure they remain strong after repeated use.
Finally, bind the edges of the quilted station with bias tape for a neat, finished look. This step not only improves durability but also adds a professional touch to your DIY phone charging station free pattern quilt.
Design Ideas to Customize Your Charging Station
One of the best parts of making a DIY phone charging station is customizing the design. This is where creativity truly comes into play.
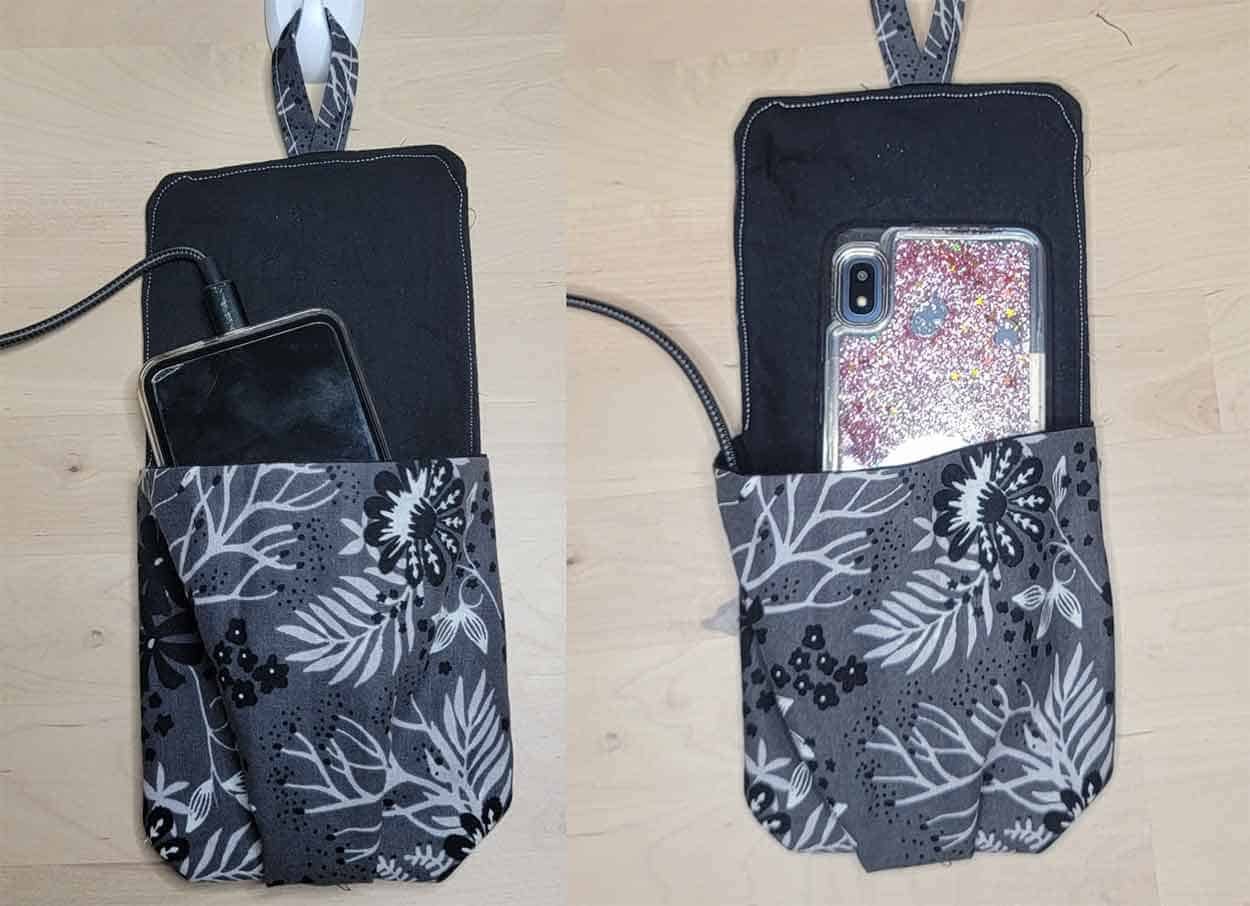
Consider using contrasting fabrics for the pockets and main panel. This makes the pockets stand out visually and adds a playful, stylish element to the project. You could also incorporate themed fabrics, such as floral prints for a cozy vibe or geometric patterns for a modern look.
Another idea is to add decorative quilting stitches in shapes like hearts, waves, or diamonds. This adds texture and personality to the project while showing off your quilting skills. Even simple straight lines can look stunning when arranged in creative patterns.
If you’re making this charging station for multiple devices, adjust the pattern to include larger or additional pockets. This is especially useful for families or shared spaces where more than one phone might need charging at the same time.
You can also add a loop or grommet at the top so the station can hang on a wall near an outlet. This is great for keeping surfaces clutter-free and adds an element of convenience.
For an eco-friendly twist, consider using fabric scraps or upcycled materials. Old jeans, leftover quilt blocks, or even repurposed home linens can make a charming and sustainable phone charging station.
Finally, personalize the project with embroidery or applique. Adding initials, small motifs, or decorative patches makes your charging station truly one of a kind and a perfect gift for friends or family.
Tips for Maintaining and Using Your Charging Station Quilt
Once your DIY phone charging station free pattern quilt is complete, proper care will keep it looking great and functioning well.
First, always keep it clean by spot cleaning with mild soap when needed. Since electronics are involved, avoid soaking the station or placing it in a washing machine.
Second, ensure the charging cable is neatly inserted into the pocket to prevent wear and tear on both the fabric and the cable. You might also consider using a short cable specifically for this station to keep things tidy.
Third, store the station in a dry area away from moisture. Prolonged exposure to dampness could damage the fabric and affect your phone’s safety.
Fourth, periodically check the seams and pockets. If you notice any loose stitches, repair them immediately to maintain the station’s durability and strength.
Fifth, if you hang the station, make sure it’s securely fastened to the wall or hook. This prevents accidents and ensures the quilt remains in good condition.
Lastly, refresh the look of your phone charging station by occasionally replacing the binding or adding new decorative stitches. This not only maintains its beauty but also keeps the project exciting over time.
FAQ – DIY Phone Charging Station Free Pattern Quilt
1. What is a phone charging station quilt?
A phone charging station quilt is a fabric-based organizer designed to hold your phone while it charges, often featuring pockets and padding for protection.
2. Can beginners make a DIY phone charging station?
Yes, this project is beginner-friendly as long as you can sew straight lines and follow basic quilting steps.
3. What fabrics work best for this project?
High-quality cotton works best due to its durability and ease of sewing. You can also use denim or upholstery fabric for added strength.
4. Can I wash my phone charging station quilt?
It’s best to spot clean it to protect both the fabric and the structure. Avoid soaking or machine washing.
5. How do I customize the size?
Simply adjust the pattern dimensions before cutting your fabric. Measure your phone and add extra space for pockets and seam allowances.
6. Is it safe to use while charging my phone?
Yes, as long as the fabric does not cover the phone’s ventilation areas and you use it in a dry environment.
Conclusion
Making your own DIY Phone Charging Station Free Pattern Quilt is a rewarding project that blends creativity, organization, and practicality. With the right materials, careful sewing, and a touch of personal flair, you can create a unique charging station that suits your style perfectly. From fabric choices to design details, every step offers an opportunity to express yourself while making something useful.
If you enjoyed this tutorial, I’d love to hear your honest opinion and suggestions for future projects. Share your thoughts and let’s keep inspiring each other to create beautiful, functional handmade pieces.

