If you’ve been looking for a fun, useful, and beginner-friendly project, this DIY Canvas Square Bag Tutorial is exactly what you need. Whether you’re just starting your journey with sewing or want to make a personalized gift, a canvas square bag is the perfect project. It’s stylish, practical, reusable, and surprisingly simple to make from scratch.
The best part about this tutorial is that you don’t need advanced sewing skills or expensive materials. With some canvas fabric, basic tools, and a bit of patience, you’ll end up with a charming handmade bag you’ll be proud to carry. Plus, crafting your own bag means you can fully customize the size, colors, and features to suit your style.
In this article, we’ll walk you through every step of creating your DIY Canvas Square Bag, from choosing the right fabric to the final stitch. You’ll learn tips that make sewing easier, how to create neat corners, and even how to add handles that are strong and comfortable. Get ready to turn plain canvas into something truly useful and beautiful.
Materials You’ll Need
To begin your DIY Canvas Square Bag, you’ll first want to gather all your materials. Choosing the right supplies makes a big difference in both the process and the final result.
You’ll need about half a meter of thick canvas fabric. Canvas is durable, washable, and ideal for tote bags. Make sure it’s not too stiff, or it may be hard to sew.
Next, gather a pair of sharp scissors, matching thread, sewing pins, a sewing machine (or a needle if sewing by hand), a fabric marker, and a measuring tape.
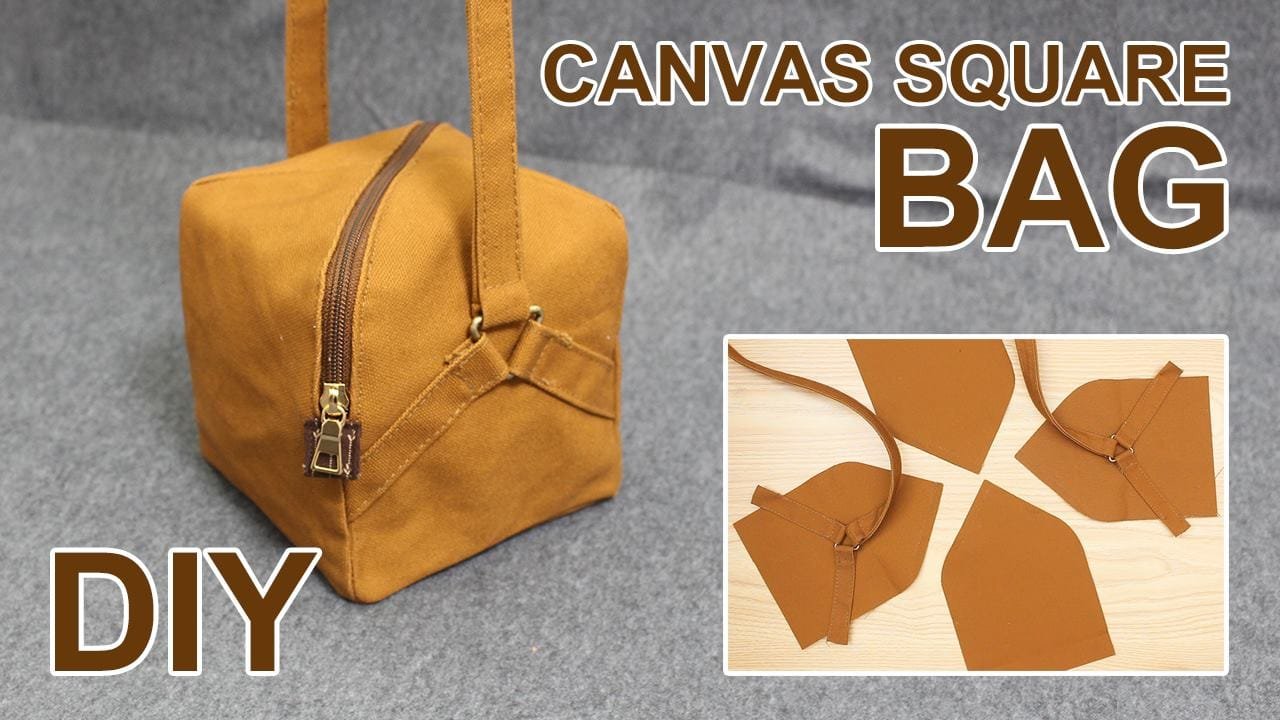
Handles are a key part of the bag. You can use canvas straps, cotton webbing, or even make handles from the same canvas fabric.
If you want your bag to have lining, choose a lightweight cotton fabric that complements your main canvas. This step is optional but adds a professional touch.
Other optional materials include interfacing for extra structure, magnetic buttons for closure, and decorative patches or embroidery to personalize your bag.
Once you’ve got everything ready, it’s time to move on to cutting your fabric and preparing to sew.
Cutting and Preparing the Fabric
Start by deciding the size of your DIY Canvas Square Bag. A classic size might be 14×14 inches (35×35 cm), which gives you a compact but roomy shape.
Cut two square pieces of canvas to your desired size. These will form the front and back of your bag. Cut them as evenly as possible for a clean finish.
If you’re adding a lining, cut two identical square pieces from the lining fabric. Label or stack them separately to avoid confusion.
To create a boxed bottom that gives your bag depth, you can mark and cut out small squares (around 2×2 inches) from the bottom corners of both canvas pieces.
Pin the two canvas pieces together, right sides facing. Do the same for the lining pieces if you’re using a lining.
Mark seam allowances on all sides, generally around ½ inch (1.25 cm). This will guide your stitching and keep everything uniform.
Before sewing, double-check all measurements and ensure your fabric edges are smooth. Good prep saves time later on.
Sewing the Bag Body
With your pieces prepared, it’s time to sew the main body of the DIY Canvas Square Bag. Start by sewing along the sides and bottom edges of the canvas pieces.
Make sure to backstitch at the beginning and end of each seam for extra strength. This is especially important since canvas bags are used to carry weight.
Next, if you cut out corners to box the bottom, pinch each bottom corner so the cut edges meet, forming a triangle. Sew across the raw edge to form the boxed base.
Repeat the same sewing steps for the lining, if you’re using one. But leave a 3-inch (7 cm) opening at the bottom of the lining for turning the bag right side out.
Once both the canvas and lining are sewn and boxed, turn the canvas right side out but leave the lining inside out.
Slide the canvas bag inside the lining so that the right sides are facing. Pin them together at the top edges, aligning the seams and corners.
Now sew around the top edge to connect the canvas and lining. This step brings everything together into one bag shape.
Adding Handles and Finishing Touches
Now that your DIY Canvas Square Bag is sewn, it’s time to add handles and put the finishing touches. The handles make your bag practical and portable.
Decide how long you want the handles to be. A common size is around 20 inches (50 cm) each, giving a comfortable shoulder or hand-carry length.
Pin each handle end to the top of the bag, spacing them evenly from the side seams—about 3 inches (7.5 cm) in is typical. Ensure they are not twisted.
Sew the handles onto the canvas, using a reinforced square or X-shape stitch to make them extra sturdy. Repeat for all handle ends.
If your bag includes a lining, reach through the opening in the lining’s bottom, pull the bag right side out, and gently shape the corners.
Sew the opening in the lining closed with a small, neat stitch—either by hand or machine.
For a final touch, topstitch around the entire top edge of the bag. This keeps the lining in place and gives your DIY Canvas Square Bag a polished, finished look.
Feel free to personalize your bag further with patches, embroidery, buttons, or fabric paint to truly make it one of a kind.
FAQ — DIY Canvas Square Bag Tutorial
1. Can I make a DIY Canvas Square Bag without a sewing machine?
Yes, you can! Hand-sewing takes longer but is totally doable. Use strong thread and tight backstitches for durability.
2. What is the best type of canvas for making a square bag?
Medium to heavy-weight cotton canvas is ideal. It offers structure without being too stiff to sew, especially for beginners.
3. How do I wash my handmade canvas bag?
Hand wash with mild detergent and air dry. If machine washing, turn the bag inside out and use a gentle cycle.
4. Can I make this bag in different sizes?
Absolutely. Just adjust the measurements of your squares and handles based on your needs. The method stays the same.
5. How can I make the bag more rigid?
Adding interfacing between the layers or choosing a heavier canvas can help the bag hold its shape better.
6. Is it necessary to line the bag?
Not at all. Lining adds a nice touch, but you can skip it if you prefer a quicker and simpler version.
7. Can I add pockets to this square canvas bag?
Yes! You can sew interior or exterior pockets before assembling the bag. Just be sure to plan their placement early.
8. How long does this project take from start to finish?
Beginners might take around 2–3 hours. With practice, it can be completed in under an hour.
9. Do I need to use a special needle for canvas?
A heavy-duty needle (like size 16/100) is best for sewing through canvas and multiple fabric layers.
10. Can I sell the bags I make using this tutorial?
Yes, you can sell your handmade bags! Just be sure to use your own designs and photos if you plan to promote them online.
Conclusion
Making your own DIY Canvas Square Bag is not only a fun project but also a rewarding one. You’ve learned how to select the right fabric, cut and prepare your pieces, sew the bag body, and finish it with strong handles and creative details. It’s a perfect way to personalize something useful while improving your sewing skills.
We hope this step-by-step guide made your journey enjoyable and easy to follow. If you tried this project, we’d love to hear from you! Leave a sincere opinion and share your suggestions so we can continue bringing helpful and inspiring tutorials your way.

