If you’re a quilter looking to explore a new and exciting pattern, our Curved Log Cabin Quilt Tutorial – Step-by-Step Guide for Quilters is just what you need. This guide will take you through every step of creating a stunning curved log cabin quilt, blending traditional techniques with a modern twist.
Whether you’re a seasoned quilter or just starting out, you’ll find valuable tips and tricks to help you master this intricate pattern. In this tutorial, we’ll cover everything from fabric selection to assembly, ensuring you have all the tools you need to create a beautiful quilt.
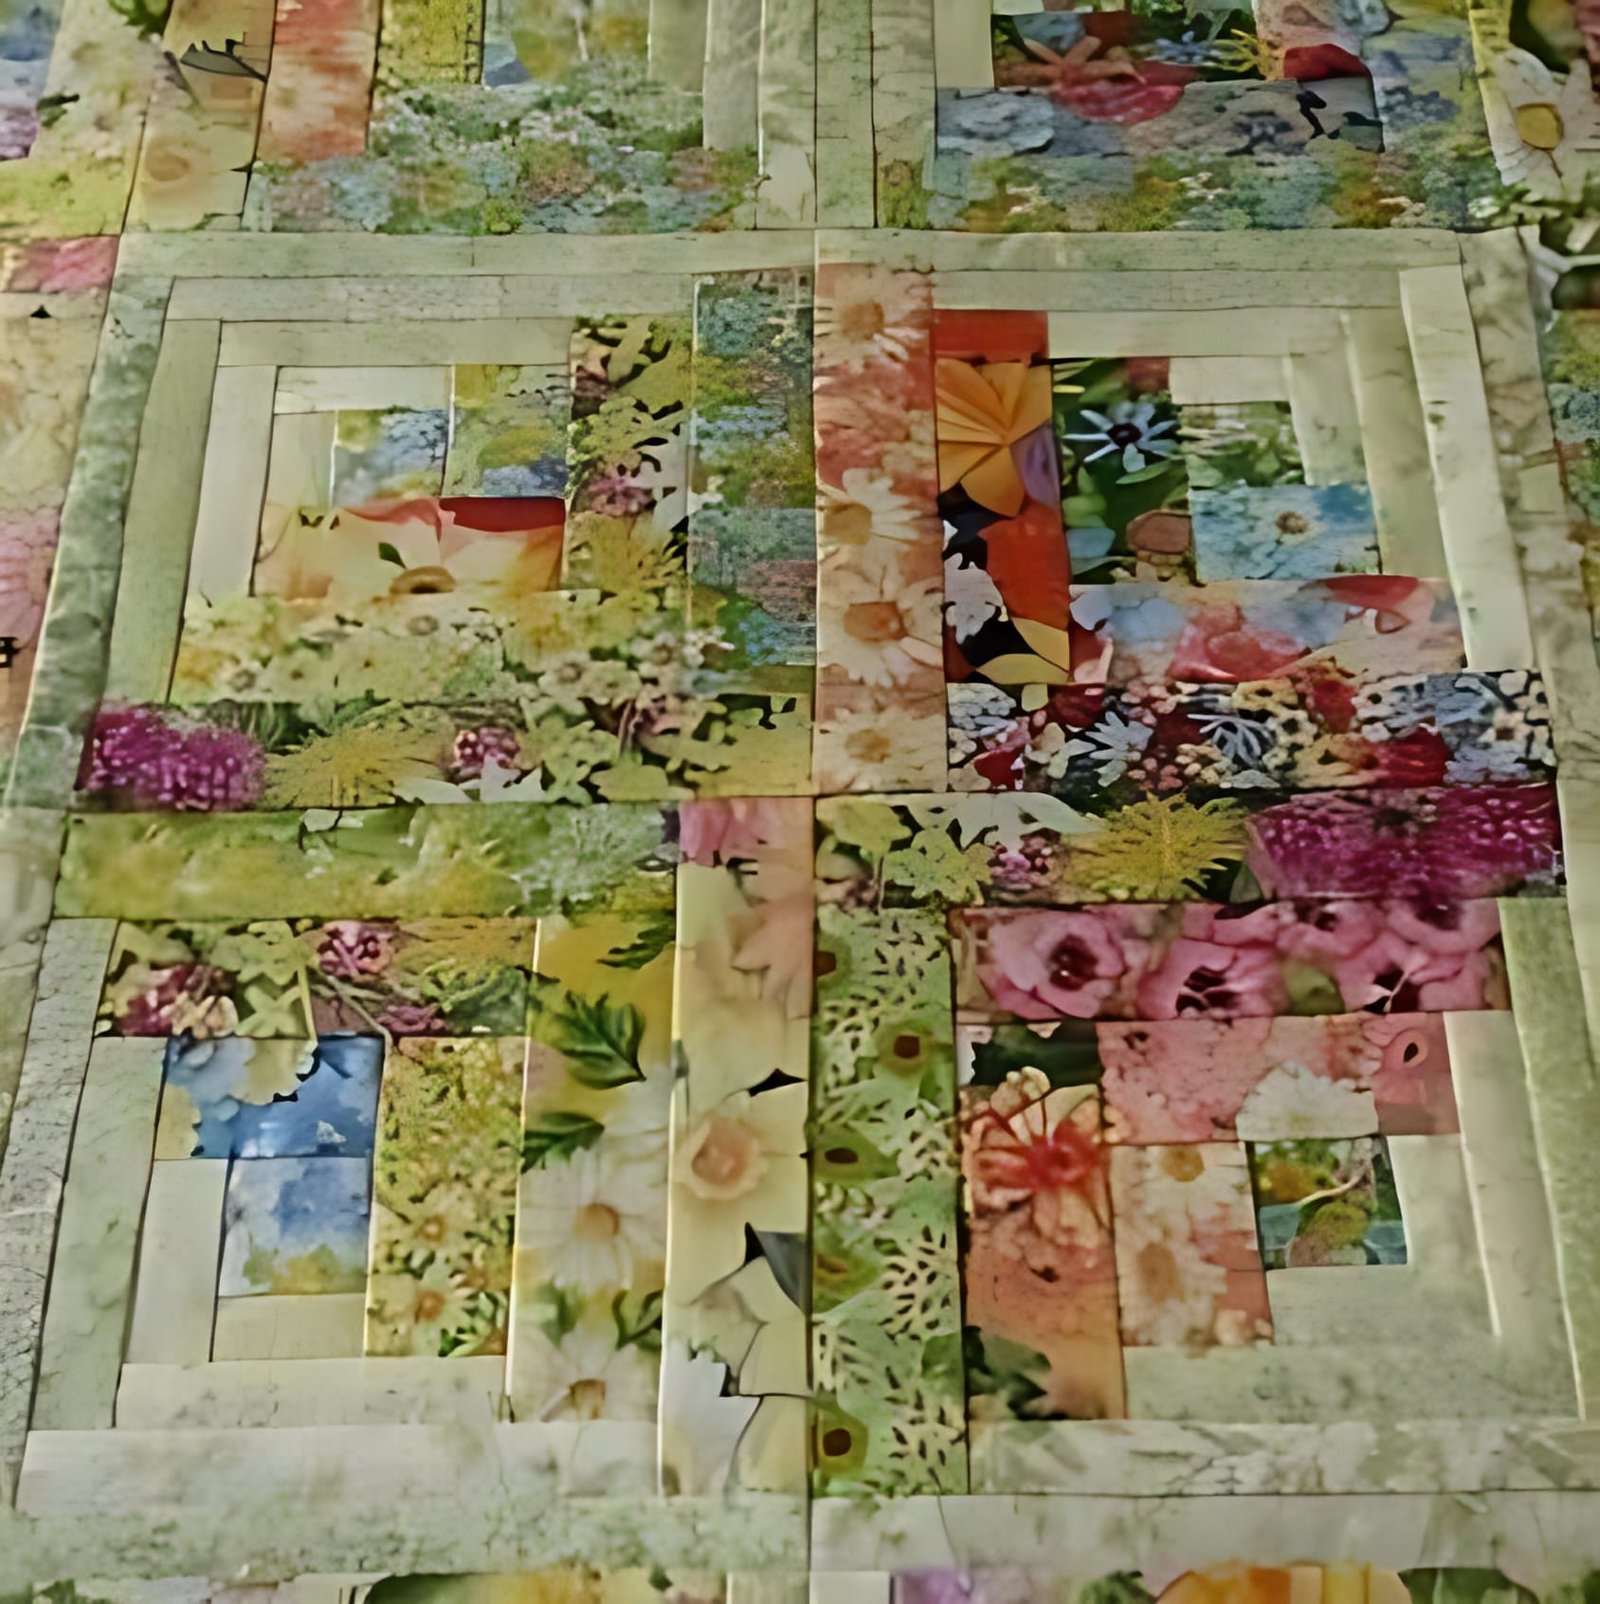
The curved log cabin quilt pattern is a delightful variation of the classic log cabin design. By incorporating curves, this pattern adds a unique and dynamic element to your quilt that is both eye-catching and sophisticated.
Understanding the steps involved in crafting this quilt is essential for achieving the best results. With this detailed tutorial, you’ll gain confidence in using curved piecing techniques and discover how to integrate them seamlessly into your quilting projects.
In the following sections, we will break down the process into manageable steps, providing clear instructions and helpful tips along the way. From choosing the right fabrics to mastering the curved piecing technique, this guide will equip you with everything you need to successfully complete your curved log cabin quilt. So, let’s dive in and start creating your beautiful quilt!
1. Fabric Selection for Your Curved Log Cabin Quilt
Choosing the right fabrics is crucial for the success of your curved log cabin quilt. Begin by selecting a color palette that resonates with your style and the overall theme you want to achieve. Opt for a mix of contrasting fabrics to make the curves stand out. Fabrics with varying patterns and textures can add depth and interest to your quilt.
Consider using high-quality cotton fabrics, as they provide the perfect balance of durability and ease of handling. Pre-cut fabric strips can save time, but make sure they are accurately cut to avoid issues during assembly. Additionally, it’s important to pre-wash your fabrics to prevent any shrinking that could distort the final product.
Think about the overall design and layout of your quilt when selecting fabrics. Lighter fabrics can create a more airy and spacious look, while darker fabrics can add richness and warmth. Experiment with different combinations to see what works best for your vision. Using fabric swatches or creating a small sample block can help you visualize how the fabrics will interact in the final quilt.
Lastly, ensure that you have enough fabric for your entire project. It’s better to have a little extra than to run short during the assembly process. Calculate your fabric needs based on the size of the quilt and the dimensions of your blocks.
2. Cutting and Preparing Your Fabric
Proper cutting and preparation of your fabric are key steps in ensuring the success of your curved log cabin quilt. Begin by accurately measuring and cutting your fabric pieces according to the pattern instructions. Use a rotary cutter, ruler, and cutting mat to achieve precise cuts and avoid any discrepancies in block sizes.
To create the curved effect, you’ll need to cut both straight and curved strips. Ensure that your curved cuts are smooth and even to avoid any puckering or misalignment during sewing. It’s helpful to use templates or pattern pieces to guide your cuts and maintain consistency.
Press your fabric pieces before assembly to remove any wrinkles and creases. Pressing the seams as you go will also help in achieving a neat and professional finish. Be mindful of the direction of your fabric grain, as this can impact the overall appearance and drape of your quilt.
Consider labeling your fabric pieces to keep track of different sections and prevent confusion during assembly. Organizing your fabric pieces into sets or groups based on the quilt layout can streamline the sewing process and make it more efficient.
3. Assembling the Curved Log Cabin Blocks
Assembling the blocks is where the magic of your curved log cabin quilt begins to take shape. Start by sewing the straight strips together to form the log cabin base. Use a quarter-inch seam allowance and ensure that each strip is sewn accurately to maintain the correct block size.
Once the base is assembled, it’s time to add the curved strips. Align the curves carefully and use pins or fabric clips to hold the pieces together. Sew slowly and steadily to navigate the curves smoothly, and use a walking foot or a ¼-inch foot for better control.
Press each seam as you go to keep the blocks flat and prevent any distortion. Pay attention to the direction of the curves and ensure that they flow seamlessly into the adjacent pieces. You may need to adjust the curves slightly as you sew to achieve a perfect fit.
As you complete each block, trim any excess fabric and square up the edges to maintain uniformity. Arrange your blocks according to your desired layout and check for any adjustments needed before joining them together.
4. Completing the Quilt Top and Final Assembly
With all your blocks assembled, it’s time to complete the quilt top and prepare for final assembly. Begin by joining the blocks together in rows, ensuring that the curves align properly for a cohesive design. Use a consistent seam allowance and press the seams in alternating directions to reduce bulk and enhance the quilt’s overall appearance.
After the rows are assembled, join them together to complete the quilt top. Take your time to match seams and ensure that the curves continue to flow smoothly across the entire quilt. Press all the seams thoroughly for a crisp and polished look.
Next, prepare your quilt sandwich by layering the quilt top with batting and backing fabric. Baste the layers together using pins, spray adhesive, or hand stitching to keep everything in place during quilting. Make sure the layers are smooth and free of wrinkles.
Finally, quilt your project according to your preferred method, whether it’s machine quilting, hand quilting, or a combination of techniques. Finish the quilt with your chosen binding, making sure to miter the corners and secure the edges neatly.
FAQ
Q: What is a curved log cabin quilt?
A: A curved log cabin quilt is a variation of the traditional log cabin quilt pattern that incorporates curved piecing instead of straight lines. This design adds a unique, flowing effect to the quilt, giving it a modern and dynamic appearance.
Q: What fabrics are best for a curved log cabin quilt?
A: High-quality cotton fabrics are ideal for curved log cabin quilts due to their durability and ease of handling. Use a mix of contrasting fabrics to highlight the curves and create visual interest. Pre-washed fabrics are recommended to prevent shrinking.
Q: How do I cut fabric for a curved log cabin quilt?
A: Accurate cutting is crucial for a curved log cabin quilt. Use a rotary cutter, ruler, and cutting mat to ensure precise cuts. Templates or pattern pieces can help guide your curved cuts. Press your fabric pieces before sewing to remove wrinkles.
Q: How do I sew curved seams?
A: To sew curved seams, align the fabric pieces carefully and use pins or fabric clips to hold them together. Sew slowly and steadily, using a walking foot or a ¼-inch foot for better control. Press each seam as you go to maintain a smooth curve.
Q: Can I use a sewing machine for quilting a curved log cabin quilt?
A: Yes, a sewing machine is suitable for quilting a curved log cabin quilt. You can use various techniques, such as machine quilting or free-motion quilting, to add texture and design. Ensure that your quilt layers are basted securely before quilting.
Q: How do I finish my curved log cabin quilt?
A: To finish your quilt, layer the quilt top with batting and backing fabric, then baste the layers together. Quilt your project using your preferred method, and complete the edges with binding. Miter the corners and secure the binding neatly for a polished finish.
Join our VIP broadcast list and gain access to exclusive patterns, all for free. As a VIP member, you’ll receive the best patterns daily, delivered directly to your device. ✨📱 It’s a unique opportunity to stay up-to-date with the latest trends and designs, curated just for you. Don’t miss out on enhancing your projects and discovering new inspirations with the best patterns every day! 🎨🔝
Conclusion
In this Curved Log Cabin Quilt Tutorial – Step-by-Step Guide for Quilters, we’ve walked through the essential steps to create a stunning quilt with a unique curved design. From selecting fabrics and cutting pieces to assembling blocks and finishing the quilt, each stage has been covered in detail to help you achieve a beautiful result.
We hope this guide has been helpful and inspires you to embark on your own quilting project. Please leave your honest opinion and any suggestions you may have. Your feedback is valuable and helps us continue to provide useful and engaging content for quilters of all skill levels.

