If you’re looking for a fresh, vibrant, and modern quilt design, you’ve come to the right place! The Beads Quilt by Karyla Parrish – Tutorial is perfect for quilters who want to create a striking piece that combines bold shapes and intricate patterns.
The beads pattern brings a dynamic look to your quilt, allowing you to experiment with a variety of color combinations and fabric textures. Whether you’re a beginner or an experienced quilter, this tutorial will guide you step-by-step through the process of making your own stunning Beads Quilt.
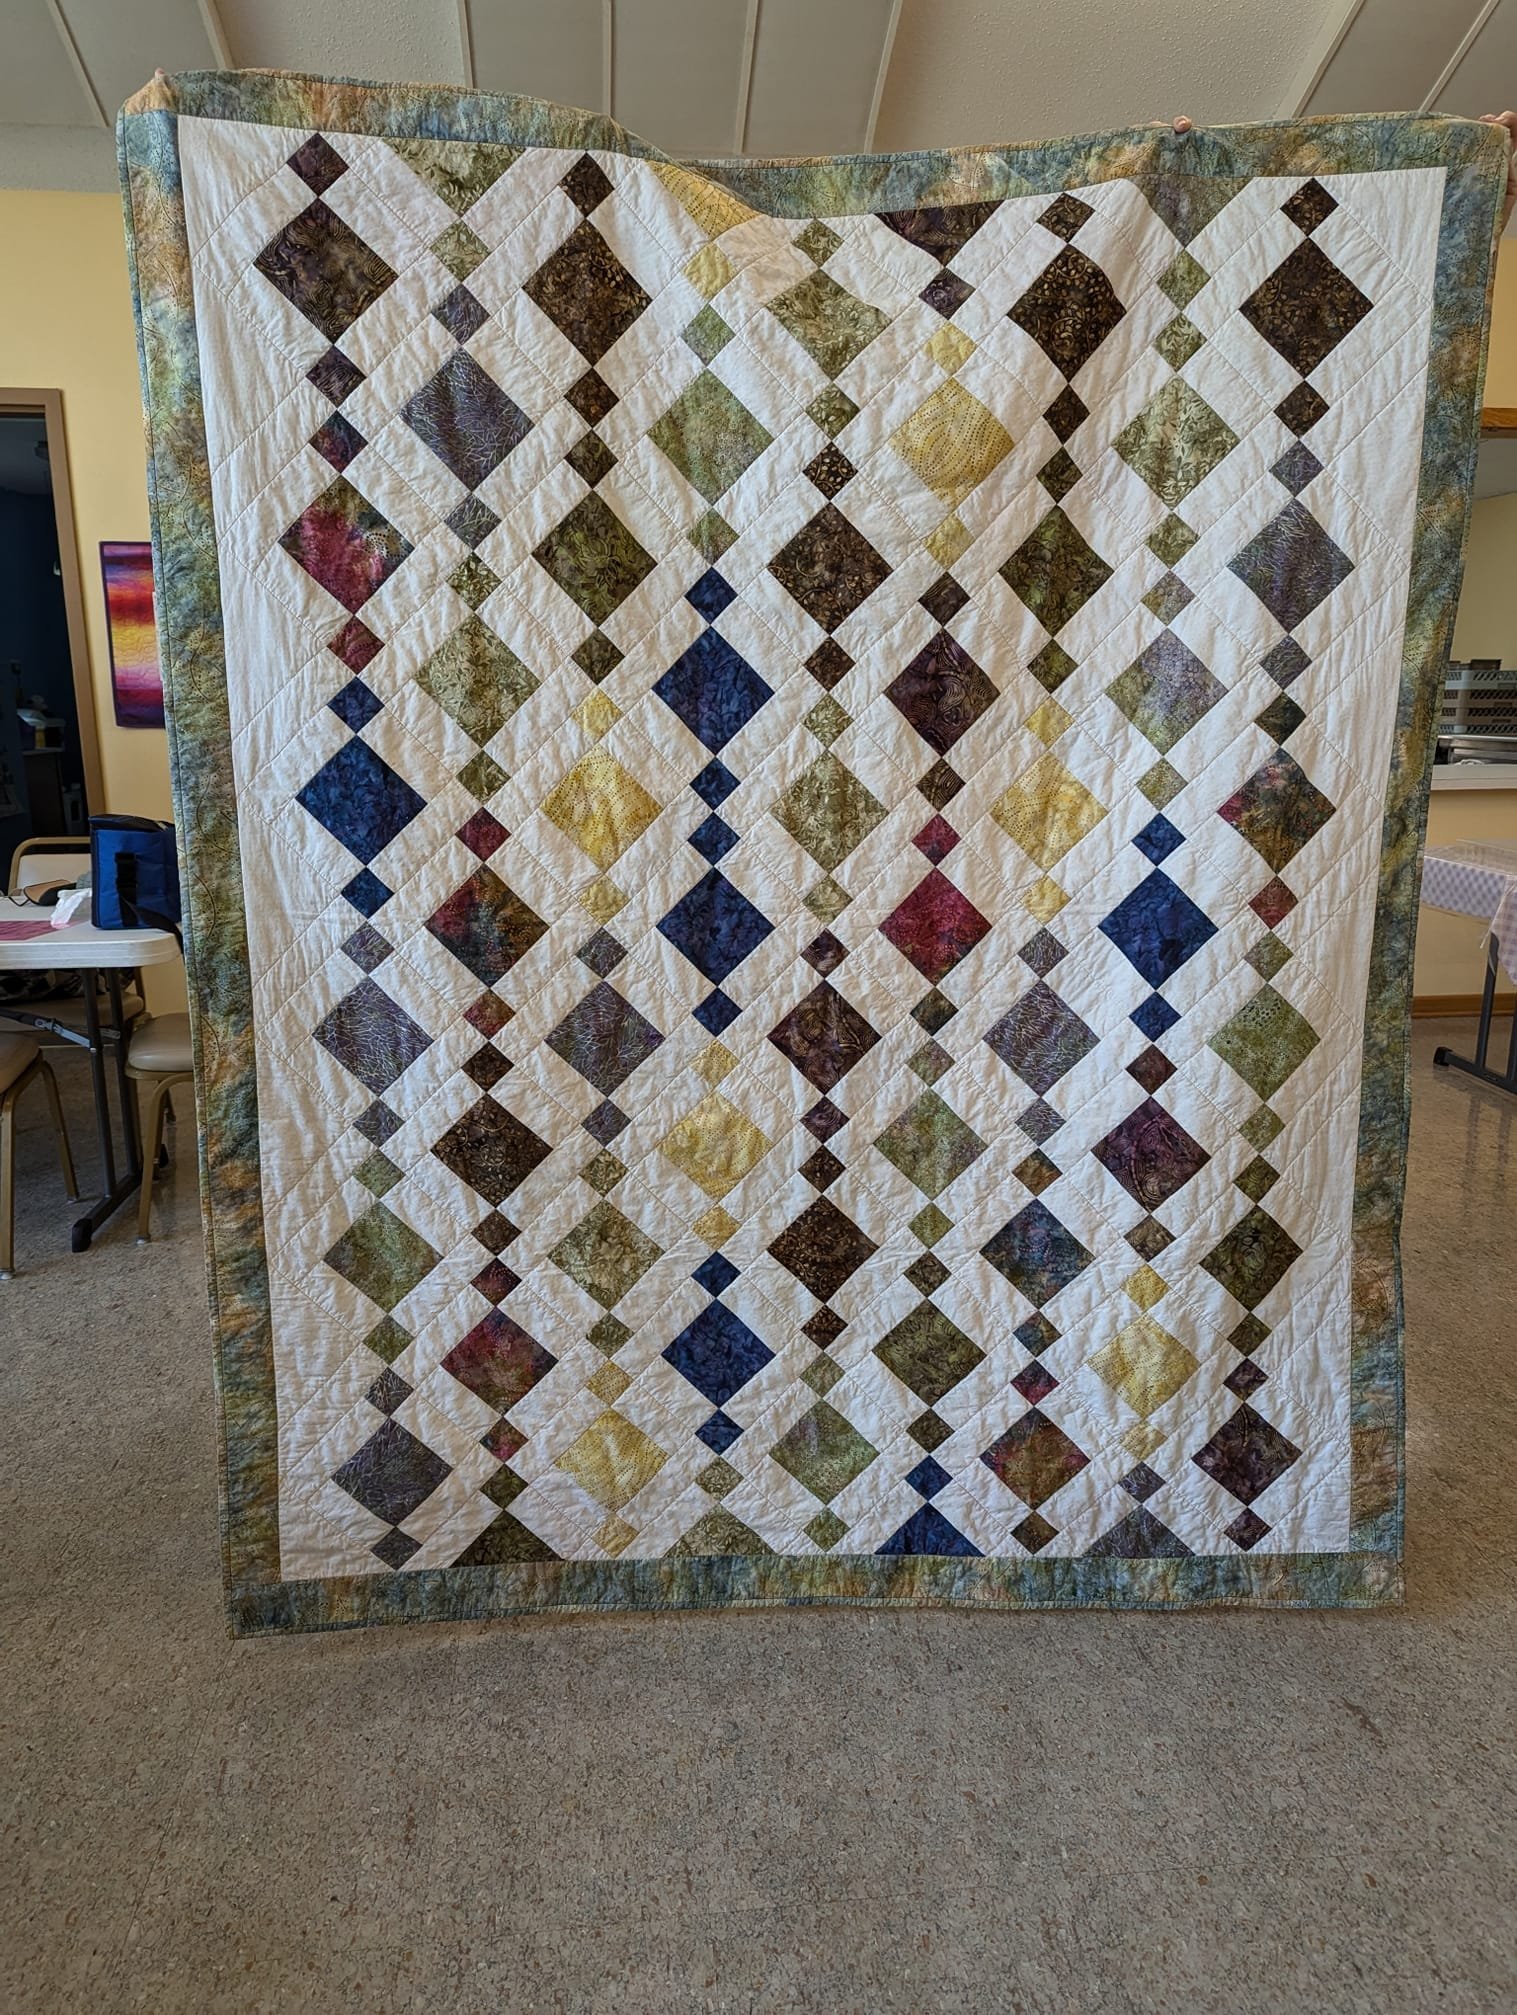
This quilt, designed by Karyla Parrish, is known for its unique arrangement of bead-like shapes. These rounded, almost gem-like patterns can be tailored to your personal style, whether you’re using bright, bold colors or subtle, soft tones.
The Beads Quilt is versatile and can be used for a variety of purposes—from a decorative throw to a cozy blanket for a loved one. In this tutorial, we’ll cover everything you need to know to make your own Beads Quilt, from fabric selection to piecing and final touches.
In this detailed guide, you’ll find instructions broken down into manageable steps to help ensure you feel confident and creative throughout the process. By the end of this tutorial, you’ll have a beautiful, finished Beads Quilt ready to be displayed, gifted, or snuggled under.
1. Choosing the Perfect Fabrics for Your Beads Quilt
The first step to creating the Beads Quilt by Karyla Parrish is selecting the right fabrics. Since this quilt features a pattern of rounded beads, the fabric choice will play a huge role in how the final product turns out. A wide range of fabric colors and textures can be used, from solids to prints, giving you endless creative possibilities.
When selecting fabrics, think about the overall look you want to achieve. For a modern, bold look, choose high-contrast colors, such as black and white, or jewel tones like emerald, ruby, and sapphire. If you prefer a softer, more traditional style, consider using pastels or neutral tones like creams and soft greys. You can also mix and match prints with solids to add variety and depth to the quilt.
Cotton fabrics are ideal for this project because they are easy to cut, sew, and quilt. Quilting cotton is readily available and comes in a huge range of colors and patterns, making it a perfect option for the Beads Quilt. Pre-cut fabric bundles, such as fat quarters, are a great choice because they often feature coordinating colors and prints, which can save time when selecting your palette.
Before cutting into your fabric, be sure to prewash it to avoid any shrinking after the quilt is finished. This step is especially important when using different fabric types or vibrant colors that could potentially bleed. Once washed and ironed, you’re ready to start cutting and piecing your quilt.
2. Cutting and Preparing the Quilt Pieces
With your fabric selections made, it’s time to start cutting your pieces for the Beads Quilt by Karyla Parrish. Precision is key in this step, as the beads pattern requires the pieces to fit together smoothly for a neat finish. Each “bead” is made up of several small shapes, including circles and connecting rectangles, which give the quilt its distinctive look.
Start by cutting your fabric into squares and rectangles according to the pattern instructions. The exact sizes will vary depending on the dimensions of your quilt, but typically, you’ll be working with a combination of large and small shapes. A rotary cutter, quilting ruler, and self-healing cutting mat are essential tools for ensuring your cuts are straight and accurate.
For the rounded bead shapes, you may want to use templates or special cutting tools designed for curves. Many quilters find that using acrylic templates makes the process much easier and more precise. Carefully cut out each piece and keep your cuts as consistent as possible. If you’re new to working with curves, don’t worry—this pattern is beginner-friendly, and with a little practice, you’ll get the hang of it in no time.
Once all your pieces are cut, organize them by color and size. This will make the piecing process go much more smoothly, especially if you’re working with a wide range of fabrics. Having everything sorted and ready to go will save you time and reduce any frustration while sewing.
3. Piecing the Beads Together
With your quilt pieces cut and organized, it’s time to start piecing them together to create the bead shapes. This is where the Beads Quilt by Karyla Parrish starts to come to life! Begin by taking two fabric squares for the bead sections and sew them together using a quarter-inch seam allowance. Press the seams open to ensure they lie flat and smooth.
Once the bead sections are assembled, sew the smaller rectangles between the beads to form rows. This gives the quilt its signature bead-like appearance, where each row of rounded shapes is connected by fabric “spacers.” Keep your seams straight and consistent for a clean look.
As you continue piecing the quilt, it’s important to check that everything is lining up properly. One of the key elements of this pattern is symmetry, so making sure your pieces fit together evenly will help your quilt look polished and professional. If you’re using multiple colors or prints, lay out your pieces on a design wall or large surface to see how the colors interact with each other. This will allow you to make adjustments before sewing everything together.
Take your time with this step, especially if you’re new to curved piecing. It may feel tricky at first, but with practice, you’ll become more comfortable sewing curves and creating the perfect bead shapes.
4. Quilting and Binding Your Beads Quilt
With the quilt top pieced together, it’s time to quilt and bind your Beads Quilt by Karyla Parrish. Quilting is what holds the layers of the quilt—top, batting, and backing—together. First, prepare your quilt sandwich by layering the quilt top, batting, and backing fabric. Use quilting pins or basting spray to hold the layers in place while you quilt.
When it comes to quilting, there are many different techniques you can use to add texture and dimension to your Beads Quilt. Straight-line quilting is a simple yet effective option, where you stitch along the seams of the quilt, creating clean, geometric lines. Alternatively, free-motion quilting allows for more creativity, letting you stitch swirls, loops, or other patterns to complement the rounded shapes of the beads.
Once your quilting is complete, trim any excess batting and backing fabric, and prepare to add the binding. Binding is the fabric strip that covers the raw edges of the quilt, giving it a finished, professional look. Cut your binding strips from one of the fabrics used in the quilt or choose a contrasting color for a bold statement. Sew the binding to the edges of the quilt, folding it over to the back and hand-stitching it in place.
After binding, give your quilt one final press and inspect it for any loose threads or areas that need touching up. Once you’re satisfied, your Beads Quilt is complete and ready to be displayed or gifted!
FAQ
Q1: What is the Beads Quilt by Karyla Parrish?
A: The Beads Quilt by Karyla Parrish is a modern quilt design featuring rounded, bead-like shapes connected by rectangular spacers, creating a striking and unique pattern.
Q2: What type of fabric should I use for the Beads Quilt?
A: Cotton fabrics are ideal for quilting due to their durability and wide range of colors and patterns. You can use solids, prints, or a mix of both to create a vibrant and dynamic quilt.
Q3: Is the Beads Quilt pattern suitable for beginners?
A: Yes! Although it includes curved piecing, the Beads Quilt by Karyla Parrish is beginner-friendly, and with practice, even new quilters can master the technique.
Q4: What quilting techniques work best for the Beads Quilt?
A: Straight-line quilting or free-motion quilting are both excellent options. Straight-line quilting adds clean, geometric lines, while free-motion quilting allows for more creativity in the design.
Q5: How do I care for my completed Beads Quilt?
A: Wash your quilt in cold water on a gentle cycle with mild detergent. Air drying or using a low heat setting in the dryer will help preserve the colors and fabric quality.
Q6: Can I use different sizes of beads in the pattern?
A: Absolutely! One of the great things about the Beads Quilt is its versatility. You can adjust the size of the bead shapes to suit your personal style or the intended use of the quilt.
Join our VIP broadcast list and gain access to exclusive patterns, all for free. As a VIP member, you’ll receive the best patterns daily, delivered directly to your device. ✨📱 It’s a unique opportunity to stay up-to-date with the latest trends and designs, curated just for you. Don’t miss out on enhancing your projects and discovering new inspirations with the best patterns every day! 🎨🔝
Conclusion
In this Beads Quilt by Karyla Parrish – Tutorial, we’ve covered everything from selecting the perfect fabrics to piecing, quilting, and finishing your quilt. This modern and versatile design offers endless opportunities for customization, allowing you to create a quilt that’s uniquely yours. Whether you’re a beginner or an experienced quilter, the Beads Quilt is a rewarding project that’s sure to impress.
We hope this tutorial has been helpful and inspires you to create your own Beads Quilt. Please feel free to leave your feedback or suggestions in the comments below. We’d love to hear about your experiences and see your finished quilts! Happy quilting!

