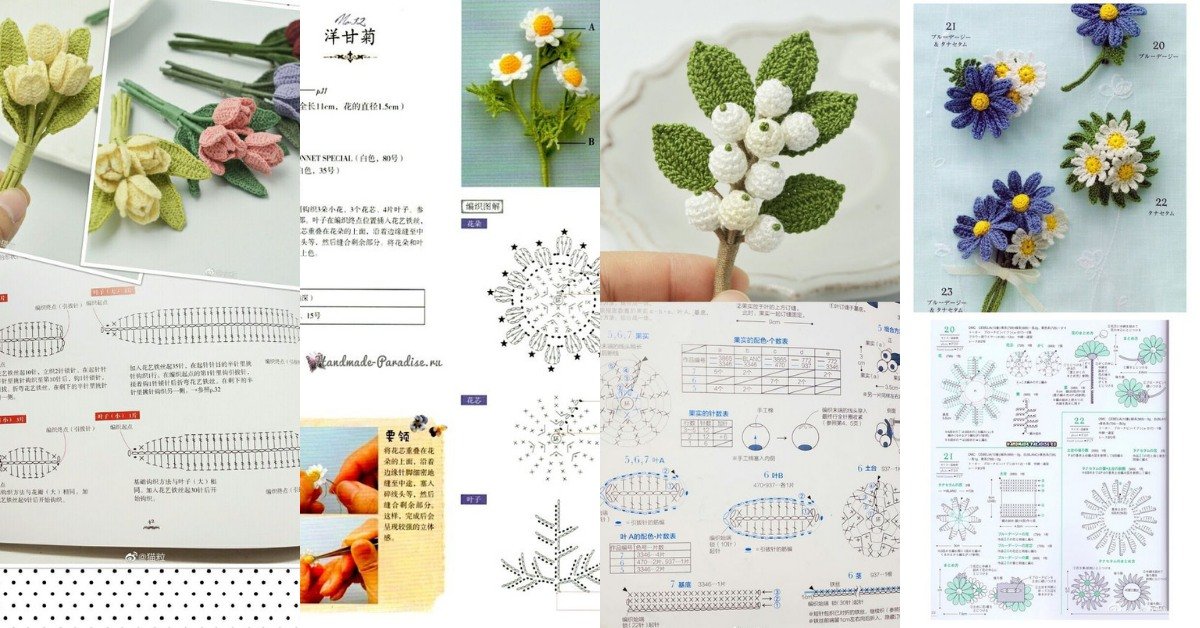
If you’re looking for a simple yet charming crochet project, this Mini Crochet Flowers Tutorial is perfect for you. Mini crochet flowers are not only quick and easy to make, but they also add a delicate touch to a variety of projects, from clothing embellishments to home decor.
Whether you’re a beginner or an experienced crocheter, you’ll find these mini flowers fun and versatile.
In this tutorial, we’ll guide you step-by-step through the process of making beautiful mini crochet flowers.
These flowers are ideal for decorating hats, scarves, bags, or even creating bouquets. You can make them in various colors and sizes, giving you the freedom to get creative and personalize each project.
As we walk through this mini crochet flowers tutorial, we’ll cover the tools and materials you’ll need, the basic stitches required, and how to assemble your flowers into a stunning arrangement. Let’s get started on this delightful crochet journey!
1. Materials and Tools for Mini Crochet Flowers
Before diving into the actual mini crochet flowers tutorial, it’s essential to gather all the materials and tools needed. Having everything prepared will make the process more enjoyable and efficient.
- Yarn: For mini crochet flowers, you’ll want to use lightweight or fine yarn, such as cotton or acrylic yarn. These types of yarn create small, delicate flowers that hold their shape well. Choose your favorite colors to add variety and vibrance to your flowers.
- Crochet Hook: Depending on the yarn weight, you’ll need a crochet hook that complements the yarn size. Typically, a 2.5mm to 3.5mm hook works well for mini crochet flowers.
- Scissors: Sharp scissors are essential for cutting your yarn cleanly after finishing each flower.
- Tapestry Needle: A tapestry needle is useful for weaving in loose ends and attaching the flowers to other projects.
- Stitch Markers: Optional but helpful, stitch markers can keep track of your rounds, especially if you’re new to crocheting.
- Blocking Mat (Optional): To give your flowers a polished look, you can block them on a mat to help them hold their shape.
Once you have all your materials ready, you can move on to the next step and start crocheting your mini flowers!
2. Basic Stitches Used in Mini Crochet Flowers
In this mini crochet flowers tutorial, you’ll be using some basic crochet stitches. These stitches are beginner-friendly, and once you master them, you can create a variety of mini flower designs.
- Chain (ch): The chain stitch is the foundation for most crochet projects. It creates a series of loops that form the base for your mini flower.
- Slip Stitch (sl st): The slip stitch is used to join the rounds and move between stitches without adding height. It helps keep the shape of your flower tight and neat.
- Single Crochet (sc): This basic stitch forms the petals and center of your mini crochet flowers. It’s quick to learn and gives your flower a structured look.
- Double Crochet (dc): The double crochet stitch is taller than the single crochet and is often used to create the petals of the flower. It adds texture and dimension to your project.
- Treble Crochet (tr): For larger flowers or more pronounced petals, you can use the treble crochet stitch. It creates an elongated stitch, perfect for more elaborate designs.
- Magic Ring: The magic ring, or magic circle, is used to start your flower in the round. It allows you to pull the center of the flower tight, giving it a neat, finished look.
With these basic stitches in hand, you’re ready to begin the mini crochet flowers tutorial and create your own tiny blooms.
3. Step-by-Step Guide to Crocheting Mini Flowers
Now that we’ve covered the basics, let’s dive into the step-by-step instructions for creating mini crochet flowers. This section of the tutorial will guide you through the entire process, from starting the first round to finishing your flower.
- Step 1: Create a Magic Ring: Begin by forming a magic ring with your yarn. This will serve as the center of your flower. Pull the loop tight after creating your first chain.
- Step 2: Work Into the Magic Ring: Once your magic ring is ready, crochet a series of single or double crochets into the ring, depending on the size and style of flower you want. For a basic flower, 5 to 6 stitches will suffice.
- Step 3: Close the Round: After crocheting your stitches into the magic ring, pull the loose end of the yarn to tighten the ring. Use a slip stitch to close the round, forming the base of your flower.
- Step 4: Crochet the Petals: To create the petals, chain a few stitches and work double or treble crochet stitches into the same stitch. Repeat this process around the center until you have a complete circle of petals.
- Step 5: Finish the Flower: Once your petals are complete, use a slip stitch to join the last petal to the base. Cut your yarn, leaving a small tail, and weave in the loose ends with a tapestry needle.
- Step 6: Shape the Flower: If necessary, block your flower by dampening it and pinning it to a mat. This will help the petals maintain their shape and give the flower a professional look.
Following these simple steps, you can make a variety of mini crochet flowers in different sizes and colors.
4. Creative Uses for Mini Crochet Flowers
After mastering this mini crochet flowers tutorial, the next step is to think about how to use your adorable little creations. These versatile flowers can be incorporated into various projects and crafts.
- Hair Accessories: Attach your mini flowers to hairpins, headbands, or hair ties to create cute and stylish accessories for any occasion. These flowers add a whimsical touch to both casual and formal hairstyles.
- Clothing Embellishments: Add your mini flowers to the edges of scarves, hats, or gloves to elevate your wardrobe. They can be sewn onto sweaters, bags, or even shoes to give them a unique, handmade flair.
- Home Decor: Create garlands, wreaths, or floral wall art using your crochet flowers. String them together or arrange them in decorative patterns to brighten up any space in your home.
- Gift Wrapping: Add a special handmade touch to gift wrapping by attaching a mini flower to a ribbon or bow. This adds a personal and thoughtful element to your gifts.
- Jewelry: Turn your mini crochet flowers into necklaces, bracelets, or brooches. These accessories are perfect for adding a pop of color to your outfits.
- Bouquets: Gather a handful of mini flowers and arrange them into a crochet bouquet. These everlasting blooms make for a beautiful and thoughtful gift for special occasions.
The possibilities are endless when it comes to using mini crochet flowers in creative projects. Their versatility makes them perfect for any occasion!
FAQ: Frequently Asked Questions About Mini Crochet Flowers
1. What type of yarn is best for making mini crochet flowers?
Lightweight yarn, such as cotton or fine acrylic yarn, works best for mini crochet flowers. It creates small, delicate stitches that hold their shape well.
2. How long does it take to crochet a mini flower?
Most mini crochet flowers can be completed in just 15 to 30 minutes, depending on your skill level and the complexity of the pattern.
3. Can I use different stitches to create unique flowers?
Yes! You can experiment with different crochet stitches, such as half double crochet or treble crochet, to create varied textures and designs for your flowers.
4. How do I attach mini crochet flowers to other projects?
You can sew the flowers onto clothing, accessories, or home decor items using a tapestry needle and matching thread. You can also attach them with fabric glue for a quicker option.
5. Can I make mini crochet flowers in different sizes?
Absolutely! By adjusting the yarn weight, hook size, and number of stitches, you can create mini crochet flowers in various sizes to suit your project.
6. What can I do if my crochet flower is not holding its shape?
If your flower is too loose or floppy, try using a smaller crochet hook or blocking the flower. Blocking involves dampening the flower and pinning it to a mat to dry, helping it maintain its shape.
Join our VIP broadcast list and gain access to exclusive patterns, all for free. As a VIP member, you’ll receive the best patterns daily, delivered directly to your device. ✨📱 It’s a unique opportunity to stay up-to-date with the latest trends and designs, curated just for you. Don’t miss out on enhancing your projects and discovering new inspirations with the best patterns every day! 🎨🔝
Conclusion
In this Mini Crochet Flowers Tutorial, we’ve covered everything you need to know to create beautiful and versatile crochet flowers. From gathering materials and learning basic stitches to exploring creative uses, you now have the tools to make your own mini flowers. These quick and easy projects are perfect for adding a touch of handmade charm to any craft or gift.
We hope this tutorial has inspired you to create your own unique crochet flowers. We’d love to hear your feedback and suggestions, so feel free to leave a comment below with your thoughts. Happy crocheting!

