How to Make a Little Duck Crochet Pattern is a delightful and creative journey that combines relaxation, craftsmanship, and the joy of handmade art. Whether you are just starting in the world of crochet or already have experience creating amigurumi projects, learning how to make a little duck crochet pattern can open the door to endless possibilities.
This charming project is perfect for gifts, nursery décor, or even selling handmade items online. By understanding the basic techniques and following a clear structure, anyone can bring a soft, adorable duck to life using yarn and a crochet hook.
When you decide to learn how to make a little duck crochet pattern, you are not just creating a toy — you are developing valuable skills such as pattern reading, stitch consistency, and shaping techniques.
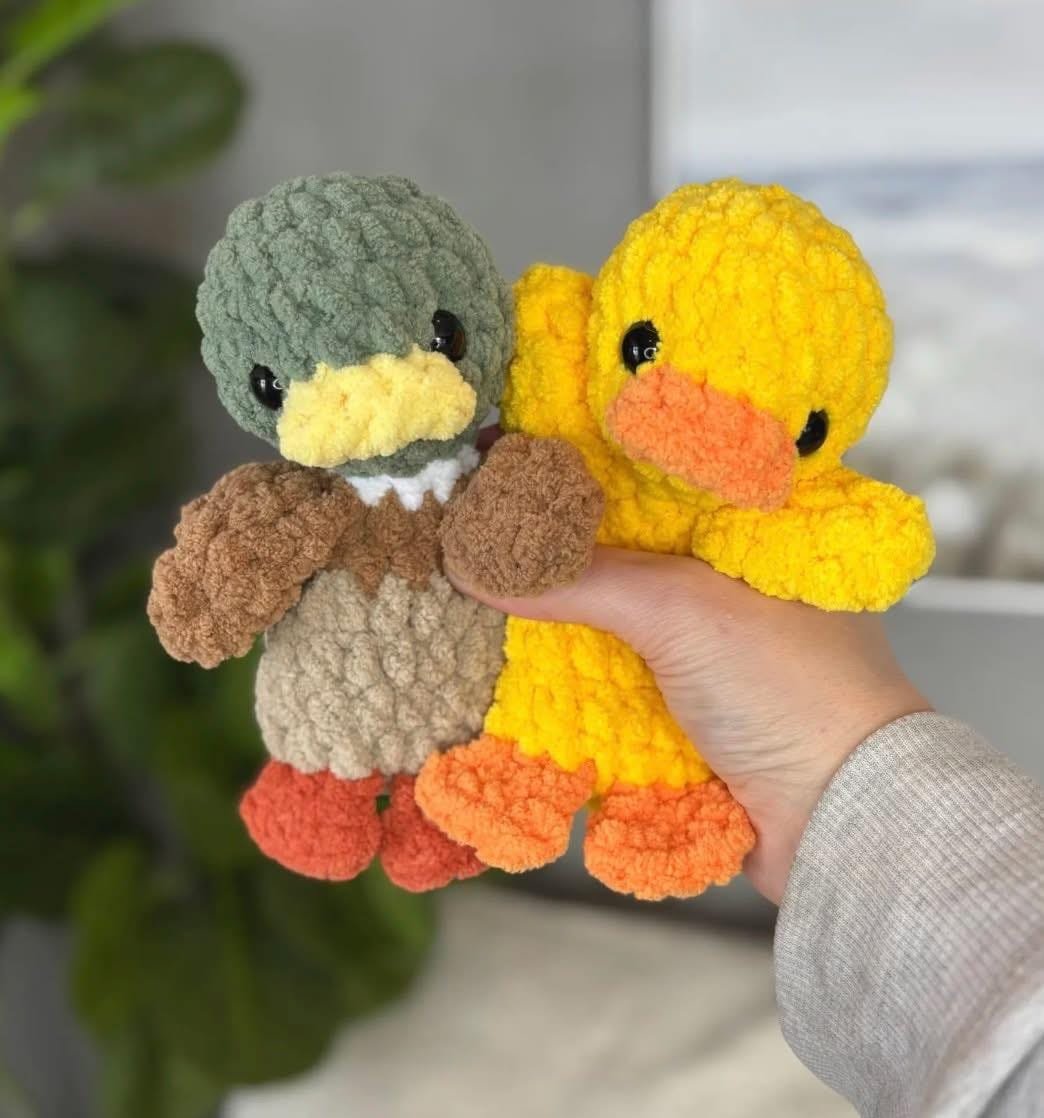
Another reason why so many crafters search for little duck crochet pattern tutorials is the versatility of the design. You can customize colors, adjust sizes, and experiment with different yarn textures. From soft pastel ducklings to bright yellow cartoon-style ducks, the possibilities are endless.
In this complete guide, you will learn step-by-step instructions, essential materials, beginner-friendly techniques, and expert tips to ensure your duck turns out beautifully every time.
Materials Needed to Make a Little Duck Crochet Pattern
Before starting how to make a little duck crochet pattern, gathering the right materials is essential. Having everything prepared in advance makes the process smoother and more enjoyable. The good news is that this project requires only basic crochet supplies, making it accessible for beginners.
First, you will need yarn. For a classic duck look, soft yellow yarn works best for the body. Orange yarn is typically used for the beak and feet. Cotton yarn or acrylic yarn are both excellent options, depending on the texture you prefer. Choosing medium-weight yarn helps maintain structure while keeping the duck soft and squeezable.
Next, select the appropriate crochet hook. The hook size depends on your yarn choice, but most little duck crochet patterns recommend a hook slightly smaller than usual to create tight stitches. Tight stitches prevent stuffing from showing through and give the duck a clean, polished appearance.
You will also need polyester fiberfill stuffing. This material gives your duck its shape and volume. Be sure to stuff evenly to avoid lumps or uneven areas. Proper stuffing is one of the most important details when learning how to make a little duck crochet pattern successfully.
Safety eyes or embroidery thread are used for the facial features. Safety eyes provide a professional finish, while embroidered eyes are a safer alternative if the duck is intended for babies or small children. Always prioritize safety depending on the project’s purpose.
Finally, keep scissors, a yarn needle, and stitch markers nearby. Stitch markers are especially helpful when working in continuous rounds, which is common in amigurumi patterns like this one. With these materials ready, you are fully prepared to begin creating your adorable crochet duck.
Step-by-Step Instructions for the Little Duck Crochet Pattern
Understanding the structure of how to make a little duck crochet pattern is key to achieving a well-shaped final result. Most amigurumi ducks are made by crocheting separate parts and assembling them at the end. This typically includes the body, head (often combined with the body), wings, beak, and feet.
The process usually starts with a magic ring. The magic ring technique allows you to begin crocheting in a tight circle without leaving a hole in the center. This is essential for small toys because it creates a clean and professional look.
After forming the base, you will increase stitches gradually to shape the round body. Increasing evenly ensures symmetry. As you move upward, you will crochet several rounds without increasing to build height and maintain the duck’s rounded structure.
Once the body reaches the desired size, you will begin decreasing stitches to close the top. Before sealing completely, insert the stuffing gradually. Add small amounts at a time, shaping the duck as you go to maintain a balanced, round appearance.
The wings are typically crocheted separately in smaller oval shapes. They are lightly stuffed or sometimes left flat, depending on the style you prefer. Attach them symmetrically on both sides of the body using a yarn needle.
The beak and feet are usually created with orange yarn in small rounds or simple shapes. Carefully sew them into position, ensuring alignment with the eyes. This final assembly stage truly brings your little duck crochet pattern to life.
Tips for Perfecting Your Little Duck Crochet Pattern
Even if you understand the basics of how to make a little duck crochet pattern, a few expert tips can elevate your project from good to outstanding. Small adjustments often make a significant difference in the final appearance.
One of the most important tips is maintaining consistent tension. Uneven tension can cause the duck to look lopsided or create visible gaps between stitches. Practice maintaining steady hand pressure for smoother results.
Counting stitches carefully is another crucial habit. Losing track can distort the shape. Using a stitch marker at the beginning of each round helps you stay organized and prevents mistakes that may require unraveling your work.
When stuffing the duck, avoid overfilling. While it may be tempting to make it extra firm, too much stuffing stretches stitches and reveals the filling. Aim for a soft yet structured feel that holds its shape without bulging.
If you want to add personality, experiment with facial expressions. Slightly adjusting eye placement can create different emotions, from playful to sleepy. Small embroidered eyelashes or blush details can enhance the charm without complicating the design.
Color changes should be done neatly to maintain clean lines. When switching from yellow to orange yarn, complete the final yarn-over of the stitch with the new color. This technique keeps transitions smooth and professional.
Finally, always weave in ends securely. Loose ends can unravel over time. A carefully finished duck ensures durability, especially if it will be handled frequently or gifted to a child.
Creative Variations of the Little Duck Crochet Pattern
Once you master how to make a little duck crochet pattern, you can explore creative variations to personalize your projects. Customization adds uniqueness and can even turn your hobby into a small business opportunity.
A popular variation is creating pastel-colored ducks for nursery décor. Soft pink, mint green, or baby blue ducks make adorable baby shower gifts and decorative items. These color variations maintain the same pattern while offering fresh visual appeal.
Miniature ducks can be transformed into keychains or bag charms. Simply reduce the number of rounds and use thinner yarn. Adding a small metal keyring attachment turns your crochet duck into a portable accessory.
Another creative idea is adding accessories. Tiny crochet hats, scarves, or bows can give your duck a seasonal theme. For example, a red scarf creates a winter duck, while a small sun hat gives it a summer vibe.
You can also create a duck family set in various sizes. Larger ducks for parents and smaller ones for ducklings make a charming display. This concept is particularly popular for home decoration or handmade gift collections.
Texture variations can also make a difference. Using plush or velvet yarn results in a softer, fluffier duck, while cotton yarn gives a more defined stitch pattern. Experimenting with materials allows you to refine your preferred style.
Finally, consider incorporating sound elements like a soft rattle insert inside the stuffing for baby toys. Just ensure all components are securely enclosed to maintain safety standards.
FAQ About How to Make a Little Duck Crochet Pattern
What skill level is required to make a little duck crochet pattern?
Most little duck crochet patterns are beginner-friendly. Basic knowledge of single crochet, increasing, and decreasing stitches is usually enough to complete the project successfully.
How long does it take to complete one duck?
Depending on your experience, it can take between two to five hours. Beginners may take longer, but practice significantly speeds up the process.
What type of yarn is best for amigurumi ducks?
Medium-weight cotton or acrylic yarn works best because it maintains structure while remaining soft. Plush yarn can also be used for a fluffier appearance.
Can I wash a crochet duck?
Yes, but hand washing is recommended to preserve shape. If using safety eyes, avoid high heat during drying to prevent damage.
Is it safe for babies?
If intended for babies, avoid plastic safety eyes and use embroidered features instead. Ensure all parts are securely stitched to prevent loose pieces.
Can I sell ducks made from this pattern?
In most cases, you can sell finished products made from publicly shared patterns, but always check the pattern creator’s specific terms of use.
Conclusion
Learning how to make a little duck crochet pattern is both rewarding and practical. Throughout this guide, we explored the essential materials, step-by-step instructions, expert tips, and creative variations that help you craft a beautiful handmade duck. By focusing on consistent tension, careful shaping, and thoughtful assembly, you can create a professional-quality crochet project even as a beginner.
This charming little duck is more than just yarn and stitches — it represents creativity, patience, and personal expression. With practice, you can refine your technique, experiment with new designs, and even turn your crochet passion into a meaningful side project.
VIDEO TUTORIAL
If you found this guide helpful, feel free to share your honest opinion and suggestions. Your feedback is valuable and helps improve future crochet tutorials. What variation of the little duck crochet pattern will you try first?

