How to Make a Capybara Crochet Carpet Pattern is the perfect guide for crafters who love creating playful, cozy, and eye-catching handmade décor.
If you are passionate about crochet home décor, adorable animal designs, and statement pieces that instantly transform a room, this project will quickly become one of your favorites.
A Capybara Crochet Carpet Pattern combines creativity, functionality, and charm in a way that feels both modern and heartwarming.
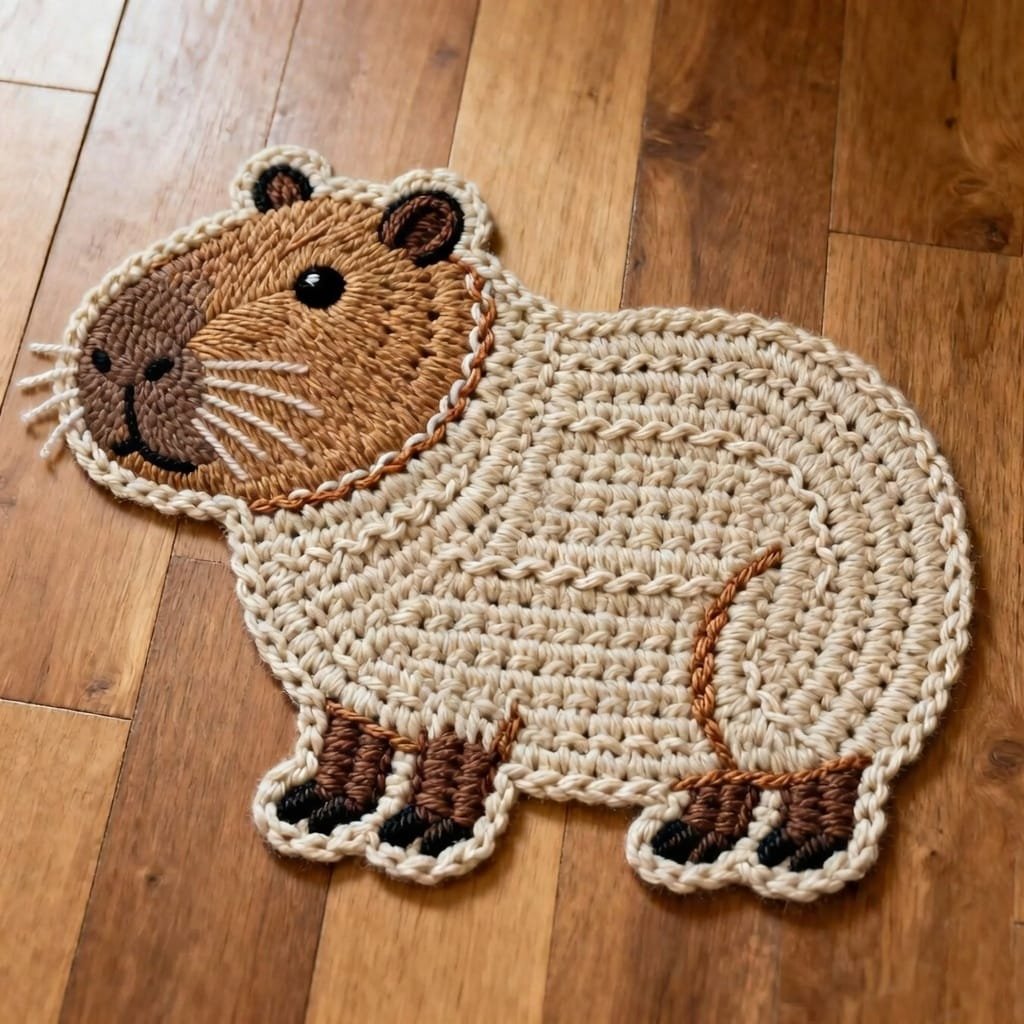
This delightful crochet carpet pattern is ideal for nurseries, kids’ rooms, play areas, or even as a whimsical accent in a living room. The friendly capybara shape brings personality and warmth into any space, making it more than just a rug — it becomes a decorative focal point.
With the right yarn choice and thoughtful finishing, the final piece can be soft underfoot while remaining durable and practical.
In this complete guide on How to Make a Capybara Crochet Carpet Pattern, you’ll learn about materials, techniques, shaping methods, customization ideas, and finishing touches. Whether you’re an intermediate crocheter looking for a fun challenge or a confident beginner ready to try shaped rugs, this tutorial will walk you through the creative process in a structured and inspiring way.
Materials and Tools for Your Capybara Crochet Carpet Pattern
Choosing the right materials is essential when learning How to Make a Capybara Crochet Carpet Pattern. Since this is a carpet project, durability and structure are key factors. Thick yarns such as bulky cotton, t-shirt yarn, or super bulky acrylic blends work especially well because they create a sturdy yet soft base.
For hooks, you will typically use a larger crochet hook that matches your yarn weight. A size between 6.0 mm and 10.0 mm is common for rug-style crochet projects. The larger hook allows the stitches to remain flexible while keeping the fabric dense enough to function as a carpet.
You will also need stitch markers to help maintain symmetry, especially when shaping the capybara’s head and body. Because this project involves curved shaping, markers make it easier to keep track of increases and decreases. A yarn needle will be necessary for weaving in ends and attaching decorative pieces such as ears and facial features.
Non-slip backing is optional but highly recommended for safety. You can sew a fabric anti-slip layer onto the back or apply a specialized rug backing solution. This step is particularly important if the rug will be placed on tile or wooden floors.
Finally, consider adding safety eyes or crocheted eyes depending on where the rug will be used. For children’s rooms, crocheted eyes are the safest option. Embroidery thread is also useful for adding facial details and enhancing the adorable expression of your capybara.
Understanding the Structure and Shaping
When exploring How to Make a Capybara Crochet Carpet Pattern, understanding the structure is crucial. Unlike traditional rectangular rugs, this pattern is shaped to resemble a capybara’s body, which means you will be working in both rounds and rows.
The base typically starts with an oval foundation. You can create this by crocheting a chain and working around both sides of the chain to form a smooth oval shape. This oval forms the capybara’s body and must remain symmetrical for the design to look balanced.
As the body expands, you will use consistent increases along the curved ends to maintain the oval shape. Keeping your stitch tension even is extremely important in rug projects. Tight stitches may cause curling, while loose stitches may reduce durability.
The head section is often slightly raised or shaped through additional rows attached to one side of the oval. Some designs build the head directly into the body, while others create it separately and sew it on. Both methods are effective, depending on your comfort level.
Ears, snout details, and small legs are typically crocheted separately and attached at the end. This layering technique adds dimension and gives the Capybara Crochet Carpet Pattern its charming personality. Proper placement is key to ensuring the proportions look natural and cute.
Step-by-Step Construction Overview
To begin How to Make a Capybara Crochet Carpet Pattern, start by creating your oval base using foundation chains and working in continuous rounds. Maintain consistent stitch counting to ensure both sides remain symmetrical. Use stitch markers at the beginning of each round to track your progress.
Continue expanding the oval until it reaches your desired carpet size. A small version might measure 60–70 cm in length, while a larger statement piece can exceed 100 cm. The size depends entirely on your available space and yarn quantity.
Once the base is complete, focus on shaping the head. If building it directly into the body, increase stitches gradually on one end to form a rounded extension. If working separately, crochet a smaller oval or circle and attach it securely with reinforced stitching.
The ears are usually small semicircles or rounded shapes made with a few rows of single crochet. Keep them slightly firm so they maintain their upright position. Attach them symmetrically on top of the head.
For the face, use embroidery techniques to create eyes, nostrils, and a gentle smile. Keep the expression soft and minimalistic. Too many details can overwhelm the design, while subtle embroidery enhances its charm.
Finally, add any optional elements such as a textured border around the rug. A crab stitch or reverse single crochet edging gives the carpet a professional, polished finish while reinforcing the outer edges.
Customization and Creative Variations
One of the most exciting aspects of learning How to Make a Capybara Crochet Carpet Pattern is the ability to customize it. While natural brown tones reflect a realistic capybara, you can experiment with pastel colors for nursery décor or bold modern shades for contemporary interiors.
Adding textured stitches such as half double crochet variations can give the body subtle fur-like depth. You might also incorporate a fluffy yarn strand held together with your main yarn for a softer appearance.
Seasonal adaptations are another creative option. For example, you can add a small crocheted scarf for winter décor or floral appliqués for spring themes. These removable decorations allow you to refresh the rug without recreating it from scratch.
Size adjustments are simple: continue increasing rounds to enlarge the rug, or stop earlier for a smaller version. Always ensure proportions remain balanced so the head does not appear too small or too large compared to the body.
For children’s rooms, you could even add educational elements such as embroidered letters or the child’s name on the body area. This transforms the Capybara Crochet Carpet Pattern into a personalized keepsake piece.
Care, Maintenance, and Practical Tips
Proper care ensures your Capybara Crochet Carpet Pattern lasts for years. Because rugs experience foot traffic, choose washable yarn whenever possible. Cotton blends are particularly practical for easy cleaning.
Hand washing is recommended to maintain shape. Use mild detergent and lay the rug flat to dry. Avoid hanging it vertically while wet, as this may stretch the fibers and distort the design.
Vacuuming gently helps remove dust and keeps the fibers fresh. If you added embroidered details, inspect them occasionally to ensure threads remain secure.
If the rug will be placed in high-traffic areas, consider reinforcing the backside with fabric lining. This not only adds durability but also prevents stretching over time.
Storing the rug flat rather than folded helps maintain its shape. If you need to store it for an extended period, roll it loosely to avoid permanent creases.
Frequently Asked Questions (FAQ)
What skill level is required for a Capybara Crochet Carpet Pattern?
This project is best suited for confident beginners to intermediate crocheters. Basic knowledge of single crochet, increasing, and working in rounds is necessary.
How long does it take to complete?
Depending on size and experience, it can take anywhere from two days to one week of casual crocheting.
What yarn is best for crochet carpets?
Bulky cotton, t-shirt yarn, or durable acrylic blends work best due to their strength and thickness.
Can I make it machine washable?
Yes, if you choose machine-washable yarn and secure all attachments firmly.
Is it safe for children’s rooms?
Absolutely, especially if you use embroidered facial features instead of plastic safety eyes.
Can I sell finished rugs made from this pattern?
Yes, handmade rugs are popular in craft markets. Always ensure your design is original if selling commercially.
Conclusion
Learning How to Make a Capybara Crochet Carpet Pattern allows you to combine creativity, comfort, and functionality in one delightful project. From selecting durable materials to shaping the adorable capybara form and adding personalized details, every step contributes to a piece that is both decorative and practical.
This project demonstrates how crochet home décor can transform a space while showcasing your craftsmanship. With patience, attention to detail, and thoughtful finishing, your capybara rug can become a cherished handmade feature in any room.
If you found this guide helpful, I would love to hear your honest opinion. Share your experience, creative ideas, and suggestions — your feedback inspires future patterns and helps the crafting community grow together.

