If you’re looking for an adorable and easy project to brighten your crochet collection, a Duck crochet pattern is a perfect choice.
Working with a Duck crochet pattern also allows you to explore different textures and colors. Whether you want to make a classic yellow duckling, a white swan-like version, or even a rainbow-inspired creation, the design is flexible and fun.
Another reason this Duck crochet pattern has become a favorite in the crochet community is its versatility as a handmade gift. Everyone appreciates something made with love and attention to detail, and a crocheted duck embodies just that.
Materials and Tools Needed for a Duck Crochet Pattern
Before starting your Duck crochet pattern, it’s essential to gather the right materials and tools. Having everything ready makes the process smooth and enjoyable. You don’t need many supplies, but choosing quality materials will ensure your finished duck looks professional and lasts a long time.
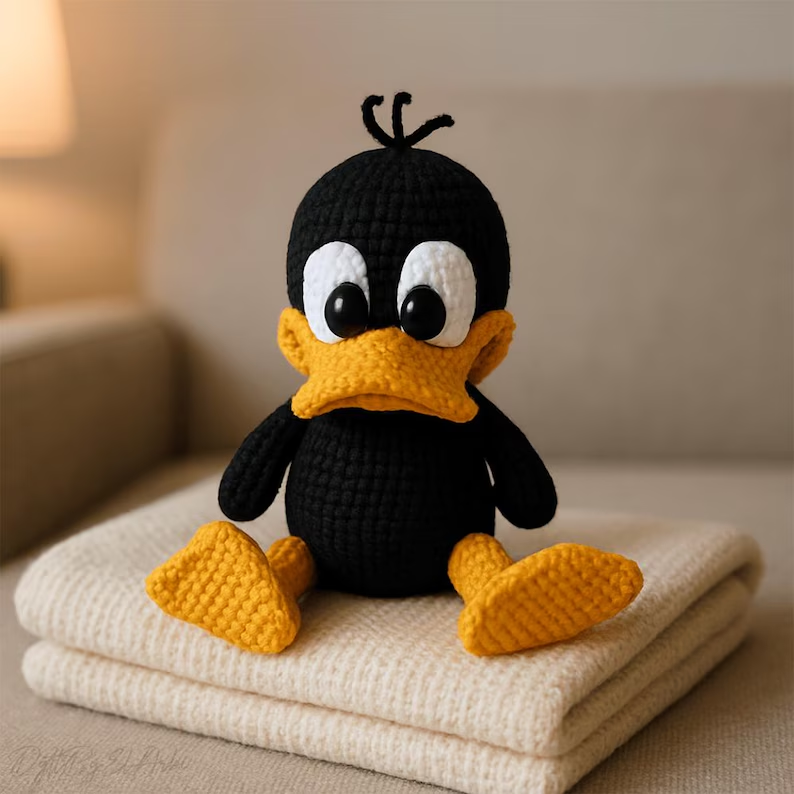
First, you’ll need yarn. The most popular choice for amigurumi projects like this is 100% cotton yarn because it offers structure and a clean finish. However, you can also use acrylic yarn if you prefer a softer texture or want a variety of color options. For a classic look, choose yellow for the body, orange for the beak and feet, and black or white for small details like the eyes.
Next, pick the right crochet hook. Most Duck crochet patterns recommend sizes ranging from 2.5mm to 3.5mm, depending on your yarn weight. Using a smaller hook helps keep the stitches tight, preventing stuffing from showing through. Always check your pattern’s specific hook recommendation to ensure your duck maintains its shape.
You’ll also need stuffing material, such as polyester fiberfill, to give your duck its cuddly and plump appearance. A small yarn needle will help you sew the pieces together, and stitch markers are useful for tracking your rounds if you’re working in continuous spirals. Don’t forget a pair of scissors to trim your ends neatly.
Some crafters like to add safety eyes for a more professional look, but if you’re making this duck for a baby or small child, embroidered eyes are safer. You can also embellish your duck with ribbons, tiny hats, or bows for an extra touch of personality.
Lastly, prepare a pattern guide or notes if you’re following your own design. Having a written plan helps you stay organized and ensures both sides of the duck match perfectly. With all your tools at hand, you’re ready to start your crochet adventure!
Step-by-Step Guide to Crocheting Your Duck
Creating a Duck crochet pattern is much easier than it may seem at first. The process is usually divided into small, manageable sections — such as the head, body, wings, and beak — which are later assembled to form the finished toy. Each piece follows basic stitches that even a beginner can learn quickly.
Start with the head. Typically, you’ll begin with a magic ring and work in continuous rounds using single crochet stitches. Gradually increase the number of stitches to form a sphere shape. This creates a smooth, rounded head without visible seams.
Once the head is finished, move on to the body. The body is often slightly larger than the head and shaped like an oval or egg. You’ll start small and increase your stitches until reaching the widest point, then decrease to close the bottom. This gives the duck a soft, cuddly shape that’s easy to hold.
The wings and feet are made separately. They are small and simple, usually consisting of only a few rows. The wings can be sewn slightly upward to give your duck a lively, playful look. The feet, crocheted in orange, add that signature duck charm and can be attached flat or positioned so your duck can stand upright.
For the beak, use orange yarn and make a short, curved shape. Sew it securely under the center of the face. Adding eyes will bring your creation to life. Small black beads or embroidered stitches work perfectly to capture the duck’s sweet expression.
Finally, assemble all parts carefully using your yarn needle. Make sure everything is aligned and symmetrical. Add the stuffing before closing each piece completely to keep your duck soft and fluffy. Once you’ve sewn all parts together, you’ll have an adorable crocheted duck ready to love or gift!
Tips and Tricks for Perfecting Your Duck Crochet Pattern
Even with a simple Duck crochet pattern, a few expert tips can make a big difference in the final result. Whether it’s your first project or your fiftieth, paying attention to small details will take your craftsmanship to the next level.
First, maintain consistent tension throughout your work. Uneven tension can cause your duck to look lopsided or have gaps between stitches. If your stitches are too tight, it might be difficult to insert your hook; if they’re too loose, the stuffing may show. Practice keeping a steady hand and check your stitches often.
Second, use a smaller hook than what your yarn label recommends. This trick ensures your stitches stay tight and the fabric looks neat. Amigurumi projects like the Duck crochet pattern benefit from dense stitching that gives shape and firmness.
Third, stuff gradually. Don’t overload the body all at once. Instead, add small amounts of fiberfill and shape the duck as you go. This helps prevent lumps and gives your toy a smoother surface.
Fourth, secure your seams properly. When sewing the pieces together, use matching yarn and tight stitches. Double-check that the wings, beak, and feet are symmetrical and evenly spaced. This attention to detail gives your duck a polished appearance.
Fifth, if you’re feeling creative, experiment with colors. Try pastel shades for a spring-themed decoration or bold tones for a playful look. Adding accessories like scarves or hats can turn your simple duck into a unique handmade gift.
Lastly, block your work lightly if needed. While not always necessary, this can help even out stitches and enhance the duck’s overall shape. These simple adjustments ensure your finished crochet duck looks as cute and professional as possible.
Creative Uses for Your Duck Crochet Pattern
Once you’ve completed your Duck crochet pattern, you’ll find countless ways to enjoy and display your new creation. These ducks are more than just toys—they’re versatile decorative pieces and heartfelt handmade gifts.
You can use small ducks as keychains or bag charms. They make adorable accessories and great conversation starters. Attach a metal keyring or clip to turn your tiny crochet duck into a portable piece of art.
Another fun idea is to create nursery decorations. Hang several crocheted ducks from a mobile or arrange them on a baby’s shelf for a soft, cozy atmosphere. Parents love handmade items that add a personal touch to their child’s space.
Your duck can also become a thoughtful handmade gift. Whether it’s for a birthday, baby shower, or Easter basket, a crocheted duck is a gift that brings smiles and warmth. Add a ribbon around its neck or embroider the recipient’s initials for an extra personal detail.
For seasonal crafting, try making holiday-themed ducks. Add a Santa hat for Christmas, a bunny costume for Easter, or pastel colors for spring. These fun variations make your crochet hobby even more enjoyable.
If you sell handmade crafts, Duck crochet patterns are perfect products for markets or online shops. They’re popular year-round and easy to customize, which makes them appealing to buyers looking for unique gifts.
Lastly, use your duck as a photography prop for social media or product showcases. Its soft, colorful appearance looks wonderful in photos and helps you display your crochet skills beautifully.
FAQ – Duck Crochet Pattern
1. Is a Duck crochet pattern suitable for beginners?
Yes! The Duck crochet pattern is beginner-friendly. It mainly uses simple stitches like single crochet and basic increases or decreases, making it perfect for those just starting their crochet journey.
2. How long does it take to complete a crochet duck?
Most small ducks can be completed in 3–5 hours, depending on your experience. Larger designs or detailed decorations may take longer.
3. What is the best yarn for a crochet duck?
Cotton yarn is the most popular choice for amigurumi because it provides firmness and a smooth texture. Acrylic yarn also works well if you want a softer feel or more color options.
4. Can I wash my crochet duck?
Yes, but it’s best to hand wash gently with mild soap and let it air dry. Machine washing may damage the stuffing or distort the shape.
5. How can I make my crochet duck stand upright?
To help your duck stand, stuff the feet firmly and add a small flat piece of cardboard or plastic at the base for stability. Positioning the legs properly also makes a difference.
6. Can I sell items made from this pattern?
Absolutely! You can sell finished items made using a Duck crochet pattern, especially if you add your own creative touches. Just avoid selling or distributing the original pattern if it’s copyrighted.
Conclusion
Crocheting a Duck crochet pattern is a joyful experience that blends creativity, patience, and love for handmade crafts. From selecting the yarn to sewing the final stitches, every step lets you express your unique artistic touch. Whether it’s a gift, a decoration, or a personal keepsake, your crocheted duck will surely bring happiness wherever it goes.

