If you’ve ever wanted to create a stylish and comfortable cap using just yarn and a hook, this Crochet a Cap Tutorial is the perfect starting point. Whether you’re a beginner or an experienced crafter, making your own crochet cap can be a rewarding and creative process.
The Crochet a Cap Tutorial will cover essential stitches, helpful tips, and a step-by-step process that ensures your cap turns out both functional and fashionable. Not only will you gain the satisfaction of creating something from scratch, but you’ll also end up with a unique accessory that reflects your style.
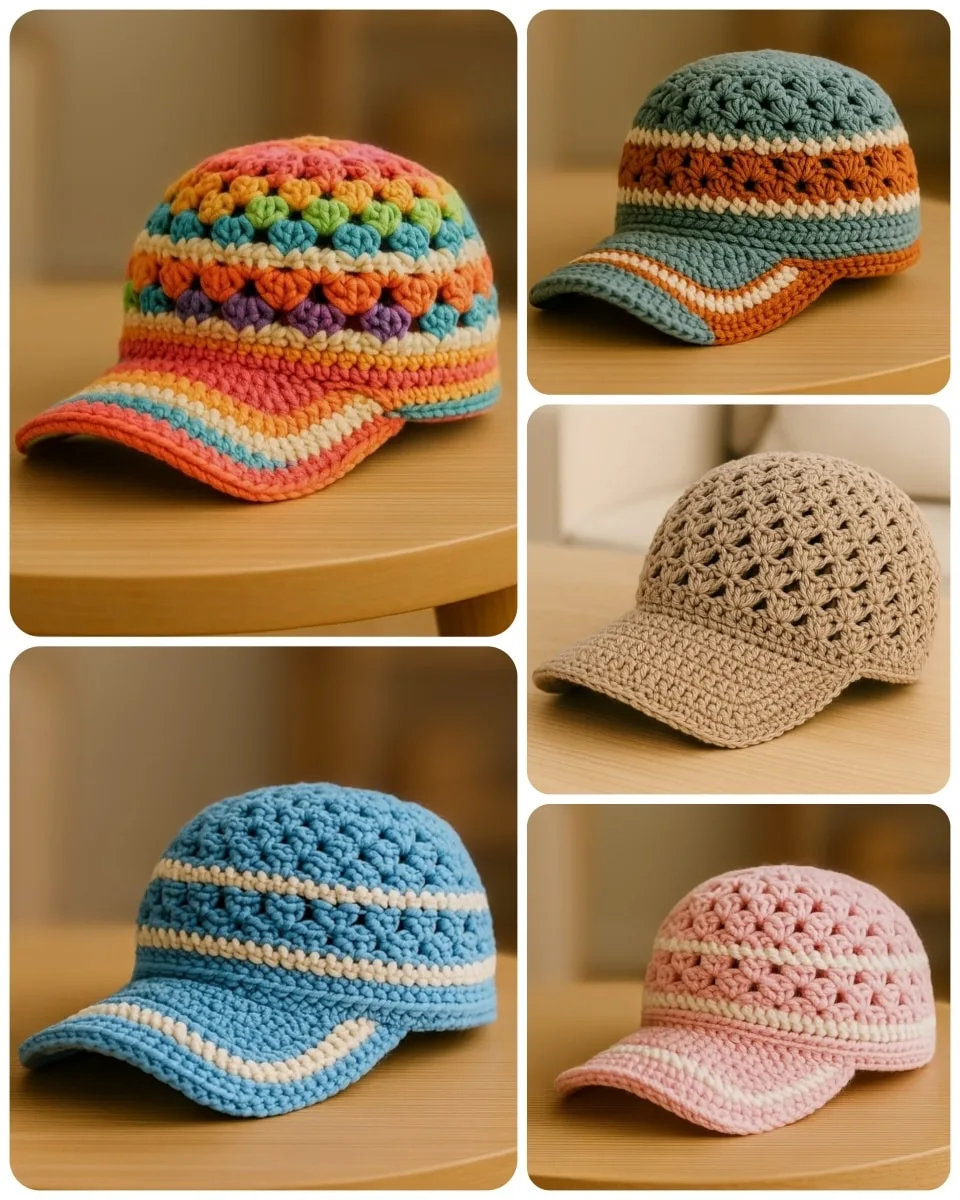
In the world of handmade fashion, few items are as timeless and versatile as a crocheted cap. They make thoughtful gifts, provide warmth in colder weather, and can be customized in countless ways. By following this Crochet a Cap Tutorial, you’ll learn how to make a cap that suits any occasion—be it sporty, casual, or cozy for winter.
Choosing the Right Materials
Before diving into the project, it’s crucial to select the right materials. The outcome of your Crochet a Cap Tutorial depends largely on the yarn and hook you use. For most adult-sized caps, worsted-weight yarn is ideal—it offers the right thickness for structure without being too heavy.
Choosing the right fiber is also essential. Cotton yarn is breathable and great for summer wear, while acrylic and wool blends provide warmth and elasticity for colder months. Consider what season you want the cap for before making your choice.
Your hook size will impact the cap’s tightness. A 5.0mm to 6.0mm hook is a good standard for worsted yarn, but always check your yarn label for recommendations. You might want to do a small swatch to ensure your gauge is correct before beginning the cap.
You’ll also need scissors, a yarn needle for weaving in ends, and stitch markers to help you keep track of rounds. Having everything ready before you start this Crochet a Cap Tutorial will make the process smoother and more enjoyable.
Don’t forget to consider color and texture. Solid colors are timeless, while variegated or speckled yarns add visual interest without extra effort. Texture can be added later with patterns, but yarn choice sets the foundation.
Finally, be sure your working area is well-lit and comfortable. Setting the right environment can improve your focus and help avoid common mistakes as you follow the steps in this Crochet a Cap Tutorial.
Understanding the Basic Stitches
To get the most out of this Crochet a Cap Tutorial, you’ll want to have a good grasp of basic crochet stitches. Don’t worry if you’re new—these stitches are beginner-friendly and easy to learn with just a bit of practice.
The slip knot is how you begin any crochet project. It’s the first loop on your hook and allows you to control the tension from the very beginning. Practice making a secure but flexible slip knot before moving on.
The chain stitch (ch) forms the foundation row and helps determine the cap’s circumference. Chain stitches should be consistent in size to keep your cap even. Most caps begin with a magic ring or a short chain that’s joined in the round.
The single crochet (sc) and double crochet (dc) stitches are the workhorses of crochet caps. Single crochet creates a tight, dense fabric, perfect for warmth. Double crochet is taller and adds more stretch and texture.
The half double crochet (hdc) is a great middle ground. Many crochet cap patterns use hdc for their combination of coverage and flexibility. This tutorial will highlight where and how to use this stitch for a well-balanced design.
The slip stitch (sl st) is used to join rounds or create a decorative edge. It’s important to be gentle with slip stitches to avoid tightening the work too much. They help maintain a clean seam when working in the round.
Once you’ve mastered these stitches, you’ll be ready to move on to the next section of this Crochet a Cap Tutorial, where we begin shaping your cap with confidence and clarity.
Starting Your Crochet Cap
Now that you’ve got your materials and stitches ready, it’s time to start your Crochet a Cap Tutorial project. The first step is typically creating the top of the cap, which is done by working in the round using increases to form a flat circle.
Start with a magic ring or chain 4 and join to form a ring. This forms the center of your cap. Begin by placing 10–12 double crochet stitches into the ring, depending on the size and style you want. Use a stitch marker to mark the start of your round.
Each round will involve evenly spaced increases. For example, round two might require two stitches in each previous stitch (resulting in 20–24 stitches total). This helps keep the circle flat and prevents curling or ruffling.
As you add more rounds, the number of increases decreases. Follow a consistent pattern (e.g., 2 dc in one stitch, 1 dc in next) to maintain even expansion. This part of the Crochet a Cap Tutorial builds the crown of the cap.
After the crown reaches the desired diameter (usually around 6.5–7 inches for adult sizes), you’ll stop increasing and start working even. This means doing one stitch in each previous stitch to form the sides of the cap.
Keep crocheting in rounds without increasing until the cap measures about 7–8 inches from the center to the bottom. This provides full coverage for the head and ensures a snug fit without being too tight.
By the end of this step, your cap should resemble a shallow bowl. This is a major milestone in the Crochet a Cap Tutorial, and from here, we can begin customizing and shaping the brim if desired.
Adding the Brim and Finishing Touches
In this part of the Crochet a Cap Tutorial, we’ll focus on adding character to your cap by including a brim or visor. This feature not only adds visual appeal but also provides shade and structure, especially for outdoor use.
To begin the brim, identify the front of the cap. Count your stitches to ensure symmetry and decide how wide you want the brim to be. Usually, it covers about one-third of the cap’s circumference. Mark the points with stitch markers.
Switch to a denser stitch like single crochet or half double crochet for structure. Begin working rows (instead of rounds) between the marked points. Each row should slightly decrease at the ends to shape the curve of the brim.
You can stiffen the brim by holding a second strand of yarn or using special brim inserts. Some crafters even crochet around a plastic mesh or use interfacing to give the brim a solid shape without being bulky.
Once the brim is complete, go around the entire edge of the cap with a finishing round using slip stitches or single crochets. This gives the cap a polished, professional look and helps keep everything in place.
Weave in all loose ends with a yarn needle, making sure there are no visible knots or gaps. This step is often overlooked but is key to a durable, long-lasting cap that holds up with use.
At this point in the Crochet a Cap Tutorial, your cap is complete and ready to wear, gift, or sell! Take pride in your handmade creation and consider experimenting with different colors or adding embellishments for future projects.
FAQ – Frequently Asked Questions
Can I follow this Crochet a Cap Tutorial if I’m a complete beginner?
Yes! This tutorial was designed with beginners in mind. The stitches used are basic and the instructions are clear. Even if it’s your first time crocheting, you can complete a cap by taking your time.
What type of yarn is best for crochet caps?
Worsted-weight yarn is ideal for most caps. Choose cotton for breathable summer caps, or wool blends for warmth. Always consider the season and use of the cap before selecting your yarn.
How long does it take to crochet a cap?
Depending on your experience and the complexity of the pattern, it can take anywhere from 2 to 5 hours to finish a cap. As you get more comfortable, your speed will naturally increase.
Do I need a pattern, or can I freehand a cap?
While following a structured Crochet a Cap Tutorial is recommended for beginners, experienced crocheters can freehand caps using basic shaping techniques. Patterns help ensure fit and consistency.
How do I make my cap fit perfectly?
Measure your head circumference and adjust the crown size accordingly. Try the cap on as you work to ensure it’s not too tight or too loose. Using stretch-friendly yarn like acrylic helps with fit.
Can I machine wash my crochet cap?
It depends on the yarn used. Acrylic and cotton yarns are usually machine washable, while wool may require hand washing. Always check the yarn label for care instructions.
Conclusion
In this comprehensive Crochet a Cap Tutorial, you learned how to choose the right materials, master essential stitches, build the crown and body of the cap, and finish it with a stylish brim. Whether you’re crocheting for yourself, a loved one, or to sell at a craft fair, this cap project is a practical and fun way to express your creativity.
VIDEO TUTORIAL
Crocheting your own cap gives you complete control over color, size, and style—something no store-bought accessory can match. Plus, the skills you’ve learned here can be adapted to countless other crochet projects.

