With the Amigurumi Winnie The Pooh Free Pattern, even beginners can learn the techniques needed to craft this adorable character.
Amigurumi Winnie The Pooh is not just a toy; it is a piece of art that embodies the charm and innocence of the beloved bear from the Hundred Acre Wood.
The beauty of this Amigurumi Winnie The Pooh Free Pattern lies in its simplicity and accessibility. You don’t need to be an expert crocheter to achieve fantastic results.
Understanding Amigurumi Techniques for Winnie The Pooh
The first step in making Amigurumi Winnie The Pooh is understanding the basic techniques used in amigurumi. Amigurumi refers to the Japanese art of knitting or crocheting small, stuffed yarn creatures. This craft requires familiarity with single crochet stitches, magic rings, and increasing and decreasing stitches. The Amigurumi Winnie The Pooh Free Pattern incorporates these essential techniques to help shape the head, body, arms, and legs.
Learning these foundational stitches ensures your Amigurumi Winnie The Pooh has a clean and professional look. It is important to maintain consistent tension while crocheting, as uneven stitches can affect the final shape. The pattern also emphasizes proper stuffing, which gives your bear a soft, huggable texture without overfilling.
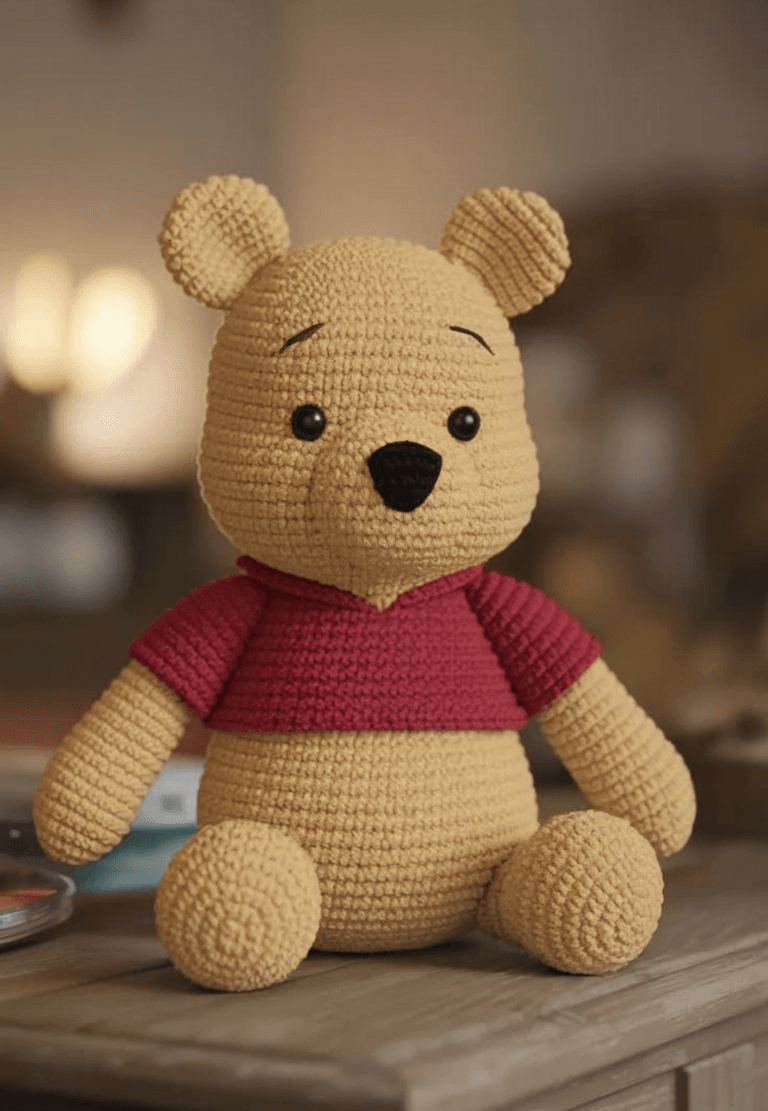
Color selection is another crucial aspect of your Amigurumi Winnie The Pooh. Traditionally, Winnie the Pooh is golden yellow with a red shirt, but you can personalize the design by using your favorite shades of yarn. The Amigurumi Winnie The Pooh Free Pattern provides suggestions for color combinations to achieve the classic look while allowing room for creativity.
Safety should be considered if this toy is intended for children. Using child-safe eyes or embroidering the facial features ensures your Amigurumi Winnie The Pooh is completely safe to play with. Following these guidelines not only enhances the aesthetic appeal but also guarantees the toy’s longevity and safety.
The Amigurumi Winnie The Pooh Free Pattern also provides guidance on assembling the different parts. Attaching the arms, legs, and ears symmetrically is essential for a balanced and visually appealing result. By carefully following the instructions, even beginners can achieve a polished finish.
Understanding these techniques forms the foundation for creating a beautiful Amigurumi Winnie The Pooh. Mastering these skills will also make it easier to adapt the pattern for other characters or custom designs in the future.
Choosing the Right Materials for Your Amigurumi Winnie The Pooh
Selecting the correct materials is vital for a successful Amigurumi Winnie The Pooh project. Yarn quality greatly influences the final appearance and texture of the toy. Cotton yarn is highly recommended because it provides a smooth, soft finish and is easy to crochet. The Amigurumi Winnie The Pooh Free Pattern specifies the ideal yarn weight to ensure your bear maintains the right proportions.
Hooks are equally important. Using the correct crochet hook size ensures your stitches are tight enough to prevent stuffing from showing. For beginners, a slightly smaller hook is often preferred to achieve firm stitches. The Amigurumi Winnie The Pooh Free Pattern provides specific recommendations to help you choose the best tools for your project.
Stuffing is another critical component. High-quality polyester fiberfill is ideal for creating a soft yet resilient structure. Overstuffing can distort the shape of your Amigurumi Winnie The Pooh, while under-stuffing may make it floppy. The free pattern includes tips on how to achieve the perfect firmness for a well-proportioned bear.
Eyes and facial features can be added using safety eyes, embroidery thread, or buttons. The Amigurumi Winnie The Pooh Free Pattern provides options depending on whether the toy is for display or play. Embroidered features are recommended for children to avoid small parts.
Additional accessories, like a tiny red shirt or a honey pot, can enhance your Amigurumi Winnie The Pooh. The free pattern may suggest optional decorations that add personality and make your creation unique. Using these suggestions, you can create a bear that captures the charm and warmth of the original character.
Proper lighting and a comfortable workspace are also recommended. Crocheting in a well-lit area reduces eye strain and improves stitch accuracy. Following the Amigurumi Winnie The Pooh Free Pattern in a suitable environment ensures a more enjoyable and productive crafting experience.
Step-by-Step Instructions Using the Free Pattern
The Amigurumi Winnie The Pooh Free Pattern is designed for both beginners and experienced crocheters. It begins with creating the magic ring, forming the head, and gradually shaping the body using increases and decreases. By carefully following each step, you ensure that your bear has the correct proportions and structure.
Starting with the head, the pattern guides you through every round, showing where to increase or decrease stitches. This careful guidance makes it easier to shape the face and achieve the iconic roundness of Winnie the Pooh’s head.
Next, the pattern covers the body. By following the sequence of stitches, you can create a plump, huggable torso that perfectly complements the head. The Amigurumi Winnie The Pooh Free Pattern emphasizes maintaining even tension to keep the shape uniform.
Arms and legs are crafted separately and then sewn onto the body. Proper alignment is crucial to achieving the classic pose of Winnie the Pooh. The pattern includes detailed diagrams to help visualize the placement, ensuring your bear looks balanced and adorable.
The ears and other small details are added last. These finishing touches bring your Amigurumi Winnie The Pooh to life, giving it character and charm. The free pattern includes tips for attaching the ears securely while maintaining a natural look.
Finally, the pattern suggests optional embellishments, like a tiny red shirt or a bow. These details can make your Amigurumi Winnie The Pooh more personalized and appealing. By completing all these steps, you create a high-quality crocheted toy that can be cherished for years.
Tips for Personalizing Your Amigurumi Winnie The Pooh
While the Amigurumi Winnie The Pooh Free Pattern provides a perfect starting point, personalization allows you to create a truly unique piece. Changing yarn colors, adding clothing, or incorporating accessories can make your bear reflect your style.
Experimenting with facial expressions is another way to personalize your Amigurumi Winnie The Pooh. Slightly adjusting the eyes or mouth can give your bear a happy, curious, or sleepy expression. This customization makes your creation more lively and expressive.
Adjusting the size is also possible. By using thicker yarn and a larger hook, you can create a bigger version, while thinner yarn produces a miniature bear. The Amigurumi Winnie The Pooh Free Pattern is flexible enough to accommodate these changes without compromising the shape.
For a playful touch, you can crochet additional items like a small honey pot or a scarf. These accessories not only enhance the visual appeal but also provide interactive elements for children to enjoy with the toy.
Adding embroidery details, like tiny hearts or initials, can create a sentimental keepsake. This is particularly meaningful if the Amigurumi Winnie The Pooh is intended as a gift for a loved one.
Finally, sharing your personalized bear on social media or crafting groups can inspire others and help you connect with fellow crocheters. The Amigurumi Winnie The Pooh Free Pattern serves as a foundation for creativity, allowing endless possibilities for customization.
FAQ About Amigurumi Winnie The Pooh Free Pattern
Q: Is the Amigurumi Winnie The Pooh Free Pattern suitable for beginners?
A: Yes, the pattern is designed to guide beginners through each step, explaining essential stitches and techniques clearly.
Q: What materials are needed to make the bear?
A: You will need cotton yarn in golden yellow and red, a crochet hook, polyester stuffing, safety eyes, and a yarn needle for assembly.
Q: Can I adjust the size of my Amigurumi Winnie The Pooh?
A: Absolutely! Using thicker yarn and a larger hook makes a bigger bear, while thinner yarn produces a smaller version.
Q: Are there safety considerations for making this toy for children?
A: Yes, using embroidered facial features or child-safe eyes is recommended to ensure the toy is safe for young children.
Q: Can I personalize my Amigurumi Winnie The Pooh?
A: Yes, you can change colors, add accessories, or modify facial expressions to create a unique version of the bear.
Q: How do I attach the arms, legs, and ears securely?
A: Following the step-by-step instructions in the free pattern ensures proper placement and secure attachment for all parts.
Conclusion
In this article, we explored the Amigurumi Winnie The Pooh Free Pattern, guiding you from basic techniques to personalization tips.
By following this pattern, even beginners can create a high-quality, adorable Amigurumi Winnie The Pooh that will be cherished for years.
We encourage you to try this pattern, share your creations, and leave your honest opinions and suggestions for others who want to embark on this fun and creative journey.

