In this Blanket Cloud Crochet – Tutorial, we will explore the whimsical art of creating a soft and cozy blanket inspired by fluffy clouds.
This project is perfect for anyone looking to add a touch of comfort and creativity to their home. With its cloud-like texture and beautiful aesthetic, this blanket will not only keep you warm but also serve as a stunning decorative piece in your living space.
Crocheting a cloud blanket can be a therapeutic experience, allowing you to relax and unwind while working on something beautiful.
Whether you’re an experienced crocheter or a beginner, this tutorial is designed to guide you through the process step by step. We’ll cover everything from the materials you need to the specific crochet stitches required to create the soft, billowy texture of your blanket.
As we journey through this Blanket Cloud Crochet – Tutorial, you will learn about the importance of choosing the right yarn and hook, as well as the essential techniques needed to achieve that perfect cloud-like finish. So, gather your supplies, find a comfortable spot, and let’s dive into this creative adventure together!
1. Materials Needed for Your Blanket Cloud Crochet
Before starting your Blanket Cloud Crochet – Tutorial, it’s crucial to gather all the necessary materials. Having everything ready will make your crocheting experience smoother and more enjoyable. Here’s a list of the materials you’ll need:
First, choose your yarn wisely. For a cloud-like blanket, opt for a soft, plush yarn such as chenille or super bulky acrylic yarn. These types of yarn will provide the softness and thickness that resembles clouds. You may choose colors like white, pastel blue, or soft grey to enhance the cloud effect.
Next, you’ll need a crochet hook that suits your yarn. For bulky yarn, a size N (10 mm) or P (11.5 mm) crochet hook is typically recommended. The larger hook will help you create loose stitches that contribute to the fluffy appearance of your blanket.
Don’t forget a pair of scissors for cutting your yarn, and a yarn needle for weaving in loose ends. These tools are essential for finishing your blanket neatly and ensuring durability.
Additionally, consider having a measuring tape on hand. This will help you check the size of your blanket as you progress, ensuring it meets your desired dimensions.
Lastly, having a comfortable spot to crochet is vital. Settle in with a cup of tea or coffee and prepare to enjoy the soothing process of creating your blanket cloud.
With all your materials gathered, you’re ready to begin your journey into the world of Blanket Cloud Crochet!
2. Basic Crochet Techniques
Before we dive into the specific steps for creating your blanket, let’s familiarize ourselves with some basic crochet techniques that will be essential for this project. Understanding these stitches will help you achieve the desired look and texture for your blanket.
The foundation chain is the first step in any crochet project. To begin, make a slip knot on your hook and chain the desired number of stitches. For a blanket, you might start with around 100 chains, but this will vary based on the desired width of your blanket.
The most common stitch you will use is the double crochet (dc). This stitch is crucial for achieving the airy, fluffy texture of your cloud blanket. To perform a double crochet, yarn over, insert your hook into the stitch, yarn over again, pull up a loop, yarn over again, and pull through the first two loops on your hook. Finally, yarn over once more and pull through the remaining two loops.
Another useful stitch is the half double crochet (hdc). This stitch is slightly shorter than a double crochet and can be used for creating a denser texture. To execute a half double crochet, yarn over, insert your hook into the stitch, yarn over again, pull up a loop, and yarn over to pull through all three loops on your hook.
You may also encounter the slip stitch (sl st) when joining rounds or finishing off your project. This stitch creates a neat finish and can be used to connect your work without creating bulk.
Finally, it’s essential to understand how to read a crochet pattern. Familiarize yourself with common abbreviations and symbols used in patterns, as this knowledge will help you follow instructions accurately.
With these basic techniques in mind, you are well-prepared to start your Blanket Cloud Crochet project!
3. Step-by-Step Instructions for Blanket Cloud Crochet
Now that you’re equipped with the necessary materials and basic techniques, let’s get into the step-by-step instructions for creating your Blanket Cloud Crochet masterpiece. We’ll break down the process to ensure you can easily follow along.
Begin by making a slip knot and chaining the desired number of stitches for the width of your blanket. As mentioned earlier, a good starting point is around 100 chains, but feel free to adjust this based on your preferences.
Once your foundation chain is complete, turn your work and start your first row with a double crochet in the fourth chain from your hook. Continue to double crochet across the entire row until you reach the end. This will create the first row of your cloud blanket.
For the next rows, you will continue to work in double crochet, turning your work at the end of each row. You can change colors every few rows to add a unique touch to your blanket. For example, alternate between white and soft blue for a sky-like effect.
As you crochet, make sure to count your stitches to ensure you maintain consistency throughout the blanket. This is especially important if you’re creating a larger piece, as it will help you keep your edges straight.
When you reach your desired length—typically around 60 to 70 inches—you will be ready to finish off your blanket. To do this, cut your yarn, leaving a long tail, and pull the yarn through the last loop on your hook.
Finally, use your yarn needle to weave in any loose ends, ensuring your blanket is tidy and ready to use.
4. Customizing Your Blanket Cloud Crochet
One of the most exciting aspects of the Blanket Cloud Crochet – Tutorial is the opportunity to customize your blanket. Personalizing your creation allows you to showcase your style and creativity. Here are some fun ideas for customization:
Consider adding texture to your blanket by incorporating different stitches. You might experiment with bobble stitches or puff stitches to create a more dynamic look. These stitches can mimic the fluffy texture of clouds, making your blanket even more unique.
You can also customize the size of your blanket. If you’re making a throw, keep it smaller, but for a full-size blanket, continue crocheting until you achieve your desired dimensions. This flexibility allows you to create a blanket that perfectly fits your needs.
Another way to personalize your blanket is by adding embellishments. Consider crocheting small cloud motifs or appliqués to sew onto your blanket. These added details can enhance the overall design and make it more playful.
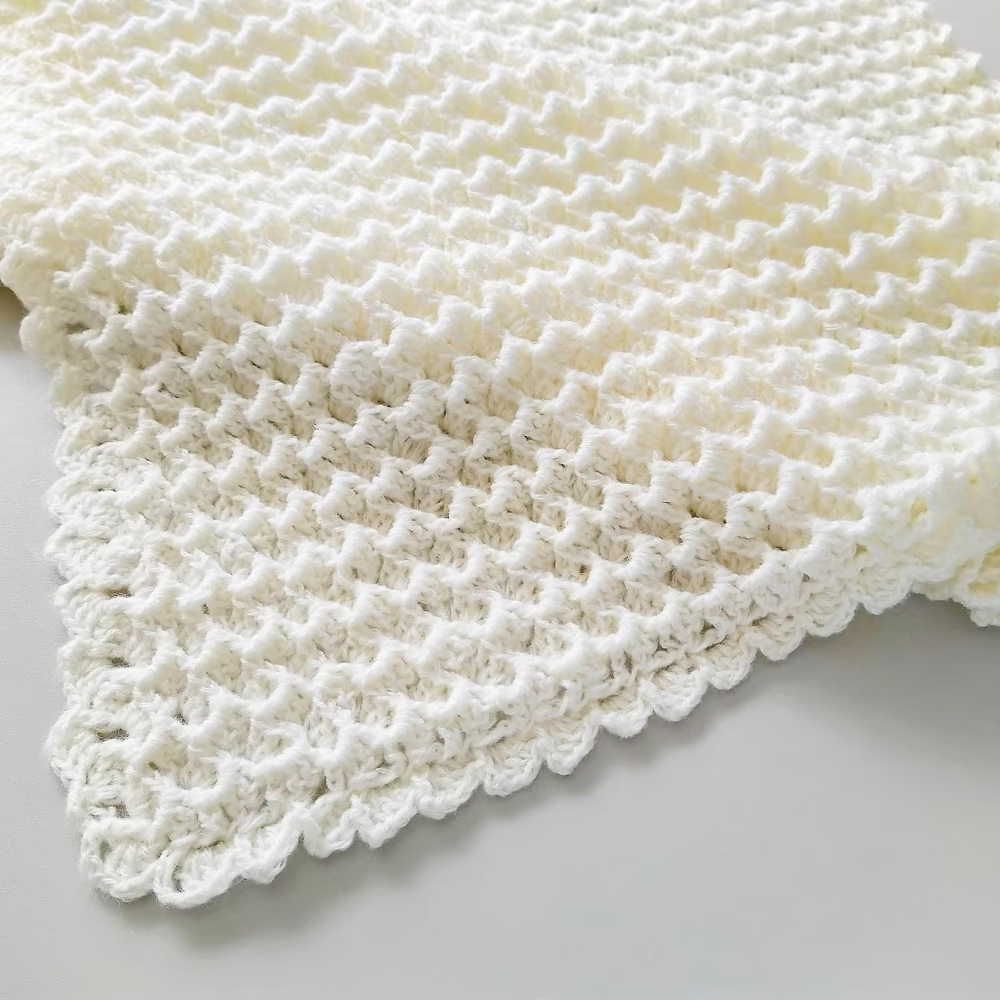
Additionally, think about adding a border to your blanket. A simple scalloped or shell stitch border can frame your blanket beautifully and provide a finished look.
For a more thematic touch, you could crochet matching pillows or cushion covers. This creates a cohesive look in your living space and enhances the cozy atmosphere.
Finally, don’t hesitate to use your favorite colors or patterns to reflect your personality. The beauty of crochet is that it allows for endless creativity and customization options.
FAQ
1. What yarn is best for a Blanket Cloud Crochet?
Soft, plush yarns like chenille or super bulky acrylic yarns are ideal for achieving a cloud-like texture.
2. How long will it take to crochet a cloud blanket?
The time varies depending on your skill level and the size of the blanket, but it can take anywhere from a few days to a week.
3. Can beginners follow this tutorial?
Yes! This tutorial is designed for all skill levels, with step-by-step instructions and explanations of basic techniques.
4. How do I wash my crocheted blanket?
Most acrylic yarns are machine washable, but it’s best to check the yarn label. To preserve the texture, hand wash and air dry if possible.
5. What is the ideal size for a cloud blanket?
The size can vary based on your preferences. A typical throw blanket is around 50” x 60”, while a larger blanket can be 60” x 70” or more.
6. Can I change colors while crocheting my blanket?
Absolutely! Changing colors every few rows can add visual interest and a unique flair to your blanket.
Join our VIP broadcast list and gain access to exclusive patterns, all for free. As a VIP member, you’ll receive the best patterns daily, delivered directly to your device. ✨📱 It’s a unique opportunity to stay up-to-date with the latest trends and designs, curated just for you. Don’t miss out on enhancing your projects and discovering new inspirations with the best patterns every day! 🎨🔝
Conclusion
In this Blanket Cloud Crochet – Tutorial, we’ve explored the materials, techniques, and step-by-step instructions needed to create a cozy and beautiful cloud-inspired blanket. We also discussed customization options to make your blanket unique and personal. With its soft texture and charming aesthetic, this blanket is sure to become a beloved addition to your home.
Thank you for joining us on this crochet journey! We hope you found this tutorial helpful and inspiring. Please share your thoughts and suggestions in the comments below, and happy crocheting!

