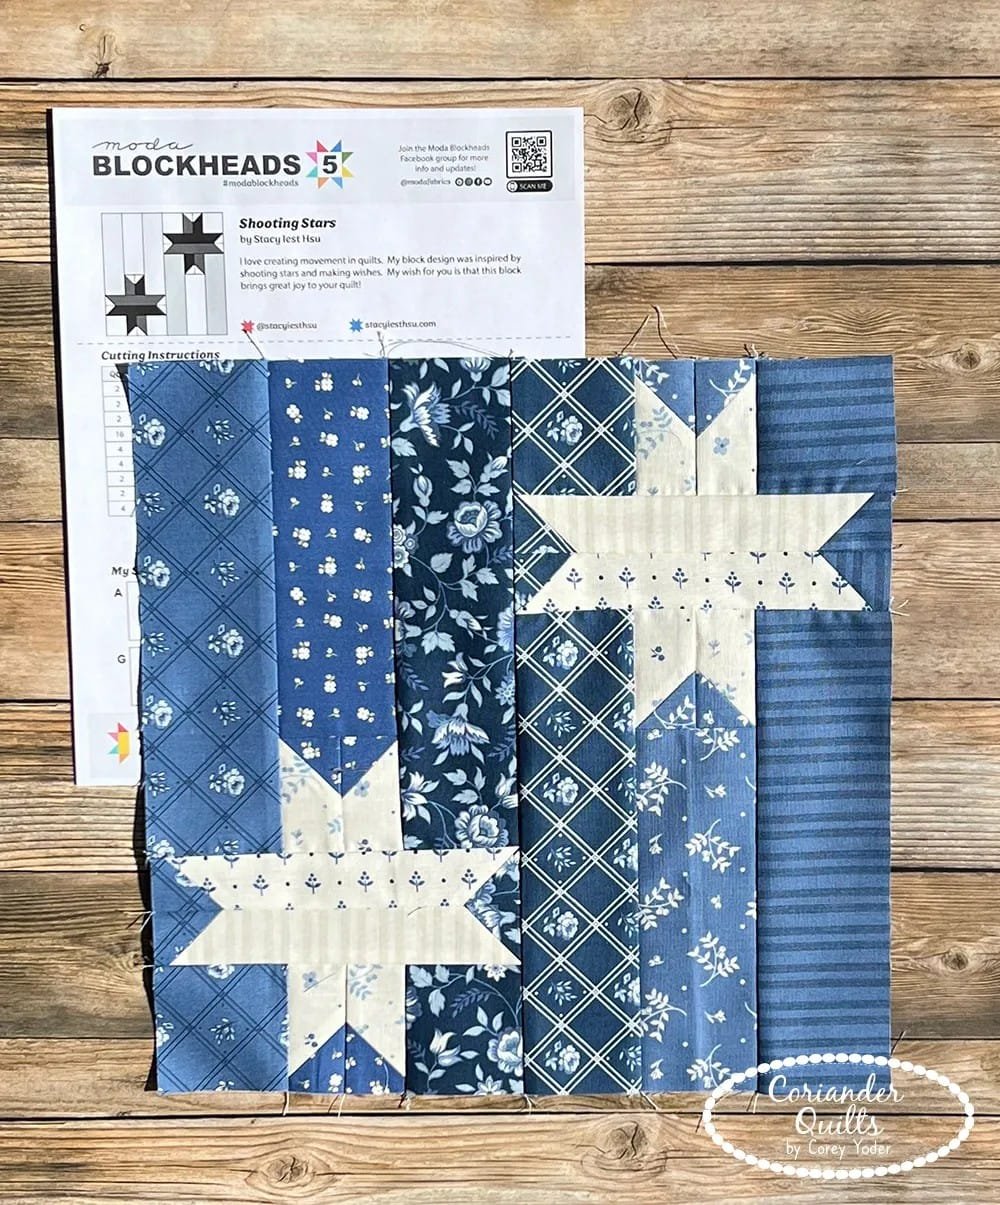
The Shooting Star Quilt Block – Tutorial is a delightful guide for quilters looking to create a design that captures the beauty and motion of a shooting star.
This pattern, with its sharp angles and radiant lines, is perfect for adding a touch of whimsy and elegance to your quilt projects.
Whether you’re a seasoned quilter or just starting, this block offers the perfect mix of simplicity and sophistication.
Creating the Shooting Star Quilt Block allows you to experiment with color, texture, and contrast.
The design is versatile, working beautifully in single-block projects like throw pillows or as part of a larger quilt. The finished block evokes movement, making it an eye-catching feature in any piece.
This tutorial will walk you through the process of creating your own Shooting Star Quilt Block, from materials to step-by-step instructions. With attention to detail and tips to simplify your work, you’ll be able to master this stunning block in no time.
1. Materials and Tools Required
Before beginning the Shooting Star Quilt Block – Tutorial, gather all the necessary materials to ensure a smooth and enjoyable quilting experience.
Fabrics
Select contrasting fabrics for the star and background. Bold colors for the star and a neutral background work best to highlight the design.
Rotary Cutter and Cutting Mat
These tools ensure precise cuts for the block pieces, which is essential for sharp angles and accurate measurements.
Ruler
A quilting ruler will help you measure and cut triangles and strips with precision.
Sewing Machine and Thread
Choose a thread color that complements your fabric, and ensure your sewing machine is in good working condition.
Iron and Ironing Board
Pressing seams as you go ensures a polished and professional finish.
Pins or Clips
Use these to secure fabric pieces together while sewing to prevent shifting.
2. Cutting the Fabric Pieces
Cutting the fabric accurately is essential for the success of your Shooting Star Quilt Block.
Start with Squares
Begin by cutting squares for the star points and background. The size of your squares depends on the desired finished size of the block.
Create Half-Square Triangles
To form the star’s points, cut the squares diagonally to create half-square triangles. These will be sewn together later.
Cut Strips for the Background
For the trailing effect of the star, cut fabric strips in varying lengths and widths. This creates a sense of movement in the block.
Label Your Pieces
Organize and label each piece to avoid confusion during assembly. This step is particularly useful for intricate patterns like the Shooting Star.
Double-Check Measurements
Accurate measurements are crucial for aligning seams and achieving a cohesive block. Take your time to double-check.
Prepare Extra Pieces
It’s always a good idea to have a few extra pieces cut, just in case of errors or adjustments during assembly.
3. Assembling the Shooting Star Quilt Block
Once your pieces are cut, you can start assembling the Shooting Star Quilt Block.
Lay Out the Design
Before sewing, lay out all the pieces to visualize the finished block. This helps ensure correct placement and alignment.
Sew Half-Square Triangles
Join the triangles to form the star points. Press the seams open or to one side for a smooth finish.
Attach the Star to the Background
Begin attaching the star points to the background pieces. Sew carefully to maintain sharp points and even spacing.
Add the Trailing Strips
Sew the strips to the block, creating the trailing motion of the star. Experiment with placement for a dynamic effect.
Check Alignment
After sewing each section, check the alignment of the pieces. Adjust as needed before moving on to the next step.
Press and Square Up
Press the completed block, ensuring all seams lie flat. Trim any excess fabric to square up the block to the desired size.
4. Creative Ways to Use the Shooting Star Quilt Block
The Shooting Star Quilt Block is versatile and can be used in various projects.
Wall Hangings
Turn your block into a decorative wall hanging. Add a border and quilt the piece for a polished look.
Baby Quilts
Combine several Shooting Star blocks with soft pastel fabrics for a charming baby quilt.
Pillow Covers
Use a single block to create a unique throw pillow cover, perfect for adding character to a living space.
Table Runners
Line up multiple blocks to make a stunning table runner that showcases the Shooting Star pattern.
Festive Quilts
Incorporate this block into a larger quilt with other star-themed designs for a celestial theme.
Gifts
Handmade items featuring this block make thoughtful and personalized gifts for loved ones.
FAQ
Q: Is the Shooting Star Quilt Block suitable for beginners?
A: Yes, the block is beginner-friendly, especially with clear instructions. However, some precision is needed for sharp points.
Q: What size should the finished block be?
A: The finished size can vary depending on your project. A common size is 12 inches, but you can adjust it as needed.
Q: Can I use pre-cut fabric for this block?
A: Yes, pre-cut fabric like charm packs or jelly rolls can simplify the cutting process, though additional trimming may be needed.
Q: How long does it take to make one block?
A: Depending on your experience, one block can take 1–2 hours from start to finish.
Q: What colors work best for the Shooting Star Quilt Block?
A: High-contrast colors are ideal, such as bright yellows and blues or bold reds and blacks.
Q: Can I hand-sew the Shooting Star Quilt Block?
A: Yes, it’s possible, but using a sewing machine will save time and ensure tighter seams.
Join our VIP broadcast list and gain access to exclusive patterns, all for free. As a VIP member, you’ll receive the best patterns daily, delivered directly to your device. ✨📱 It’s a unique opportunity to stay up-to-date with the latest trends and designs, curated just for you. Don’t miss out on enhancing your projects and discovering new inspirations with the best patterns every day! 🎨🔝
Conclusion
The Shooting Star Quilt Block – Tutorial is a fantastic project for quilters of all skill levels. Its eye-catching design and versatile applications make it a valuable addition to any quilting repertoire.
PATTERN HERE
We hope this guide has inspired you to try creating your own Shooting Star Quilt Block. Share your experiences and suggestions in the comments below—we’d love to hear your thoughts and see your beautiful creations! Happy quilting!

