In this Quilted Ornament tutorial by Jennifer Watkins, you will learn how to create beautiful, personalized ornaments that can add a unique touch to your holiday decorations or make perfect gifts.
This tutorial will guide you through each step, providing insights into materials, techniques, and tips to help you succeed in your quilting journey. Whether you’re an experienced quilter or a beginner, this project is an excellent way to enhance your skills while creating something special.
Making quilted ornaments is a delightful craft that combines the art of quilting with the festive spirit of the holidays. These ornaments can be made in various shapes, sizes, and colors, allowing for endless creativity.
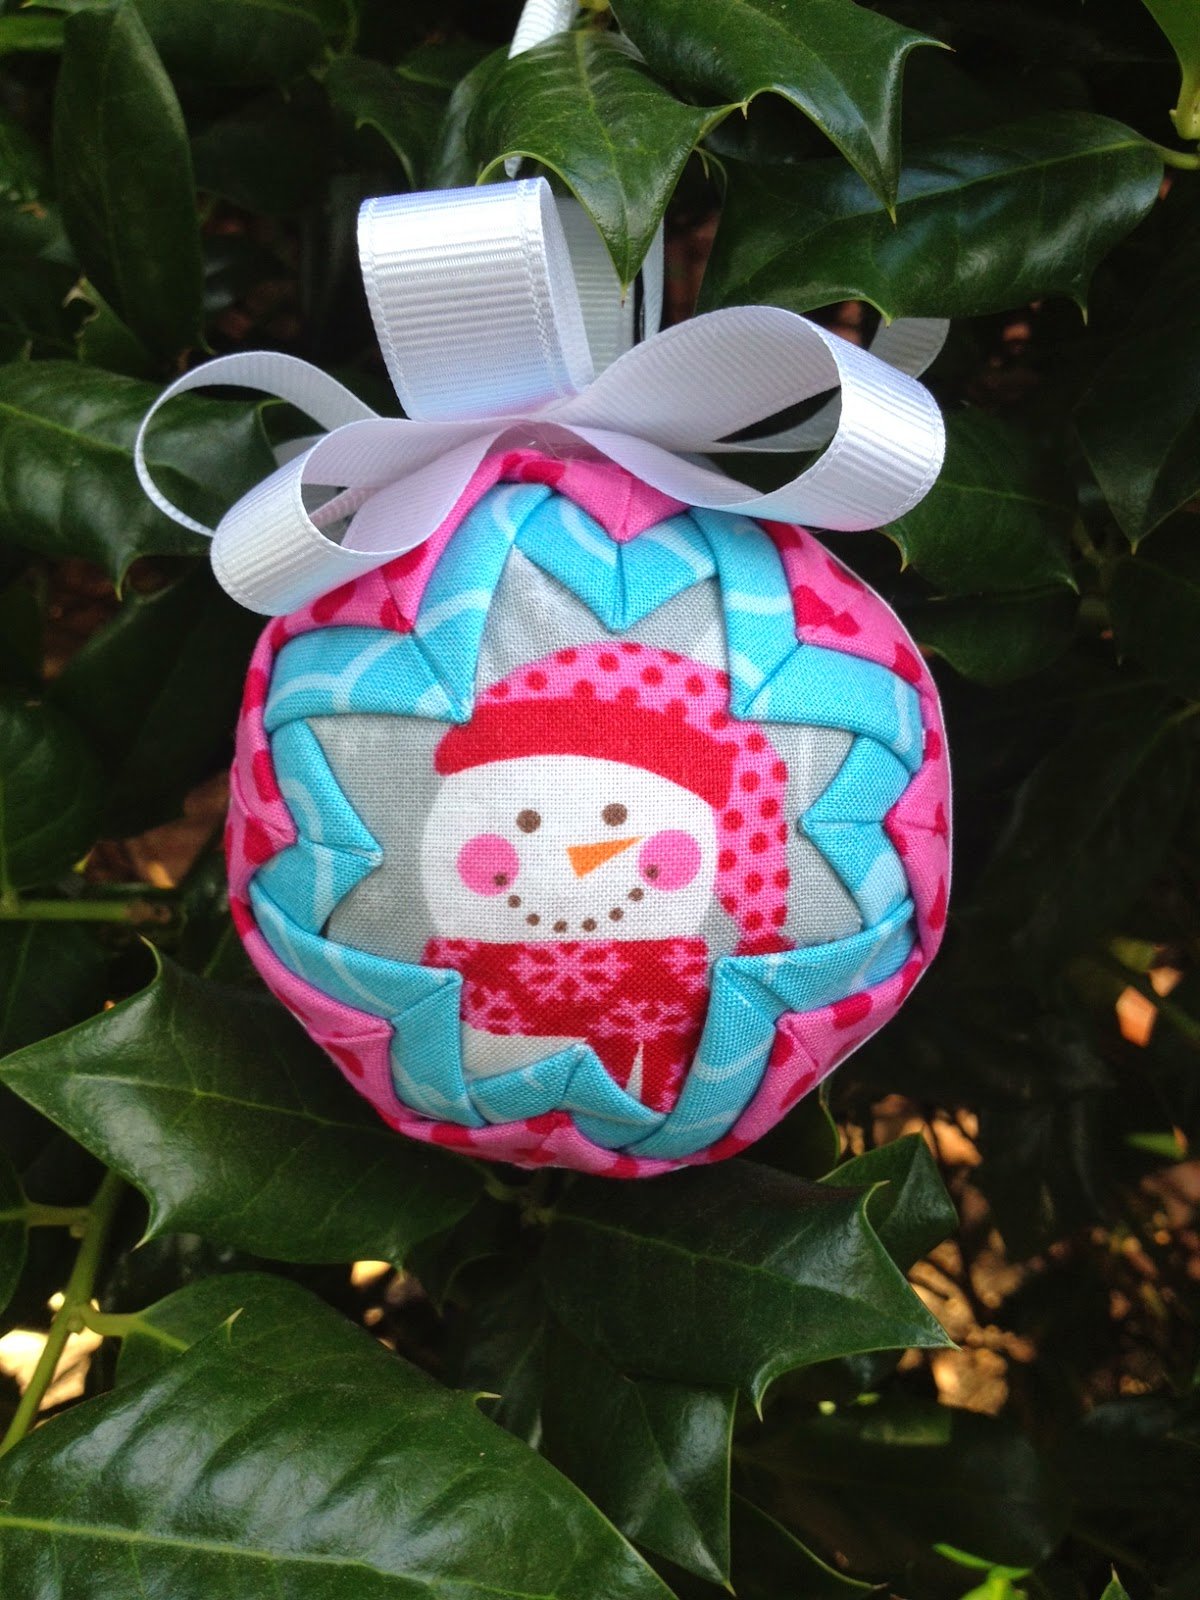
You can use scrap fabric from previous projects or purchase new materials to create vibrant, eye-catching pieces. The finished ornaments can be hung on your Christmas tree, used as gift toppers, or even displayed year-round as decorative accents in your home.
Throughout this article, we will explore the process of making quilted ornaments step-by-step. You will find useful tips and tricks along the way, ensuring that your crafting experience is enjoyable and rewarding. So gather your materials and let’s get started on this exciting quilting adventure!
1. Materials Needed for Quilted Ornaments
Before diving into the Quilted Ornament tutorial by Jennifer Watkins, it’s essential to gather all the necessary materials. Having everything ready will streamline your crafting process and help you focus on the fun of creating.
- Fabric: Choose several pieces of cotton fabric in coordinating colors and patterns. You can use scraps from previous quilting projects or buy new fabric. Look for festive prints or seasonal colors to enhance your ornaments’ appeal.
- Batting: You will need some batting to give your ornaments a soft, cushioned feel. Use low-loft batting, as this will keep your ornaments lightweight and easy to hang.
- Thread: Select a high-quality thread that complements your fabric. A contrasting thread can add visual interest, while a matching thread keeps the focus on your fabric patterns.
- Sewing Machine: A sewing machine will make the process faster and more efficient. However, if you prefer hand-sewing, you can also achieve beautiful results using a needle and thread.
- Scissors and Rotary Cutter: Sharp scissors and a rotary cutter will help you cut your fabric and batting accurately. A cutting mat is also recommended for safety and precision.
- Templates: You can create templates for the shapes of your ornaments. Use cardstock or plastic templates that can be traced onto your fabric for consistent shapes.
Having these materials on hand will set you up for success as you embark on your Quilted Ornament tutorial by Jennifer Watkins.
2. Step-by-Step Instructions for Making Quilted Ornaments
Now that you have gathered your materials, it’s time to dive into the step-by-step instructions for creating your quilted ornaments. Follow these directions closely, and soon you’ll have beautiful ornaments to display or give as gifts.
- Step 1: Cut Your Fabric: Start by cutting your fabric into squares or circles. A common size for ornaments is 5 inches, but you can adjust this based on your preferences. Make sure to cut your batting to the same size as your fabric pieces.
- Step 2: Layer the Fabric: Lay one piece of fabric right side up, followed by the batting, and then the second piece of fabric right side down. This creates a sandwich that will be sewn together.
- Step 3: Pin the Layers: Use pins to secure the layers together. Make sure to place pins around the edges to prevent any shifting while sewing. This step is crucial for achieving clean seams.
- Step 4: Sew the Edges: Using a ¼-inch seam allowance, sew around the edges of your fabric sandwich, leaving a small opening for turning. Be careful to backstitch at the beginning and end to secure your stitches.
- Step 5: Turn the Ornament: After sewing, carefully turn the ornament right side out through the opening. Use a turning tool or the end of a pencil to gently push out the corners for a crisp finish.
- Step 6: Stuff the Ornament: Once turned, lightly stuff the ornament with additional batting to give it a plush feel. Be careful not to overstuff, as this can cause the ornament to lose its shape.
- Step 7: Close the Opening: Fold in the raw edges of the opening and hand stitch it closed. This will ensure that your ornament is secure and finished neatly.
Following these steps will lead you to create beautiful quilted ornaments, perfect for any occasion!
3. Personalizing Your Quilted Ornaments
One of the most enjoyable aspects of making quilted ornaments is the opportunity to personalize them. Personal touches can make your ornaments unique and meaningful, whether for your home or as gifts.
- Add Embellishments: Consider adding embellishments such as buttons, beads, or ribbons to your ornaments. These decorative elements can enhance the visual appeal and make your creations truly one-of-a-kind.
- Incorporate Stitching Techniques: You can use various stitching techniques, such as embroidery or decorative stitching, to add interest to your ornaments. Try using contrasting thread colors to highlight your designs.
- Theme Your Ornaments: Choose a theme for your ornaments, such as winter wonderland, holiday cheer, or even family traditions. Using a cohesive color palette or fabric style can help unify your collection.
- Use Personal Photos: Consider incorporating personal photos into your quilted ornaments. Print photos on fabric sheets, cut them into shapes, and sew them into your ornaments for a personal touch.
- Make Them Functional: Beyond decoration, quilted ornaments can serve functional purposes. Add pockets to your ornaments to hold small treats or notes for a fun surprise.
- Create a Memory Collection: Over the years, you can create a collection of quilted ornaments that represent special memories or milestones. Each year, add a new ornament that symbolizes that year’s experiences.
Personalizing your quilted ornaments not only adds to their beauty but also makes them special keepsakes that can be cherished for years to come.
4. Displaying and Gifting Your Quilted Ornaments
Once you’ve created your quilted ornaments, it’s time to think about how to display or gift them. Thoughtful presentation can elevate your creations and make them even more special.
- Hang on Your Tree: The most traditional way to display quilted ornaments is on your Christmas tree. Use decorative hooks or ribbons to hang them, allowing their beauty to shine.
- Create a Garland: String your quilted ornaments together to create a garland that can be draped across a mantel, staircase, or doorway. This adds a festive touch to your home décor.
- Gift Presentation: If you’re gifting your quilted ornaments, consider placing them in decorative boxes or bags. You can even create a handmade gift tag that includes a personal message.
- Use as Table Decor: Place your quilted ornaments in bowls or trays as table centerpieces. This adds a cozy touch to your dining area and showcases your beautiful work.
- Host an Ornament Exchange: Organize an ornament exchange with friends and family. This is a fun way to share your creations and appreciate each other’s work.
- Seasonal Display: Keep your quilted ornaments out year-round by displaying them in a dedicated space, such as a shelf or wall-mounted display. This allows you to enjoy your handiwork beyond the holiday season.
With these ideas, you can showcase your quilted ornaments beautifully and share them with loved ones.
FAQ
Q: How long does it take to make a quilted ornament?
A: The time it takes to make a quilted ornament can vary depending on your skill level and the complexity of the design. On average, it may take 1 to 2 hours to complete one ornament.
Q: Can I use any fabric for quilted ornaments?
A: While cotton fabric is commonly used for quilted ornaments due to its durability and ease of use, you can experiment with other fabrics like flannel or felt, depending on your desired look.
Q: How do I ensure my quilted ornaments last?
A: To ensure longevity, use quality materials and reinforce seams. Additionally, avoid exposing your ornaments to direct sunlight or moisture, which can cause fading or damage.
Q: Can I wash quilted ornaments?
A: Hand washing is recommended if your quilted ornaments get dirty. Use cold water and mild detergent, then lay them flat to dry to maintain their shape.
Q: How can I customize my quilted ornaments?
A: Personalize your ornaments with embellishments, different fabrics, and themes. You can also incorporate photos or messages for a special touch.
Q: Are quilted ornaments suitable for children to make?
A: Yes, quilted ornaments can be a fun project for children, especially with adult supervision. Consider simplifying the steps for younger crafters or using fabric glue instead of sewing.
Join our VIP broadcast list and gain access to exclusive patterns, all for free. As a VIP member, you’ll receive the best patterns daily, delivered directly to your device. ✨📱 It’s a unique opportunity to stay up-to-date with the latest trends and designs, curated just for you. Don’t miss out on enhancing your projects and discovering new inspirations with the best patterns every day! 🎨🔝
Conclusion
In this Quilted Ornament tutorial by Jennifer Watkins, we’ve explored the process of creating beautiful quilted ornaments, from gathering materials to personalizing your creations. With each step, you can enhance your quilting skills while crafting unique pieces that add charm to your holiday décor or make thoughtful gifts.
PATTERN HERE
We hope you find joy in making these delightful ornaments and encourage you to share your experiences and suggestions in the comments below. Your feedback is invaluable, and we look forward to hearing how your quilting journey unfolds! Happy crafting!

