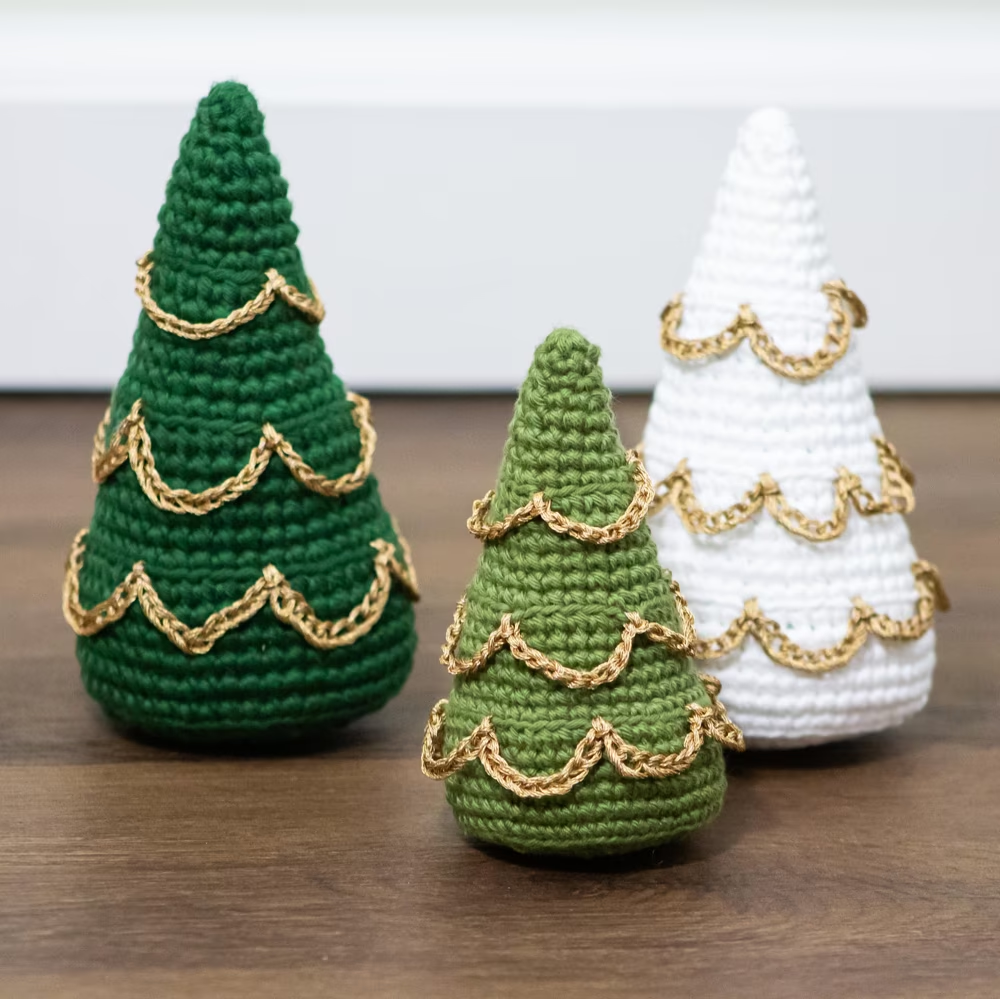
In this Twinkle Trees – Tutorial, we will explore the art of creating beautiful, festive tree decorations that will add a magical touch to your holiday season.
The twinkle trees not only make stunning centerpieces for your celebrations but also serve as charming gifts for friends and family. With a little creativity and some basic crafting materials, you can create these whimsical decorations that will illuminate your home.
Whether you’re an experienced crafter or just starting, this tutorial is designed to guide you through each step of the process.
We will cover everything from gathering materials to the final touches that will make your twinkle trees shine bright. The result will be a delightful decoration that encapsulates the spirit of the season while allowing your personal style to shine through.
This project is not only enjoyable but also a fantastic way to engage with family and friends.
Gather your loved ones for a crafting session, share ideas, and create unique variations of twinkle trees. The possibilities are endless! So, let’s jump into the world of twinkle trees and begin our crafting journey.
1. Materials Needed for Twinkle Trees
To get started with your Twinkle Trees – Tutorial, you will need to gather a variety of materials. Having everything on hand will make the crafting process smooth and enjoyable. Here’s a comprehensive list of what you will need:
First and foremost, you will need some sturdy paper or cardstock. Choose colors that reflect your holiday theme—greens, reds, whites, and golds work particularly well. You might also consider glitter cardstock for a sparkly effect that enhances the twinkle of your trees.
Next, gather your cutting tools. A pair of scissors is essential, but a craft knife can provide more precision for intricate designs. Additionally, having a cutting mat will protect your surfaces while you work.
Adhesive is another crucial element. You can use glue sticks, craft glue, or double-sided tape depending on your preference. For added embellishments, you might want to have hot glue on hand for securing decorations firmly.
To give your twinkle trees their signature shine, you’ll need some fairy lights. Battery-operated string lights are ideal since they eliminate the need for cords and make placement easier. Opt for warm white lights for a cozy feel or colored lights for a festive look.
Don’t forget decorative elements to personalize your trees. This can include sequins, beads, or stickers to embellish your creations. Consider using small ornaments or natural elements like pinecones and dried flowers to add a unique touch.
Finally, ensure you have a workspace that allows for creativity and mess. Cover your work area with newspaper or a craft mat to make cleanup easier. With all your materials ready, you’re set to create your twinkle trees!
2. Creating Your Twinkle Trees
Now that you have gathered all your materials, it’s time to start crafting your Twinkle Trees. This section will walk you through the steps necessary to create your beautiful tree decorations.
Begin by deciding on the size of your trees. You can create small tabletop trees or larger ones that can stand on the floor. Once you have your size in mind, cut your cardstock into triangles that will form the tree shape. A common approach is to cut one large triangle for the base and two or three smaller triangles for layering.
Next, it’s time to assemble your tree. Start with the largest triangle as the base. Secure the smaller triangles on top, staggering them for a layered look. Use your adhesive of choice to attach the triangles firmly, ensuring they are aligned correctly. Allow the glue to dry before moving on to the next step.
After the basic tree structure is complete, it’s time to decorate. This is where you can let your creativity shine. Use glitter, paint, or markers to add colors and patterns to your trees. Consider using stencils for more intricate designs, such as stars or snowflakes, to enhance the festive look.
Once the decoration is dry, it’s time to add the fairy lights. Carefully wrap the string lights around your tree, securing them with glue or tape as needed. Make sure to hide the battery pack at the back of the tree for a clean appearance. This is where your twinkle trees will truly come to life!
Finally, add any additional embellishments. Consider placing sequins or small ornaments on the branches or around the base of the tree. This will give your twinkle trees a professional finish and a unique flair. With everything in place, allow your trees to dry completely before displaying them.
3. Displaying Your Twinkle Trees
With your Twinkle Trees fully crafted and dried, it’s time to find the perfect spot to display them. This section will discuss various creative ways to showcase your twinkle trees in your home.
First, consider placing your trees on a mantel or shelf. This not only highlights their beauty but also allows the light to reflect off surrounding decorations. Grouping multiple trees of varying heights creates visual interest and a cozy atmosphere.
Another great option is to use your twinkle trees as table centerpieces. They can serve as stunning focal points during holiday dinners or festive gatherings. Consider using a decorative tablecloth that complements the colors of your trees to tie everything together beautifully.
If you have an entryway or hallway, displaying your twinkle trees there can make a welcoming statement. Arrange them on a console table or sideboard, and pair them with candles or garlands for added charm. This will create a warm and inviting atmosphere for your guests as they arrive.
For a whimsical touch, consider hanging smaller twinkle trees from the ceiling. This can be achieved using fishing line or string, creating the illusion that they are floating. This idea is especially magical for children’s rooms or holiday-themed parties.
You can also place your twinkle trees in unexpected locations. Consider the bathroom, kitchen, or even a home office to add a festive touch to these spaces. Wherever you choose to display them, make sure the lights are visible for the full twinkling effect.
Lastly, remember that your twinkle trees can be used year after year. Store them carefully to protect them from damage, and bring them out each holiday season to enjoy their glow once more.
4. Customizing Your Twinkle Trees
One of the best parts of the Twinkle Trees – Tutorial is the opportunity for customization. Personalizing your twinkle trees allows you to express your creativity and create decorations that truly reflect your style. Here are some ideas for customizing your twinkle trees.
Consider using different shapes and sizes for your trees. While traditional triangle shapes are classic, you can experiment with other geometric forms or even create abstract shapes. This will add variety to your display and keep it visually interesting.
Another customization option is the color palette. Instead of traditional holiday colors, think outside the box and use pastels, metallics, or even monochrome themes. This can create a modern look that complements contemporary decor styles.
You can also experiment with various textures. Consider using fabric or felt instead of paper for a different aesthetic. Adding layers of fabric can create depth and a unique tactile element to your twinkle trees.
Incorporating personal touches can make your twinkle trees even more special. Consider adding photos, mementos, or small handmade ornaments that reflect your family’s history or favorite memories. This will give your decorations a personal story.
Don’t forget to explore various light options. While traditional fairy lights are a great choice, consider using LED candles or even small lanterns for a different effect. This can create a warm glow without the risk of heat damage from traditional bulbs.
Finally, host a twinkle tree crafting party! Invite friends or family to create their own versions, allowing everyone to express their unique style. Share ideas, trade materials, and create a variety of twinkle trees that can be displayed together, creating a community celebration of creativity.
FAQ
1. What materials do I need to make Twinkle Trees?
You will need cardstock, scissors, adhesive, fairy lights, and decorative embellishments like glitter or sequins.
2. How long does it take to create Twinkle Trees?
The time required can vary based on complexity, but you can typically complete them in a few hours, allowing time for drying.
3. Can I use different materials besides cardstock?
Yes, you can experiment with fabric, felt, or other crafting materials to create unique textures and appearances.
4. Where can I display my Twinkle Trees?
Twinkle Trees can be displayed on mantels, tabletops, entryways, or even hung from the ceiling for a whimsical effect.
5. How do I store my Twinkle Trees after the season?
Store your trees in a cool, dry place, carefully wrapped to prevent damage and preserve their beauty for future seasons.
6. Can I customize my Twinkle Trees?
Absolutely! You can change the shapes, colors, and textures to reflect your style and add personal touches.
Join our VIP broadcast list and gain access to exclusive patterns, all for free. As a VIP member, you’ll receive the best patterns daily, delivered directly to your device. ✨📱 It’s a unique opportunity to stay up-to-date with the latest trends and designs, curated just for you. Don’t miss out on enhancing your projects and discovering new inspirations with the best patterns every day! 🎨🔝
Conclusion
In this Twinkle Trees – Tutorial, we have explored how to create stunning tree decorations that can brighten your home during the festive season. From gathering materials to crafting and displaying your creations, this tutorial has covered everything you need to know to make beautiful twinkle trees. With the ability to customize and personalize your trees, the possibilities are endless, allowing your creativity to shine.
We hope you enjoyed this tutorial and feel inspired to create your own twinkle trees. Please share your thoughts, experiences, and suggestions in the comments below. Your feedback is invaluable, and we look forward to seeing how your twinkle trees turn out! Happy crafting!


