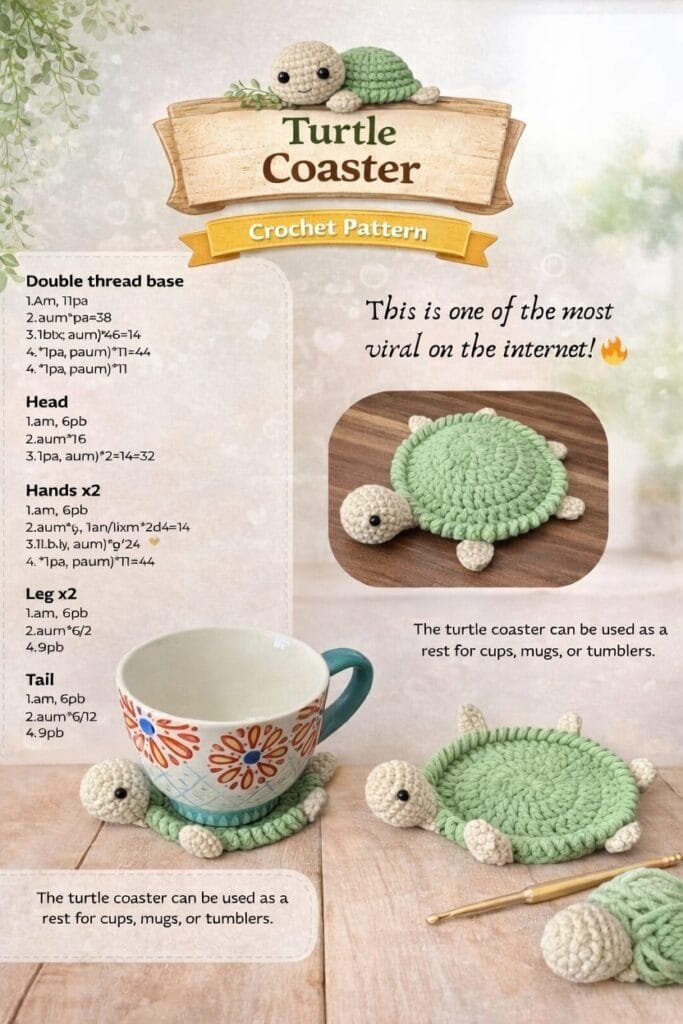
The Crochet Turtle Coaster Pattern is a fun and creative crochet project that combines practicality with charming design. Learning the Crochet Turtle Coaster Pattern allows crafters to create adorable turtle-shaped coasters that protect surfaces while adding a playful decorative touch to any table.
These handmade coasters are perfect for everyday use and also make thoughtful gifts for friends and family who appreciate handmade crafts. Many crochet enthusiasts enjoy making the Crochet Turtle Coaster Pattern because it is a relatively small and quick project.
With a few simple crochet techniques, yarn, and a crochet hook, you can transform ordinary materials into cute turtle-shaped coasters that brighten up your kitchen or living space. Even beginners can learn the basic stitches required to create this pattern.
Another reason the Crochet Turtle Coaster Pattern is so popular is its versatility. You can experiment with different yarn colors and textures to create unique turtle designs. Whether you prefer realistic shades of green or colorful and playful variations, this crochet project allows you to express creativity while making something useful for your home.
Materials Needed for a Crochet Turtle Coaster Pattern
Before starting the Crochet Turtle Coaster Pattern, it is important to prepare the right materials. Having the proper tools and yarn will help ensure the finished coaster looks neat and durable.
The most commonly used yarn for this project is cotton yarn. Cotton yarn works well for the crochet turtle coaster because it is absorbent, durable, and heat resistant. These qualities make it perfect for protecting tables from hot or cold drinks.
You will also need a crochet hook that matches the yarn weight. For most cotton yarn types, a hook size between 3.5 mm and 5 mm works well for creating a sturdy coaster.
A yarn needle is another useful tool. Once the Crochet Turtle Coaster Pattern is complete, the needle helps weave in loose yarn ends so the coaster looks clean and finished.
Scissors are necessary for trimming yarn at the end of the project. Sharp scissors allow for clean cuts that prevent yarn fraying.
Stitch markers can also be helpful, especially for beginners. They help track the starting point of rounds when crocheting the turtle shell.
Finally, having a printed or written version of the crochet turtle coaster pattern nearby can make the process easier to follow.
Step-by-Step Guide to Making a Crochet Turtle Coaster Pattern
The first step in creating a Crochet Turtle Coaster Pattern is starting with a magic ring or a small chain loop. This ring will form the center of the turtle shell.
Next, crochet several stitches into the ring to create a circular base. Many patterns use double crochet or half double crochet stitches to build the shell structure.
Continue increasing stitches in each round to expand the circle. This creates the flat shape needed for the turtle shell coaster.
Once the shell is the desired size, begin creating the turtle’s head and limbs. These small shapes are typically crocheted separately using simple stitches.
Attach the head, legs, and tail to the shell using a yarn needle or crochet stitches. These pieces transform the circular coaster into the recognizable crochet turtle coaster design.
Finally, fasten off the yarn and weave in loose ends. Your Crochet Turtle Coaster Pattern is now complete and ready to protect your table surfaces.
Creative Variations for a Crochet Turtle Coaster Pattern
One of the best things about the Crochet Turtle Coaster Pattern is how easily it can be customized. Changing yarn colors can create many different turtle styles.
For example, traditional green shades can give the coaster a natural turtle appearance. These colors are perfect for nature-inspired home décor.
Bright and playful colors can also be used. A colorful crochet turtle coaster can add a cheerful touch to kitchens or children’s spaces.
You can also experiment with textured stitches on the turtle shell. These stitches can create patterns that resemble the natural shell design of turtles.
Another creative idea is adding small embroidered eyes or decorative stitching for extra detail. These small touches give the turtle more personality.
Some crafters also create matching coaster sets using the Crochet Turtle Coaster Pattern in different colors for a coordinated table display.
Tips for Perfecting a Crochet Turtle Coaster Pattern
When working on a Crochet Turtle Coaster Pattern, maintaining consistent tension is important. Even stitches help keep the coaster flat and prevent curling edges.
Using cotton yarn with clear stitch definition will improve the appearance of the turtle shell pattern.
Blocking the finished coaster can also enhance its shape. Lightly shaping the crochet turtle coaster while it dries helps the stitches settle evenly.
Carefully attaching the head and limbs ensures the pieces remain secure during regular use.
Beginners should practice the circular base first before adding the turtle details. This helps build confidence when following the Crochet Turtle Coaster Pattern.
Finally, weaving in yarn ends securely will keep the coaster neat and durable over time.
FAQ About Crochet Turtle Coaster Pattern
1. Is the Crochet Turtle Coaster Pattern suitable for beginners?
Yes, many versions of the Crochet Turtle Coaster Pattern use basic stitches and simple shapes, making it beginner-friendly.
2. What yarn works best for crochet coasters?
Cotton yarn is the most recommended because it is durable, absorbent, and resistant to heat.
3. How long does it take to make one turtle coaster?
Once you are familiar with the Crochet Turtle Coaster Pattern, one coaster can usually be completed within an hour.
4. Can the coaster be machine washed?
If made with cotton yarn, many crochet turtle coasters can be washed gently in a machine.
5. Can the turtle design be customized?
Yes, you can adjust colors, shell patterns, and details to create unique turtle designs.
6. Are these coasters suitable as gifts?
Absolutely. A set of handmade Crochet Turtle Coaster Pattern coasters makes a thoughtful and charming gift.
Conclusion
The Crochet Turtle Coaster Pattern is a delightful crochet project that combines creativity with everyday practicality. By using simple crochet techniques and durable yarn, you can create adorable turtle-shaped coasters that protect your furniture while adding personality to your home décor.
This pattern is perfect for beginners who want to practice crochet skills as well as experienced crafters looking for a quick and enjoyable project. With many opportunities for color variations and decorative details, the Crochet Turtle Coaster Pattern allows you to design unique pieces that reflect your personal style.
If you enjoyed this guide, feel free to share your honest opinion and suggestions. Your feedback can help inspire more crochet enthusiasts to explore creative patterns and continue discovering the joy of handmade crafts.
Another great advantage of the Crochet Turtle Coaster Pattern is that it encourages creativity while remaining a relaxing craft activity. Many people enjoy crocheting small projects because they can be completed quickly and provide a sense of accomplishment. By experimenting with colors, textures, and stitch styles, each turtle coaster can become a unique handmade piece that reflects personal style and creativity.
VIDEO TUTORIAL
In addition, creating multiple Crochet Turtle Coaster Pattern pieces can help build a charming matching set for your home. Handmade coaster sets are perfect for entertaining guests while protecting your furniture from drink marks. They also make thoughtful gifts for family and friends who appreciate creative crafts and decorative handmade items for their living spaces.

