How to Make a Crochet Goose Tutorial is the perfect guide for anyone who loves charming handmade animals and wants to create a soft, elegant amigurumi project. Learning how to make a Crochet Goose Tutorial allows you to combine basic crochet techniques with shaping methods that bring personality and dimension to your finished piece.
Whether you are crafting a decorative accent, a nursery toy, or a thoughtful handmade gift, a crochet goose is both timeless and versatile. With careful stitching and thoughtful assembly, you can transform simple yarn into a delightful creation full of character.
One of the reasons many crocheters enjoy learning how to make a Crochet Goose Tutorial is because it balances simplicity with detail. The body construction often uses continuous rounds, while the neck shaping and beak formation introduce slightly more advanced techniques.
This combination makes the project approachable for confident beginners while still engaging for intermediate crafters. By focusing on stitch consistency, proper stuffing, and symmetrical assembly, you can achieve a professional-looking result that maintains durability and softness.
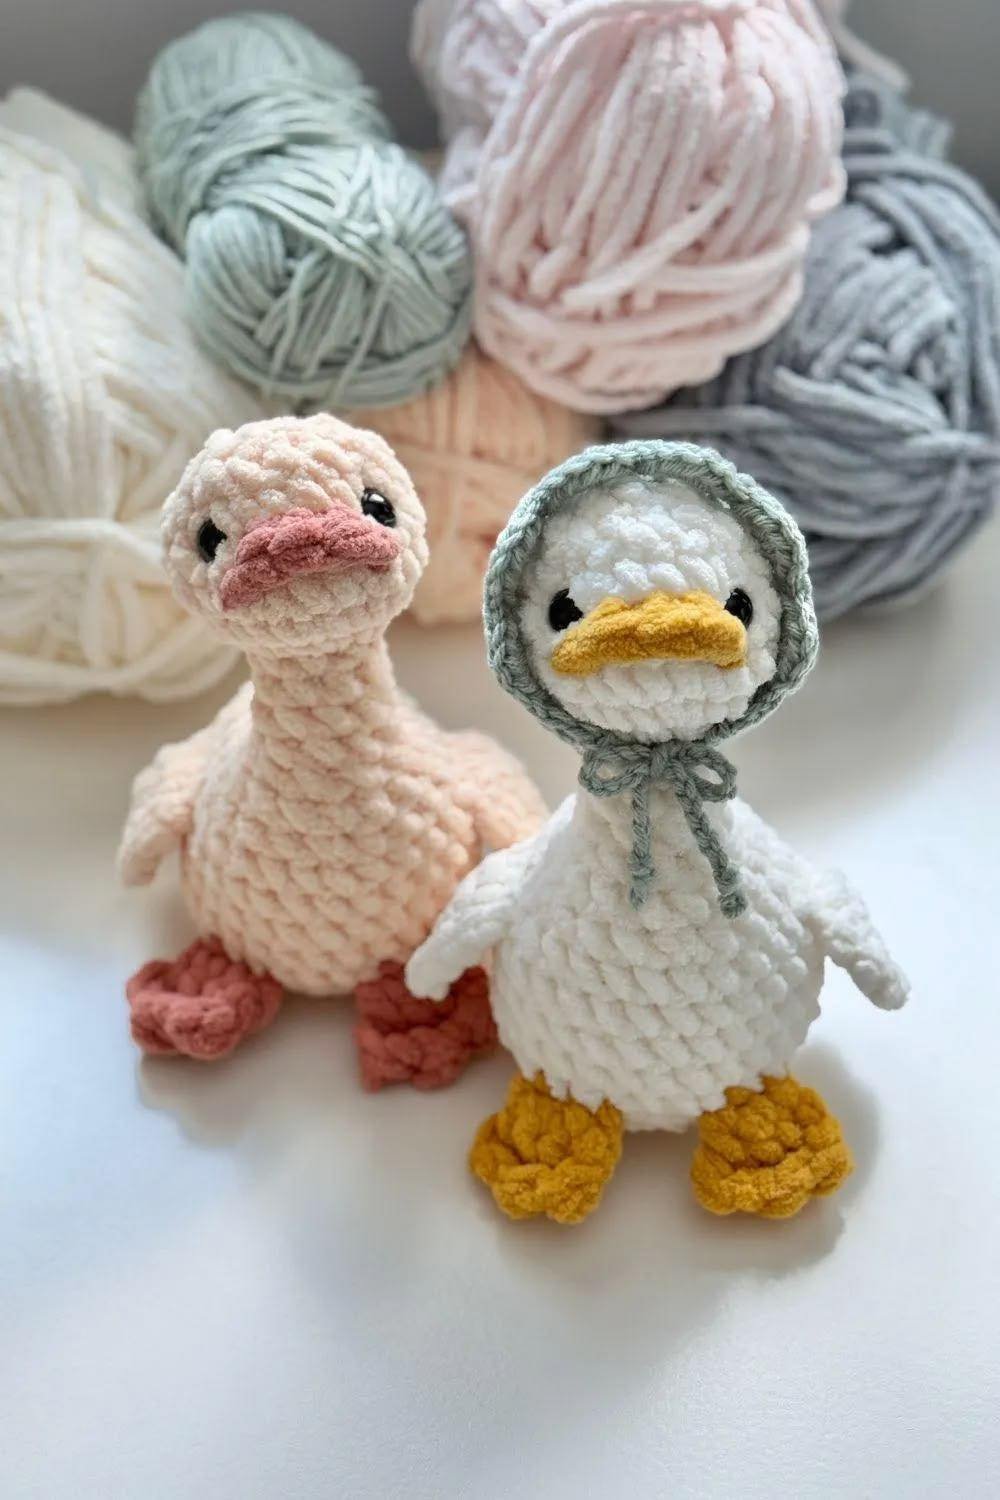
Another advantage of following a Crochet Goose Tutorial is the flexibility to customize. You can create a classic white goose with an orange beak or experiment with pastel tones for a nursery theme. Adding accessories like a small scarf, bow, or miniature hat enhances the personality of your goose. Throughout this tutorial, you will learn about materials, construction steps, assembly techniques, and finishing touches to help you complete your project successfully.
Choosing Materials and Tools
Selecting the right materials is essential when learning how to make a Crochet Goose Tutorial. Soft yet durable yarn works best for amigurumi. Cotton yarn offers excellent stitch definition and firmness, while acrylic yarn provides softness and lightweight comfort. A DK or worsted weight yarn is commonly recommended for this project.
Choose a crochet hook slightly smaller than the yarn label suggests to create tight stitches. Tight stitching prevents gaps and keeps stuffing from showing through. Typically, a 2.5 mm to 3.5 mm hook works well for medium-weight yarn. You will also need fiberfill stuffing, stitch markers, scissors, and a yarn needle for sewing parts together.
Safety eyes or embroidered eyes can be used depending on the intended use. If the goose is for a child, embroidered features are safer. Proper material preparation ensures that your finished goose remains durable and well-shaped.
Crocheting the Body and Head
The body of the goose is usually crocheted in continuous rounds starting with a magic ring. Work single crochet stitches and gradually increase to create a rounded base. Continue building the body by maintaining consistent stitch counts before slowly decreasing toward the neck area.
The neck is typically elongated by working additional rounds without increases. Slight decreases help shape a gentle curve. Maintaining even tension ensures smooth shaping without visible gaps. Stuff the body firmly but not overly tight, allowing the goose to maintain structure while remaining soft.
The head can be crocheted as part of the body or separately and attached later. Gradual increases and decreases form a rounded head. Insert safety eyes before fully closing the top to ensure proper placement and symmetry.
Crafting the Beak and Wings
The beak is an important feature in the Crochet Goose Tutorial. It is usually crocheted separately in a contrasting color, such as orange or yellow. Begin with a small magic ring and use minimal increases to create a triangular shape. Light stuffing can help maintain its form.
Wings are typically flat oval shapes worked in rows or rounds. Keep them slightly curved for a natural appearance. Avoid overstuffing the wings, as they should lie gently against the body. Pin the wings in place before sewing to ensure balanced placement.
Once all pieces are complete, attach them securely using tight, invisible stitches. Reinforcing seams ensures durability, especially if the goose will be handled frequently.
Assembly and Finishing Touches
Careful assembly transforms individual pieces into a cohesive and elegant crochet goose. Sew the beak firmly onto the face and align the wings evenly on both sides of the body. Position the neck so it stands upright or curves slightly for added personality.
Add embroidered details such as eyelashes or subtle feather lines for extra charm. Weave in all yarn ends securely to maintain a clean finish. Lightly adjust stuffing placement to refine the shape if necessary.
Final inspection ensures all seams are tight and secure. The finished goose should feel balanced, soft, and visually polished. Proper finishing makes a significant difference in the overall appearance of your handmade project.
Customization Ideas and Creative Variations
Learning how to make a Crochet Goose Tutorial opens the door to endless creativity. You can create a family of geese in different sizes by adjusting yarn weight and hook size. Adding small accessories like scarves or hats allows for seasonal variations.
Consider using textured stitches for the wings to mimic feather detail. Soft pastel colors work beautifully for baby gifts, while classic white with bright orange accents maintains a traditional farmhouse aesthetic. You may also crochet miniature geese for keychains or decorative ornaments.
With thoughtful color selection and careful detailing, your crochet goose becomes a charming handmade keepsake that reflects both skill and creativity.
FAQ
1. Is this crochet goose suitable for beginners?
Yes, confident beginners who know single crochet, increases, and decreases can complete this project.
2. How do I prevent holes in amigurumi?
Use a smaller hook and maintain tight, even tension throughout.
3. What stuffing works best?
Polyester fiberfill is commonly used because it is lightweight and washable.
4. Can I wash the finished goose?
Follow yarn label instructions. Many cotton and acrylic yarns allow gentle washing.
5. How can I make the goose larger?
Use thicker yarn and a larger hook while keeping proportions consistent.
6. Is blocking necessary?
Blocking is usually not required for amigurumi but can help refine shape slightly.
Conclusion
Mastering how to make a Crochet Goose Tutorial is a rewarding and enjoyable experience that combines structure, creativity, and craftsmanship. By selecting quality materials, maintaining consistent tension, and assembling each piece with care, you can create a beautifully shaped crochet goose suitable for decoration or gifting. This project enhances shaping skills while allowing room for personalization and artistic expression. If you found this tutorial helpful, please share your honest opinion and suggestions. Your feedback inspires future crochet guides and helps improve creative content for fellow makers.
Beyond its adorable appearance, mastering how to make a Crochet Goose Tutorial also strengthens essential amigurumi techniques that can be applied to many other animal projects. Working on shaping the neck curve, positioning the wings evenly, and securing small details like the beak helps improve precision and patience. These small but important steps build confidence and elevate the overall quality of your handmade creations. Over time, practicing projects like this will refine your tension control and assembly skills significantly.
Additionally, this Crochet Goose Tutorial offers a wonderful opportunity to create meaningful handmade gifts filled with warmth and personality. A carefully crafted crochet goose can become a treasured nursery decoration, a comforting plush companion, or a charming seasonal display piece.
VIDEO TUTORIAL
By experimenting with different yarn textures and subtle embellishments, you can create unique variations that reflect your style. Each finished goose represents dedication, creativity, and the timeless beauty of handcrafted artistry.

