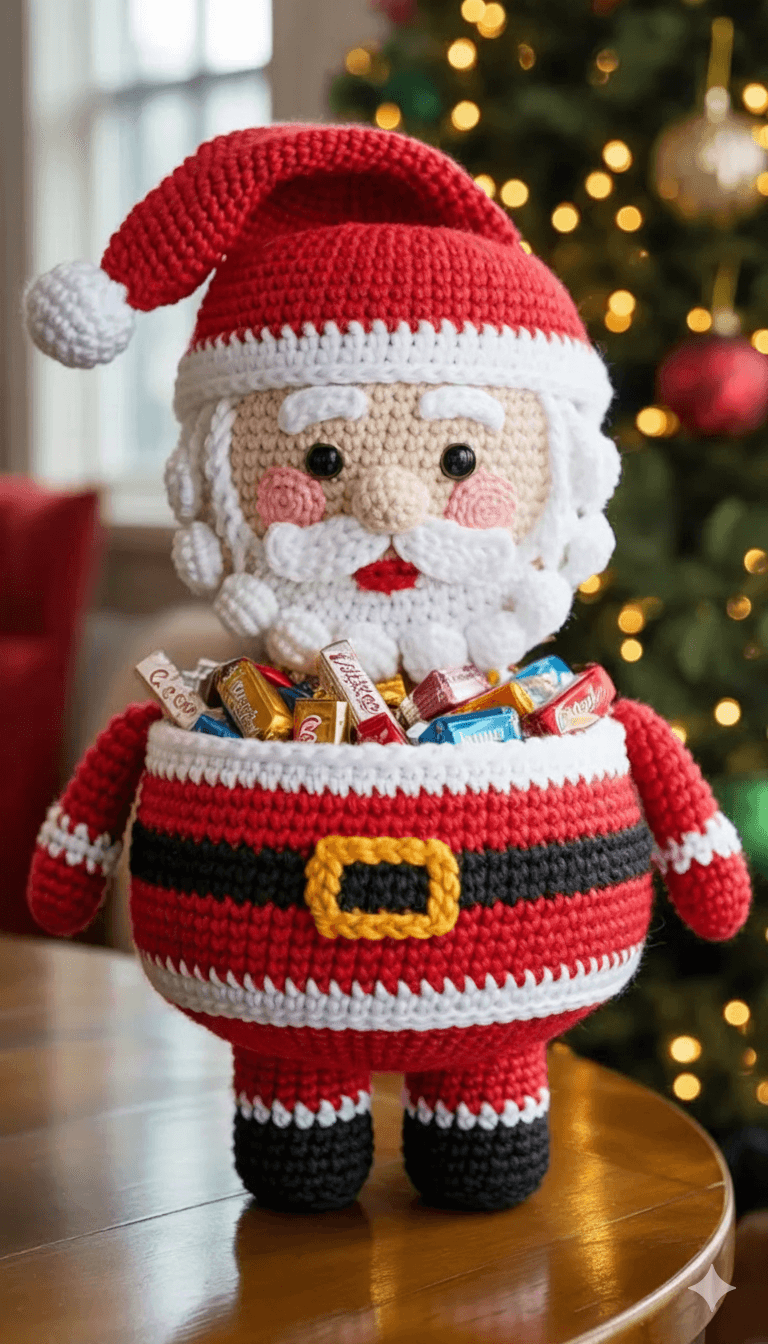
The Crochet Santa Candy-Bowl Tutorial is a charming and festive project that brings a touch of Christmas cheer to any home.
This pattern allows crafters to create an adorable Santa-themed bowl that can be used to hold candies, chocolates, ornaments, or small gifts during the holiday season.
Whether you love decorating your home with handmade pieces or enjoy gifting beautiful crochet items, this tutorial is a delightful way to combine creativity and holiday spirit.
The finished piece is both functional and decorative, becoming a memorable part of any Christmas celebration.
One of the most enjoyable aspects of the Crochet Santa Candy-Bowl Tutorial is its blend of simple stitches, cute details, and fun construction techniques. The bowl shape gives beginners a chance to practice forming structure in crochet, while the Santa features—like the beard, hat, belt, and buttons—add personality and charm. This project is perfect for using up leftover yarn and experimenting with different color combinations. Whether placed on a dining table, coffee table, office desk, or kitchen counter, the candy bowl is guaranteed to delight family and visitors.
Additionally, the Crochet Santa Candy-Bowl Tutorial is versatile and customizable. You can adjust the size, add or remove features, change colors, or even transform the design into other holiday characters. It makes a great piece for craft fairs, holiday markets, or homemade gift baskets. The handmade appeal and cheerful design ensure that this candy bowl becomes a repeat project for crocheters who love seasonal items. With just a few materials and some creativity, you can create a Christmas-themed accessory that spreads warmth and joy all season long.
Why the Santa Candy Bowl Is a Perfect Holiday Project
The Crochet Santa Candy-Bowl Tutorial is perfect for the holiday season because it combines decoration and practicality. It brings charm to your Christmas décor while serving a useful purpose as a candy holder. This makes it a fun and rewarding project.
Another reason it’s ideal is that it uses simple stitches. Even beginners can follow along, making it an accessible project for all skill levels. No advanced techniques are required to achieve a cute and polished result.
This candy bowl also makes an excellent handmade gift. Friends, coworkers, and family members appreciate thoughtful crochet items, especially ones they can use during the holidays. A Santa bowl filled with chocolates becomes an unforgettable present.
The project is also quick to complete. Even with the addition of Santa details, most crocheters can finish the bowl in a few hours. This makes it perfect for last-minute decorations or gifts.
Its customizability is another highlight. You can personalize the bowl with different yarn textures, facial expressions, or extra embellishments to create a unique and joyful piece.
Lastly, the Santa candy bowl adds instant festive charm to any space. It becomes an adorable centerpiece that enhances holiday gatherings and brightens up the home.
Materials and Preparation for the Santa Candy Bowl
To begin the Crochet Santa Candy-Bowl Tutorial, gather materials such as red, white, black, and beige yarn. Worsted-weight yarn works perfectly, but you can also experiment with chunky yarn for a larger bowl. Choose a hook size that gives your work firmness.
A stiff bowl requires tight stitches. Because of this, many crocheters prefer using a slightly smaller hook than recommended. This helps the bowl maintain its shape without collapsing under the weight of candy.
You will also need safety eyes or black yarn for the face, along with stuffing for the nose. Optional embellishments like small buttons or miniature pom-poms add personality and charm to the design.
Before starting, plan the size of your bowl. The larger the base, the more candy it can hold. Adjusting the number of increase rounds makes size customization simple and flexible.
Keep a stitch marker on hand. This helps you maintain accuracy when working in continuous rounds, especially when shaping the bowl.
Finally, prepare a tapestry needle for sewing on the details, attaching the belt, adding the beard, and weaving in ends. These finishing touches bring Santa to life and complete the final look.
How to Crochet the Santa Candy Bowl Base
To follow the Crochet Santa Candy-Bowl Tutorial, begin with a magic ring. This method creates a tight, seamless center, which is essential for a sturdy bowl bottom. Work your increases evenly to form a flat circular base.
Once the base is large enough, stop increasing and begin crocheting the sides. Working in continuous rounds creates a smooth, structured wall. Use tight stitches to give the bowl strength and durability.
Continue building the sides until you reach the desired height. You can adjust this height depending on how deep you want your candy bowl. A taller wall offers more space for treats.
Switch colors as needed to create Santa’s belt section. Typically, black yarn is used for the belt, with a small section of yellow or gold added later for the buckle. This adds character and instantly identifies the bowl as Santa-themed.
After completing the body, fasten off neatly. The main structure should now be solid and stable. If the bowl needs more stiffness, you can add an optional stiffener, but tight stitches often make this unnecessary.
Once the bowl base is finished, prepare the decorative pieces. These include the beard, face, hat brim, and buckle. Each piece adds charm and turns the simple bowl into an adorable Santa figure.
Adding the Santa Features and Final Details
The Santa face is a crucial part of the Crochet Santa Candy-Bowl Tutorial. Begin by attaching safety eyes or embroidering eyes with black yarn. A small round nose, lightly stuffed, gives Santa a friendly and plump appearance.
Next, crochet Santa’s beard using white yarn. Many tutorials use puff stitches or loop stitches to create a fluffy texture. Sew the beard carefully to the front of the bowl so it frames the face neatly.
Continue by adding the hat brim. This part gives Santa his signature look. A white band made with single crochet stitches wraps around the top edge, offering both decoration and stability.
The belt buckle can be made with yellow yarn or a small crocheted rectangle. Attach it firmly to the black belt section to complete Santa’s outfit.
Optional embellishments like buttons, stars, or pom-poms can give your bowl extra personality. These small details make your Santa bowl unique and festive.
With all the features attached, weave in any remaining ends. Adjust the shape gently with your hands, and your adorable Santa candy bowl is ready to shine for the holidays.
FAQ About the Santa Candy-Bowl Tutorial
1. Is this project suitable for beginners?
Yes, the pattern uses simple stitches and easy shaping, making it beginner-friendly.
2. What yarn works best?
Worsted-weight cotton or acrylic works well. Cotton offers extra structure for the bowl.
3. Can I make the bowl larger or smaller?
Absolutely. Adjust the number of increase rounds to resize the base.
4. Do I need stuffing?
Only for Santa’s nose or optional embellishments. The bowl itself is unstuffed.
5. How do I make the bowl stiffer?
Use tight stitches, thicker yarn, or add a light fabric stiffener if needed.
Conclusion
The Crochet Santa Candy-Bowl Tutorial is a delightful and festive project that brings handmade charm to any Christmas celebration. With simple stitches, fun details, and endless customization options, this pattern is perfect for beginners and experienced crocheters alike.
Whether used as decoration, a gift, or a centerpiece for holiday treats, this Santa-themed bowl adds warmth, joy, and creativity to your home. I hope you enjoyed this tutorial and feel inspired to make your own Christmas candy bowl.

