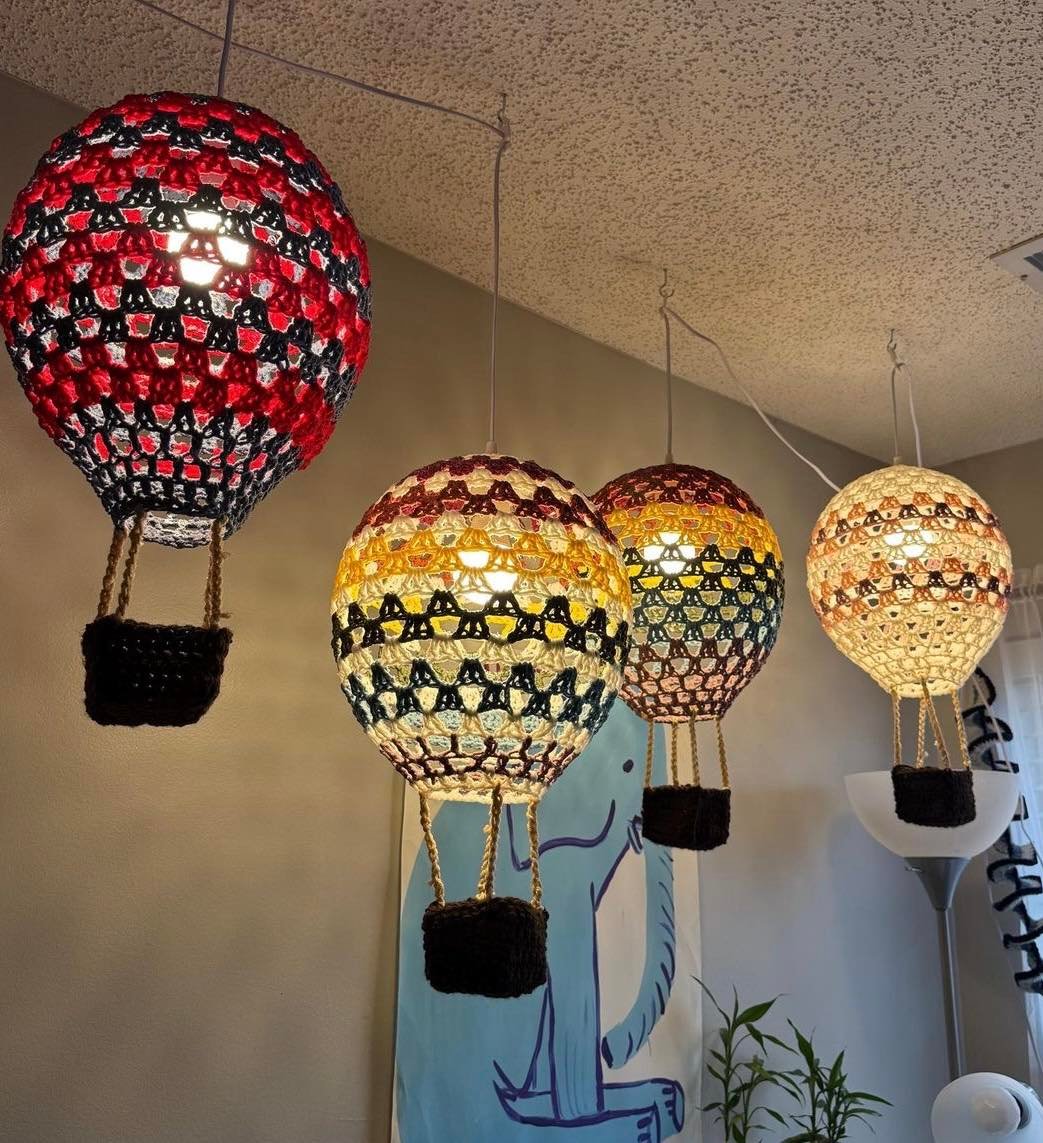
The charm of handmade decorations lies in how they capture imagination and nostalgia. The Crochet Hot Air Balloon Pattern is a beautiful example of that magic — combining bright colors, soft textures, and a sense of adventure into one cozy project.
Whether you’re decorating a nursery, crafting a mobile, or adding whimsy to your home, this pattern turns simple yarn into a floating dream.
Hot air balloons have always symbolized freedom, exploration, and dreams taking flight. With crochet, you can recreate that feeling in a soft, handmade form.
The Crochet Hot Air Balloon Pattern is simple enough for beginners yet customizable enough to let advanced crocheters express their creativity.
By following this step-by-step guide, you’ll be able to make a delicate, colorful piece that brightens any space and sparks smiles wherever it hangs.
This tutorial will walk you through everything—from the materials you’ll need to shaping the balloon, assembling the basket, and adding the final touches. So grab your favorite yarn colors and get ready to lift your imagination off the ground!
Materials Needed
Before we begin, gather all the necessary supplies. Having everything ready will make your crocheting smooth and enjoyable.
You’ll need:
-
Yarn: Cotton or acrylic yarn in your favorite colors. You’ll need at least three shades: one for the main balloon, one for the stripes, and one for the basket.
-
Hook: A 3.5 mm or 4.0 mm crochet hook works perfectly for most yarns.
-
Stuffing: Polyfill or any lightweight filling material.
-
Tapestry needle: For sewing and weaving ends.
-
Scissors
-
Stitch marker (optional but useful for working in rounds).
Optional materials:
-
Small wooden ring or string for hanging.
-
Beads or buttons for decoration.
-
Embroidery thread if you want to add designs to the balloon.
Choose colors that inspire joy — pastels for baby rooms, rainbow tones for playful spaces, or earthy hues for a rustic vibe.
Abbreviations (US Terms)
You’ll use simple stitches throughout this pattern. Here’s a quick reference list:
-
ch – chain
-
sc – single crochet
-
inc – increase (2 sc in one stitch)
-
dec – decrease (single crochet two together)
-
sl st – slip stitch
-
st(s) – stitch(es)
-
rnd – round
-
MR – magic ring
If you’re new to crochet, practice these stitches a few times before starting the balloon. They’ll make the process much smoother.
Step 1 – Crocheting the Balloon
The balloon is worked in the round, from the top to the bottom, shaping it gradually.
-
Rnd 1: Start with a magic ring, 6 sc in the ring (6).
-
Rnd 2: Inc around (12).
-
Rnd 3: (1 sc, 1 inc) repeat around (18).
-
Rnd 4: (2 sc, 1 inc) repeat (24).
-
Rnd 5: (3 sc, 1 inc) repeat (30).
-
Continue increasing until your circle reaches the width you want for your balloon (usually around 42–48 stitches total).
Now, work several rounds even — this forms the height of the balloon. For a medium-sized balloon, crochet about 10–12 even rounds.
To add colorful stripes, simply change yarn colors every 2–3 rounds. Don’t worry about cutting the yarn each time — carry it along the inside to keep the shape clean.
After reaching the desired height, begin decreasing:
-
(5 sc, 1 dec) repeat (36).
-
(4 sc, 1 dec) repeat (30).
-
(3 sc, 1 dec) repeat (24).
-
(2 sc, 1 dec) repeat (18).
Before finishing the final decreases, stuff the balloon firmly but not too tight. Continue decreasing until the top closes completely, and fasten off.
You’ve just finished the main part of your hot air balloon!
Step 2 – Making the Basket
The basket is a small but essential detail that completes the charm.
-
Rnd 1: MR, 6 sc (6).
-
Rnd 2: Inc around (12).
-
Rnd 3: (1 sc, 1 inc) repeat (18).
-
Rnd 4: Work in back loops only – sc around (18).
-
Rnd 5–7: Sc around in both loops to form the height of the basket.
You can stop here for a shallow basket or add a few extra rounds for more depth.
To make it more realistic, use brown or beige yarn to mimic a woven look. You can even add a decorative rim by working a round of slip stitches in a contrasting color.
Step 3 – Connecting the Balloon and Basket
Now comes the fun part — assembling your crochet hot air balloon.
Cut four pieces of yarn, about 8–10 cm each. Use these as the “ropes” that hold the basket to the balloon.
Attach each string evenly around the bottom of the balloon using your tapestry needle, then connect them to the basket. Make sure they’re all equal in length so the basket hangs straight.
If you want your balloon to be extra sturdy, you can crochet a small circular base inside the balloon before closing it — this helps it keep shape and gives you a solid foundation for the ropes.
Once connected, test the balance by holding it from the top. If it tilts, adjust the strings until everything hangs symmetrically.
Step 4 – Adding Finishing Touches
Here’s where you can get creative and give your project personality!
-
Add details: Embroider stars, clouds, or a name onto the balloon.
-
Use beads or buttons: Sew small decorative pieces around the stripes.
-
Hanging loop: Crochet a small chain loop on top so you can hang your balloon easily.
-
Miniature passengers: For a playful twist, crochet tiny animals or dolls to sit inside the basket.
If you’re making a baby mobile, create several balloons in different colors and sizes, then attach them to a wooden ring with clear fishing line. The result is stunning — a dreamy decoration floating gently above a crib or workspace.
Tips for Beginners
The Crochet Hot Air Balloon Pattern may look intricate, but it’s all about patience and consistency.
-
Keep your stitches even to maintain a smooth, rounded shape.
-
Use a stitch marker to keep track of rounds — especially when increasing or decreasing.
-
Don’t skip stuffing! It helps the balloon hold its shape beautifully.
-
If your balloon leans to one side, check that your increases and decreases are aligned properly.
-
Experiment with different yarn textures — cotton yarn gives a clean look, while wool makes it more plush and cozy.
This pattern is perfect for learning how shaping works in amigurumi-style crochet — a great step for beginners expanding their skills.
Creative Variations
Once you’ve mastered the basic version, the possibilities are endless!
-
Rainbow Balloon: Use seven yarn colors for a bold statement piece.
-
Rustic Balloon: Mix beige, cream, and brown for a vintage effect.
-
Mini Keychain Version: Use fine yarn and a 2 mm hook for a tiny hot air balloon keychain.
-
Holiday Theme: Red and green for Christmas, pastel tones for Easter, or gold and silver for New Year’s.
-
Personalized Name Tags: Add a child’s name to the balloon for a thoughtful handmade gift.
Crochet is about expression — make your hot air balloon tell your story.
Frequently Asked Questions
Q: Is this project beginner-friendly?
A: Yes! The stitches are simple, and the shaping is gradual. Even if you’re new to crochet, you’ll learn a lot while enjoying the process.
Q: How long does it take to make one balloon?
A: On average, it takes about 3 to 5 hours depending on your experience and size preference.
Q: Can I sell my finished balloons?
A: Of course! You can sell the finished items — just remember to credit the pattern inspiration if you share it online.
Q: What yarn works best?
A: Cotton or acrylic yarns are ideal. Cotton gives a structured finish, while acrylic creates a softer, more plush look.
Q: Can I wash my crochet balloon?
A: Yes, hand wash gently with mild detergent and air dry. Avoid wringing or machine washing to preserve shape.
Q: Can I make a flat version for appliqué?
A: Definitely! Just skip the stuffing and reduce the rounds to make a flat decorative piece.
Conclusion
The Crochet Hot Air Balloon Pattern is a joyful blend of creativity and craftsmanship. It captures the spirit of wonder in every stitch — perfect for gifting, decorating, or simply exploring new techniques. With a handful of yarn and imagination, you can bring a piece of sky into your home.
From the gentle curves of the balloon to the tiny woven basket, every detail tells a story of freedom, adventure, and handmade love. Whether you’re a seasoned crocheter or a beginner, this pattern is your invitation to create something magical.
Now it’s your turn to lift off! Grab your yarn, follow the steps, and watch your Crochet Hot Air Balloon float into life. And once you’re done, don’t forget to share your honest thoughts, photos, and ideas — your feedback helps make every creation even more inspiring!

