Crochet Christmas Trees Tutorial is a delightful way to bring handmade warmth and creativity into your holiday décor.
Crochet lovers adore these small trees because they combine festive spirit with the charm of yarn craft.
Whether you’re decorating your home, gifting loved ones, or adding special handmade pieces to your Christmas market collection, this tutorial will guide you through every step.
These crochet Christmas trees are beginner-friendly, customizable, and can be made using yarn you already have at home.
Creating your own crochet Christmas trees allows you to express creativity while adding a personal touch to your holiday decorations. You can make them in traditional green, or experiment with white, gold, red, and even sparkly yarns for a magical winter effect. They look stunning on mantels, tables, or even as part of a garland. Plus, they make perfect handmade gifts that show thoughtfulness and care. Making crochet Christmas trees can quickly become one of your favorite seasonal crafts.
In this Crochet Christmas Trees Tutorial, you’ll learn step by step how to crochet your own tree, decorate it, and personalize it. The process uses basic stitches like single crochet, double crochet, and chain stitches—making it perfect for both beginners and advanced crocheters. You’ll also learn tips for shaping, joining, and embellishing your trees to make them stand out. Let’s get started with this festive, easy, and heartwarming crochet project!
Materials You’ll Need
To start this Crochet Christmas Trees Tutorial, you’ll need just a few simple materials that are probably already in your craft collection. Choose soft yarns that are easy to handle and in colors that match your holiday theme. Classic green yarn works wonderfully, but metallic or glittery yarns can add that extra festive sparkle. You can also mix and match textures, combining cotton, acrylic, or even velvet yarns for a unique look.
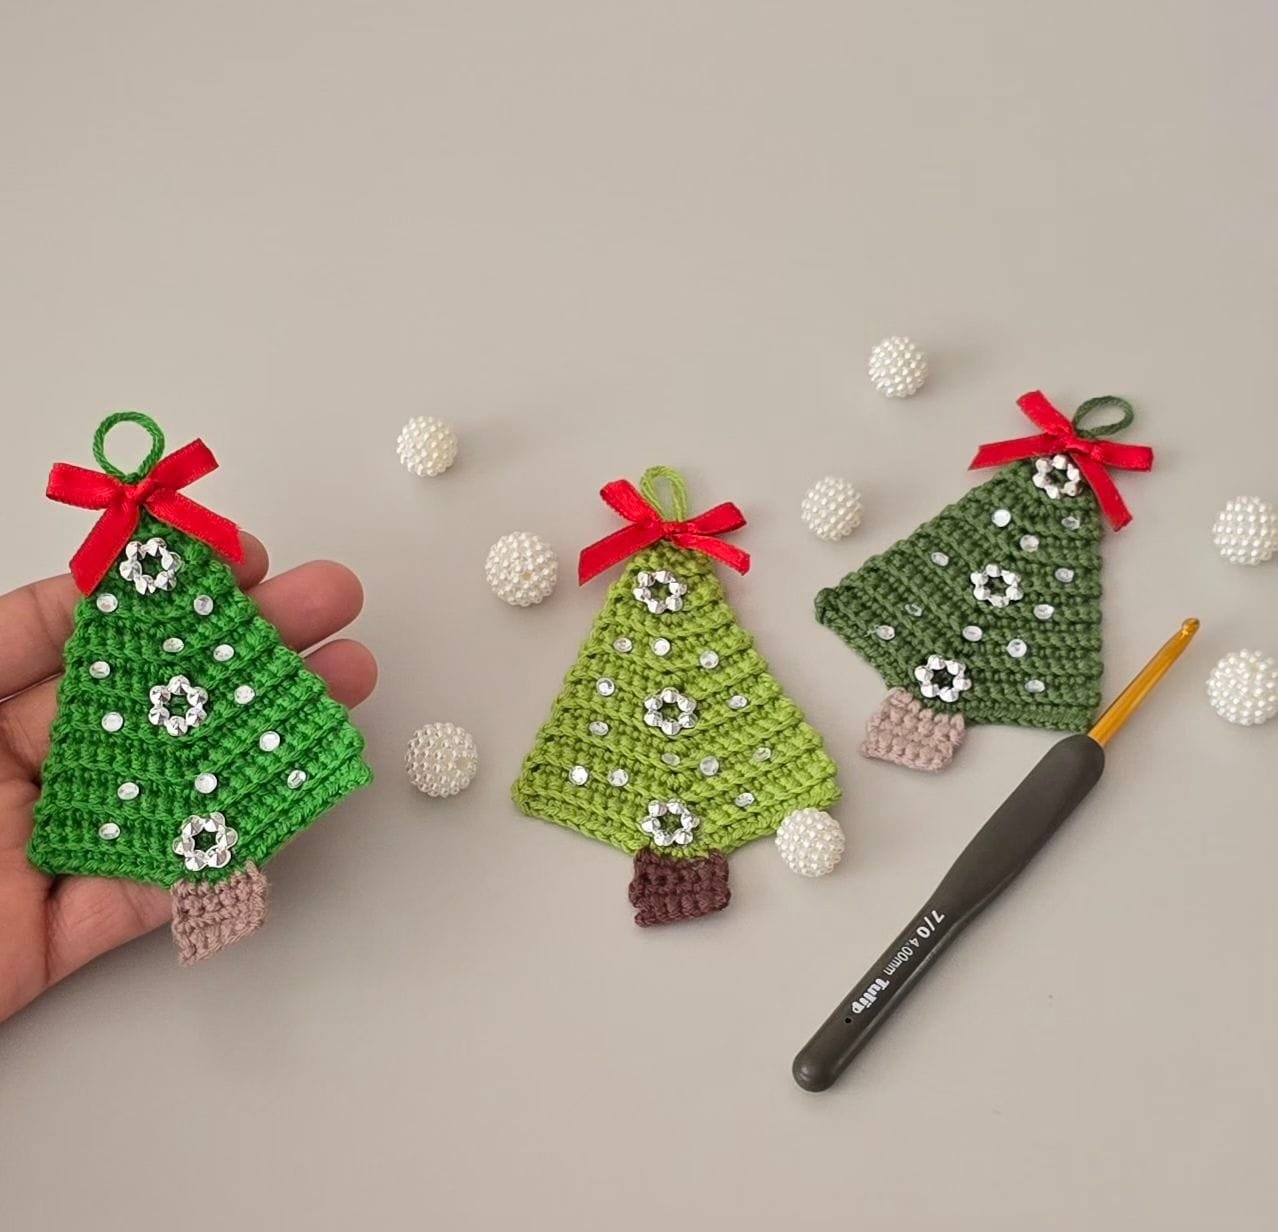
You’ll also need a crochet hook that matches your yarn weight—usually between 3.5mm to 5mm for medium-weight yarns. A yarn needle will help you weave in the ends neatly, and scissors will be necessary for cutting your yarn. Some optional materials include small beads, buttons, ribbons, or tiny pom-poms to decorate your crochet Christmas tree once it’s finished.
Having a good workspace is also important. Make sure you have good lighting and a flat surface to work on. Keep your yarn organized so you can easily switch colors. This helps your crochet flow smoothly and makes the experience more enjoyable.
If you plan to make multiple trees, prepare your materials in sets—this will make it easier to complete them in batches. You can even pre-cut small pieces of yarn for decorations or stars. A bit of preparation goes a long way toward making your project stress-free and fun.
Remember that your choice of yarn and hook will affect the final size of your tree. Using thicker yarn or a larger hook will create a bigger and fluffier tree, while thinner yarn and smaller hooks will produce delicate miniature ones—perfect for ornaments.
Finally, if you want your crochet Christmas trees to stand upright, you can insert a wooden stick or straw in the center, attach it to a base, or even fill the bottom with fiberfill for added stability.
Step-by-Step Instructions
Let’s move on to the heart of this Crochet Christmas Trees Tutorial. The process begins with creating the tree’s base and gradually building it up in layers. Start by making a magic ring or chain 4 and slip stitch to form a loop. This will be your foundation ring where you’ll crochet your first round of stitches.
Round 1: Chain 3 (counts as the first double crochet), then make 11 more double crochets into the ring. Slip stitch into the top of the first chain 3 to close the round. You’ll have a total of 12 stitches.
Round 2: Chain 3, then make 1 double crochet into the same stitch. Continue making 2 double crochets in each stitch around. Join with a slip stitch. You’ll now have 24 stitches. This will form the base of your tree.
Round 3: Chain 3, then 1 double crochet in next stitch, 2 double crochets in the next stitch, repeat from * to * around. Join with a slip stitch. This gives the tree a slightly flared shape at the bottom.
For the next few rounds, you’ll begin decreasing gradually to shape the cone of the tree. Alternate between rounds of double crochet and single crochet, reducing a few stitches every other round until you reach the top point of the tree.
When you finish, leave a long tail for sewing or attaching decorations. This basic tree shape can be used plain or as a base for more creative designs, like layering two or three trees together for a 3D look.
Decorating Your Crochet Christmas Tree
Once your crochet Christmas tree shape is ready, it’s time for the most exciting part—decorating! This is where your personality shines. You can go traditional with small beads as ornaments, or keep it minimal with a simple crochet star on top.
One beautiful idea is to crochet a small garland using chain stitches and wrap it around your tree. You can also sew on tiny buttons or pearls to mimic Christmas lights. For a snowy look, lightly brush the edges with white yarn or add a row of single crochet in white at each level.
If you enjoy sparkle, try using metallic threads or tinsel yarn. These materials catch light beautifully and make your decorations pop. You can even create a tiny crochet star for the top by making two star motifs and sewing them back to back for dimension.
Adding texture is another creative touch. Try mixing different stitches—like bobbles or puff stitches—for a tree that looks fuller and more detailed. Each version will have its own charm and can be a perfect piece for a Christmas gift or market table.
For the base, you can make a small crochet ring or a mini “tree skirt” to complete the design. Fill the base with a bit of stuffing or add a small wooden base for stability.
Remember, there’s no right or wrong way to decorate your crochet tree. Let your imagination lead you and enjoy the creative process!
Creative Uses and Display Ideas
After finishing your Crochet Christmas Trees Tutorial, you’ll have endless options for displaying your creations. These handmade trees look amazing on coffee tables, bookshelves, or as part of a festive dinner centerpiece. You can arrange several in different sizes to create a cozy forest effect.
They also make great Christmas gifts. Imagine giving a small crochet tree to a friend or relative—it’s a meaningful and handmade gesture that brings joy. Add a tag or ribbon to make it even more special.
Another fun use is turning your crochet trees into hanging ornaments. Simply attach a string or hook at the top and hang them on your Christmas tree. They’re lightweight, safe for kids, and won’t break like glass ornaments.
If you sell crafts or participate in local markets, crochet Christmas trees are wonderful seasonal items. They’re quick to make, use small amounts of yarn, and have great appeal during the holidays.
You can also use them for table settings, placing one tree at each plate as a decoration or name holder. It’s a charming detail that guests love and often want to take home as a souvenir.
Finally, keep a few for yourself! They’ll bring a warm handmade touch to your home each year and remind you of your creativity every holiday season.
FAQ – Crochet Christmas Trees Tutorial
1. What type of yarn is best for crochet Christmas trees?
Medium-weight acrylic or cotton yarn works best. Acrylic adds fluffiness and structure, while cotton gives a clean, defined look.
2. Can beginners make these crochet Christmas trees?
Absolutely! The project uses basic stitches and simple shaping techniques, perfect for beginners.
3. How long does it take to make one tree?
On average, it takes between 45 minutes and 2 hours, depending on the size and your skill level.
4. Can I wash my crochet Christmas trees?
Yes, but hand washing is recommended. Gently reshape while drying to maintain the structure.
5. How can I make my tree stand upright?
Insert a small wooden stick or fill the base with fiberfill. You can also attach it to a cardboard or wooden base.
6. Can I make these trees in different colors?
Of course! Try gold, red, white, or silver yarns for a festive variation, or experiment with multi-colored stripes.
7. What decorations can I add?
Beads, buttons, ribbons, stars, and even small crochet garlands can enhance your design beautifully.
8. Can I sell my crochet Christmas trees?
Yes, handmade crochet items like these are popular at craft fairs and online during the holiday season.
9. Do I need to block my crochet tree?
Blocking isn’t required but can help your tree stand neatly if it’s curling or uneven.
10. Can I make a 3D version of this tree?
Yes! Crochet two trees and sew them together, lightly stuffing the inside for a 3D effect.
Conclusion
This Crochet Christmas Trees Tutorial showed you how to create charming and festive decorations that bring warmth and handmade beauty to the holiday season. From gathering materials to crocheting, decorating, and displaying your trees, every step lets you express your creativity. Whether you make them for yourself or as gifts, these crochet Christmas trees are sure to bring smiles and holiday cheer.
We hope you enjoyed this tutorial! Share your honest opinion and let us know your favorite part of the process.
Video Tutorial
Your feedback and suggestions inspire us to keep creating more crochet tutorials filled with festive joy and creative inspiration.

